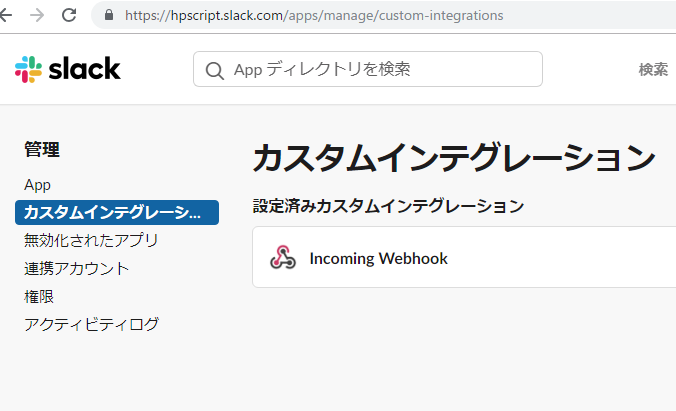
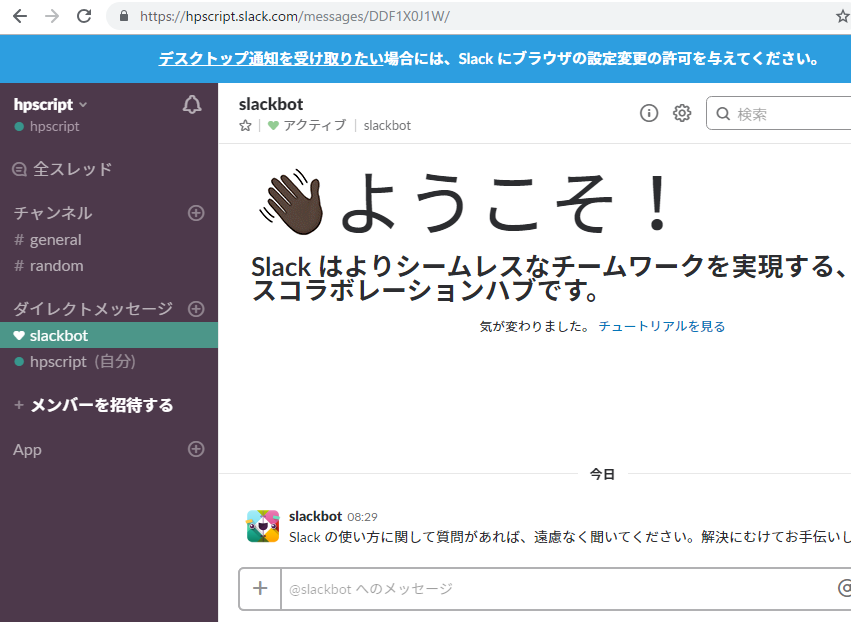
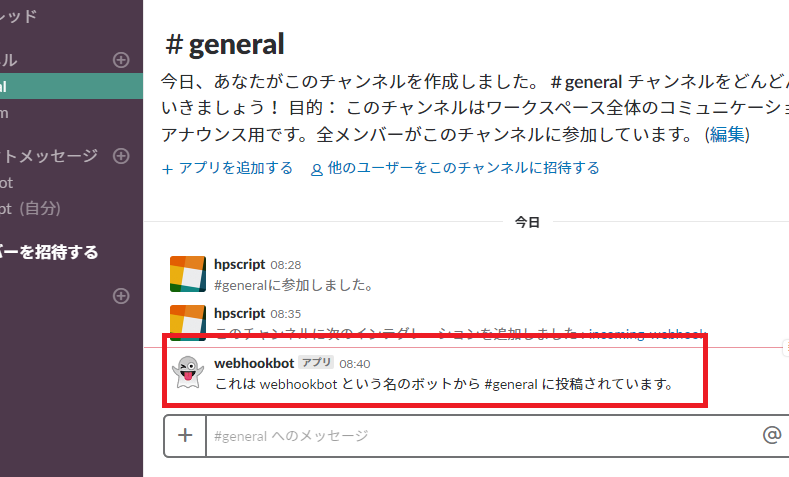
Incomming Webhookをセットアップして、ターミナルから挙動確認します。
curl -X POST --data-urlencode "payload={\"channel\": \"#hpscript\", \"username\": \"webhookbot\", \"text\": \"これは webhookbot という名のボットから #general に投稿されています。\", \"icon_emoji\": \":ghost:\"}" https://hooks.slack.com/services/hogeL/hogehoge
curlでslackの#hpscriptのチャネルに投稿されていることを確認できます。
### 1.env設定
SLACK_WEBHOOK_URL=https://hooks.slack.com/services/hogeL/hogehoge
### 2.guzzlehttp/guzzle、slack-notification-channelインストール
$ php composer.phar require guzzlehttp/guzzle
$ php composer.phar require laravel/slack-notification-channel
### 3. Notification作成
$ php artisan make:notification Slack
app/Notifications/Slack.php
use Illuminate\Notifications\Messages\SlackMessage;
class Slack extends Notification
{
    use Queueable;
    protected $content;

    public function __construct($message)
    {
        $this->content = $message;
    }

    public function via($notifiable)
    {
        return ['slack'];
    }

    public function toSlack($notifiable)
    {
        return (new SlackMessage)
            ->from('hpscript', ':bomb:')
            ->to('#general')
            ->content($this->content);
    }

    public function toArray($notifiable)
    {
        return [
        ];
    }
}
app/User.php
public function routeNotificationForSlack($notification){
        return env('SLACK_WEBHOOK_URL');
    }
### 4.slack通知コマンド作成
$ php artisan make:command SendSlackCommand
app/Console/Commands/SendSlackCommand.php
use App\User;
use App\Notifications\Slack;
class SendSlackCommand extends Command
{
    protected $signature = 'slack:send {message}';

    protected $description = 'Send Slack Notification';

    public function __construct()
    {
        parent::__construct();
    }

    public function handle()
    {
        $user = new User();
        $user->notify(new Slack($this->argument('message')));
    }
}
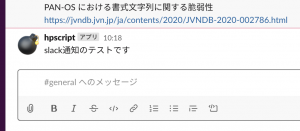
### 5.実行
$ php artisan slack:send ‘slack通知のテストです’
-> Slackの#generalのチャネルで挙動確認
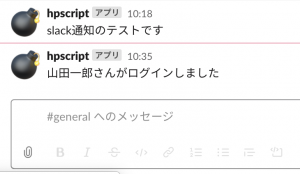
コントローラで使いたい場合
use App\Notifications\Slack;
use App\User;

public function index(Request $request)
    {
        //
        $user = Auth::user();
        $user->notify(new Slack($user->name.'さんがログインしました'));
        return view('subscriber.index', compact('user'));
    }
※メモ
– Notifications/Slack.phpのconstructorでenv()は使えない
– slack-notification-channelは、laravel/frameworkと分離してインストールされるがインストール場所が変わっても名前空間は同じため、使い方は同じ
想像以上に手こずりました。