Googleが取り組む機械学習

Google, Amazon, Facebook, Apple, Microsoftはどのように機械学習に取り組んでいるのか?まずそれを知ることが大事。

■Google
自動運転への取り組みとしてWaymo
https://waymo.com/

続いて、Waymoのsoftware engineeringの採用情報を見てみましょう。
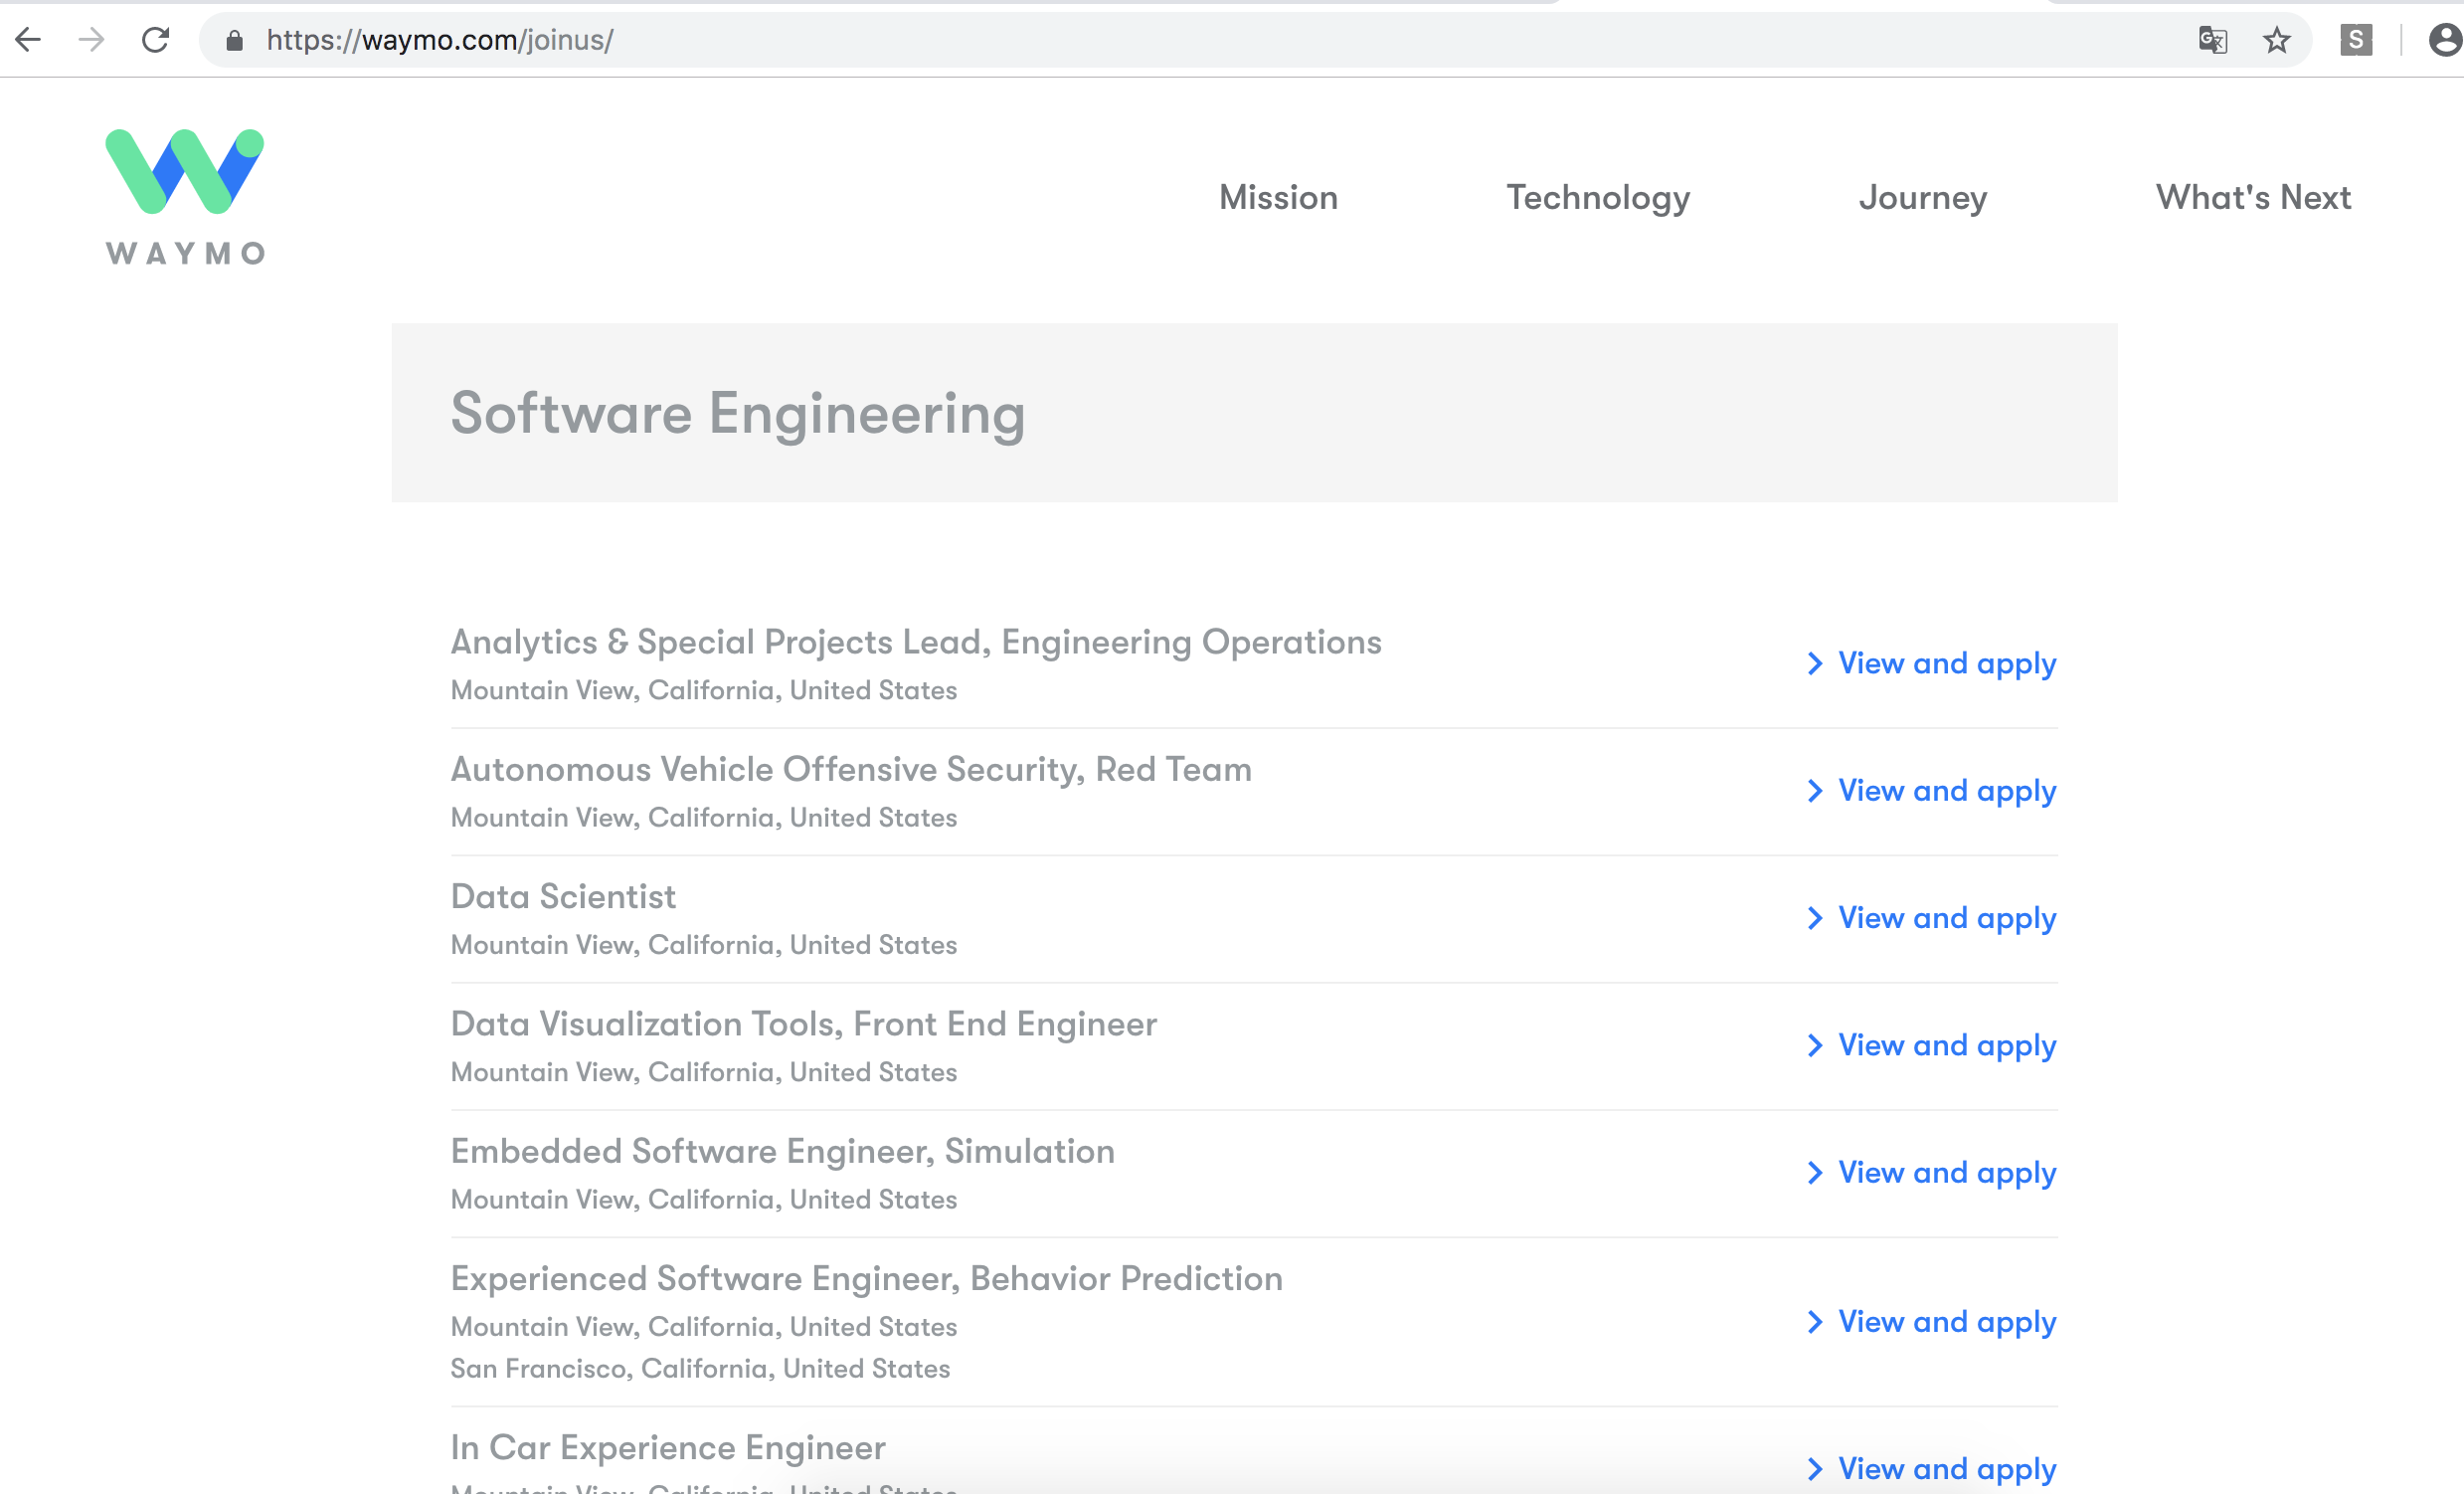
Data scientistの条件。phDか。。まじかー。
We’d like you to have:
PhD in statistics, math, or other quantitative area
Progressive statistics background either in academia or industry
Data science and system evaluation experience
Willingness to understand a complex system and its various components
Experience with tools for manipulating big data
Experience with R/Python and statistical libraries

続いてDeep Leaningのsoftware engineer
PhD in Computer Science, Machine Learning, Robotics, similar technical field of study, or equivalent practical experience
Experience in applied Machine Learning including data collection, analysis and feature engineering
Experience in Deep Learning research
Experience with TensorFlow
Experience programming in Python/C++

そうか、computer scienceはOKとして、Machine Learning, Roboticsは必須だな。

スタートアップとしては、プロトタイプを作りながら、ブラッシュアップが定説。
Hardwareの知識と組み合わせると、難易度が一気に上がる。つまりそこか。

まずはmachine learningとアプリケーションからか。

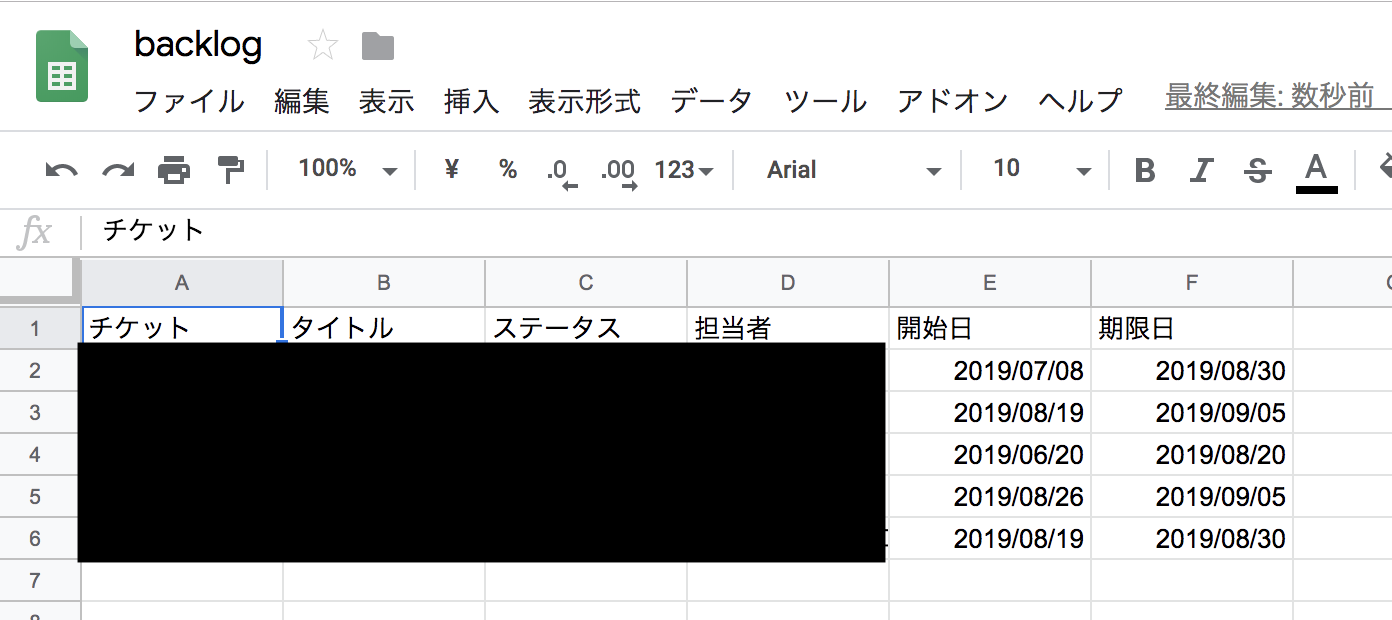
backlog APIで値を取得して、スプレッドシートに表示

$message[0] = array('チケット','タイトル','ステータス','担当者','開始日','期限日');
$i= 1;
foreach($json as $value){
    $message[$i][0] = $value["issueKey"];
    $message[$i][1] = $value["summary"];
    $message[$i][2] = $value["status"]["name"];
    $message[$i][3] = $value["assignee"]["name"];
    $message[$i][4] = date("Y/m/d", strtotime($value["startDate"]));
    $message[$i][5] = date("Y/m/d", strtotime($value["dueDate"]));
    $i++;
}

で、この値をGoogle Spread sheetに渡す

あれ、いけますね♪

じゃあ、これをHerokuにgit pushしてscheduler登録すればいいんじゃない♪

phpでspreadsheetに書き込む その2

続きをやっていきましょう。

// google/applient:"^2.0"
require __DIR__. '/vendor/autoload.php';

// GCP Sheet APIの認証情報
$keyFile = __DIR__. "/credentials.json";

// アカウント認証情報インスタンスを作成
$client = new Google_Client();
$client->setAuthConfig($keyFile);

// 任意
$client->setApplicationName("Sheet API Test");

//サービス権限のスコープ
$scopes = [Google_Service_Sheets::SPREADSHEETS];
$client->setScopes($scopes);

// シート情報を操作するインスタンスを生成
$sheet = new Google_Service_Sheets($client);

// 保存データ
$values = [
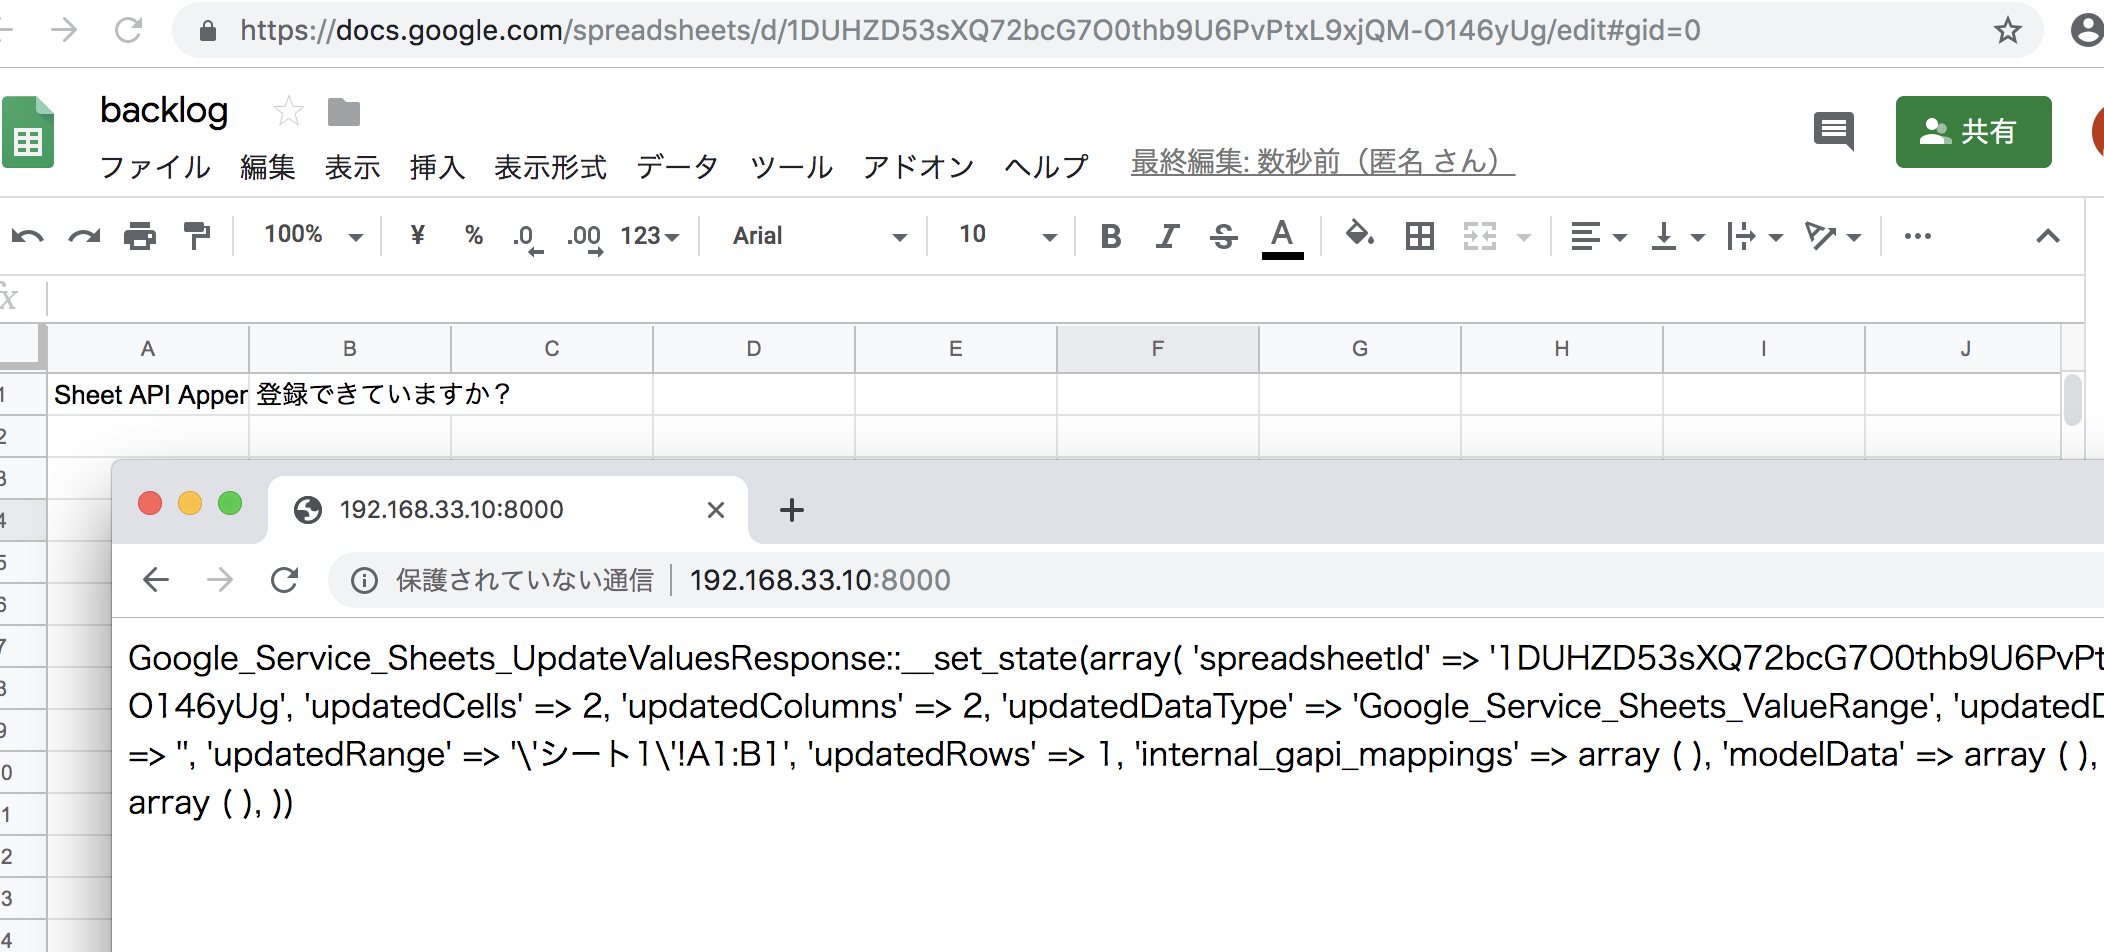
	["Sheet API Append TEST", "登録できていますか?"]
];

// データ操作領域を設定
$body = new Google_Service_Sheets_ValueRange([
	'values' => $values,
]);

$response = $sheet->spreadsheets_values->append(
	"*******************",
	'シート1',
	$body,
	["valueInputOption" => 'USER_ENTERED']
);

// 書き込んだ処理結果を確認
var_export($response->getUpdates());

はああああああああああ? なにこれえええええええええええ

とりあえず、二行で送りたい。それと1行目を見出しにしたい。

phpでspreadsheetに書き込む その1

まずcomposerを入れます
[vagrant@localhost local]$ curl -sS https://getcomposer.org/installer | php
All settings correct for using Composer
Downloading…

Composer (version 1.9.0) successfully installed to: /home/vagrant/local/composer.phar
Use it: php composer.phar

[vagrant@localhost local]$ ls
backlog.php composer.phar heroku ipa.php

composerでgoogle api clientを落とします。
[vagrant@localhost local]$ php composer.phar require google/apiclient:”^2.0″
./composer.json has been created
Loading composer repositories with package information
Updating dependencies (including require-dev)
Package operations: 13 installs, 0 updates, 0 removals
– Installing ralouphie/getallheaders (3.0.3): Downloading (100%)
– Installing psr/http-message (1.0.1): Loading from cache
– Installing guzzlehttp/psr7 (1.6.1): Downloading (100%)
– Installing guzzlehttp/promises (v1.3.1): Downloading (100%)
– Installing guzzlehttp/guzzle (6.3.3): Downloading (100%)
– Installing phpseclib/phpseclib (2.0.21): Downloading (100%)
– Installing psr/log (1.1.0): Loading from cache
– Installing monolog/monolog (1.24.0): Downloading (100%)
– Installing firebase/php-jwt (v5.0.0): Downloading (100%)
– Installing google/apiclient-services (v0.109): Downloading (100%)
– Installing psr/cache (1.0.1): Loading from cache
– Installing google/auth (v1.5.1): Downloading (100%)
– Installing google/apiclient (v2.2.3): Downloading (100%)
guzzlehttp/psr7 suggests installing zendframework/zend-httphandlerrunner (Emit PSR-7 responses)
phpseclib/phpseclib suggests installing ext-libsodium (SSH2/SFTP can make use of some algorithms provided by the libsodium-php extension.)
phpseclib/phpseclib suggests installing ext-mcrypt (Install the Mcrypt extension in order to speed up a few other cryptographic operations.)
phpseclib/phpseclib suggests installing ext-gmp (Install the GMP (GNU Multiple Precision) extension in order to speed up arbitrary precision integer arithmetic operations.)
monolog/monolog suggests installing graylog2/gelf-php (Allow sending log messages to a GrayLog2 server)
monolog/monolog suggests installing sentry/sentry (Allow sending log messages to a Sentry server)
monolog/monolog suggests installing doctrine/couchdb (Allow sending log messages to a CouchDB server)
monolog/monolog suggests installing ruflin/elastica (Allow sending log messages to an Elastic Search server)
monolog/monolog suggests installing php-amqplib/php-amqplib (Allow sending log messages to an AMQP server using php-amqplib)
monolog/monolog suggests installing ext-amqp (Allow sending log messages to an AMQP server (1.0+ required))
monolog/monolog suggests installing ext-mongo (Allow sending log messages to a MongoDB server)
monolog/monolog suggests installing mongodb/mongodb (Allow sending log messages to a MongoDB server via PHP Driver)
monolog/monolog suggests installing aws/aws-sdk-php (Allow sending log messages to AWS services like DynamoDB)
monolog/monolog suggests installing rollbar/rollbar (Allow sending log messages to Rollbar)
monolog/monolog suggests installing php-console/php-console (Allow sending log messages to Google Chrome)
google/apiclient suggests installing cache/filesystem-adapter (For caching certs and tokens (using Google_Client::setCache))
Writing lock file
Generating autoload files

gasとは

Google Apps Script(GAS)

google spread sheetとの連携に使用する

google spread sheetのidは”/d/” と “/edit” の間にある乱数字のこと
https://docs.google.com/spreadsheets/d/***/edit#gid=0

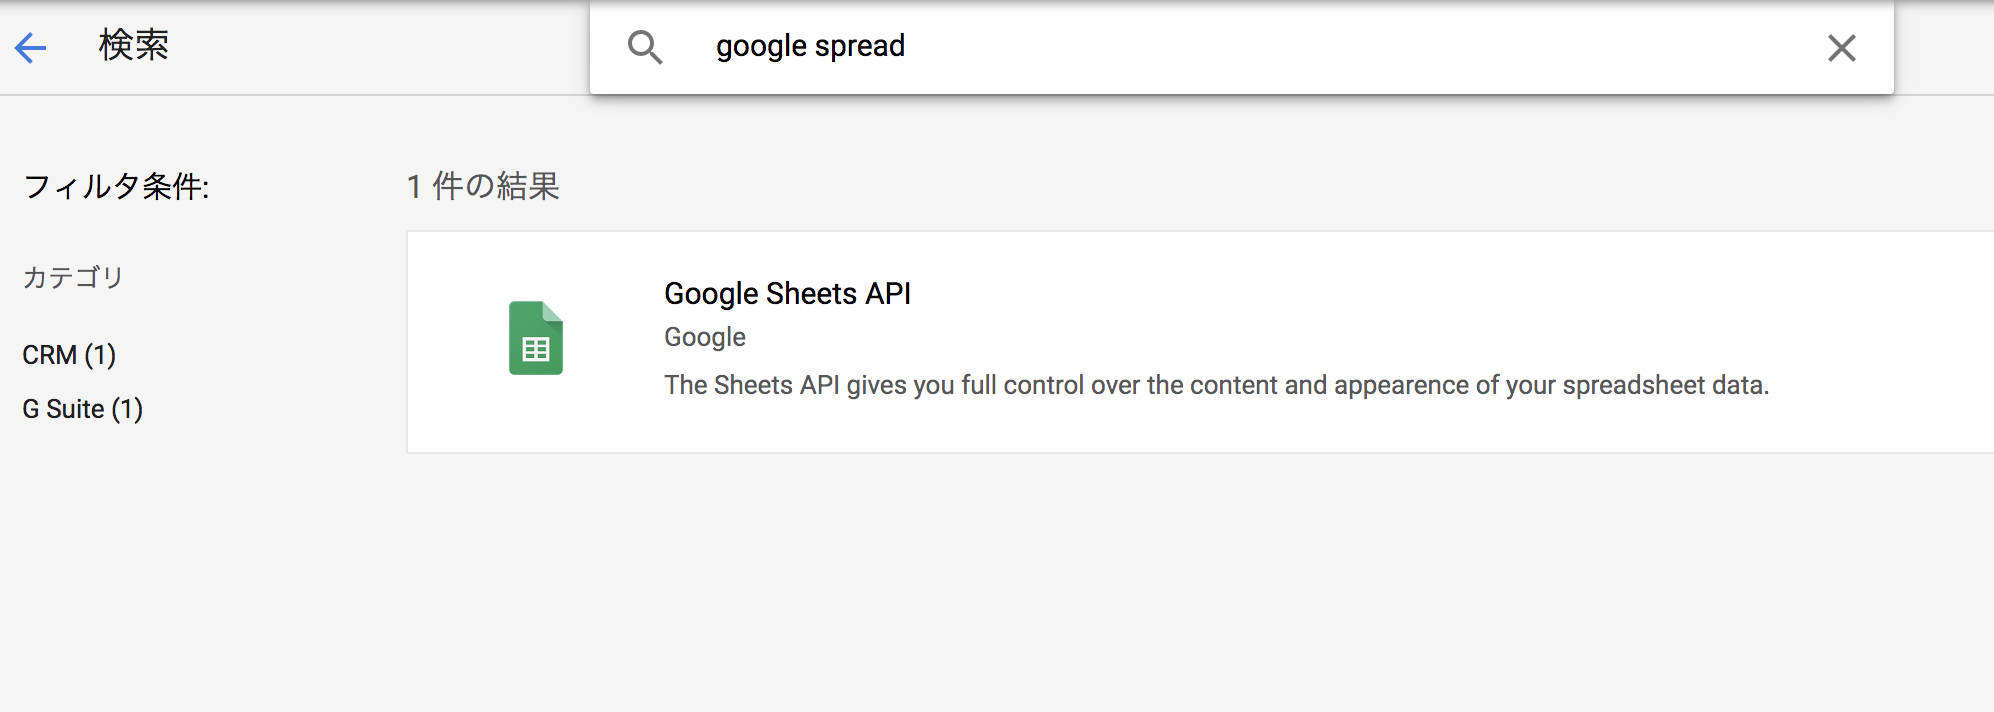
続いてGoogle sheet apiを有効化

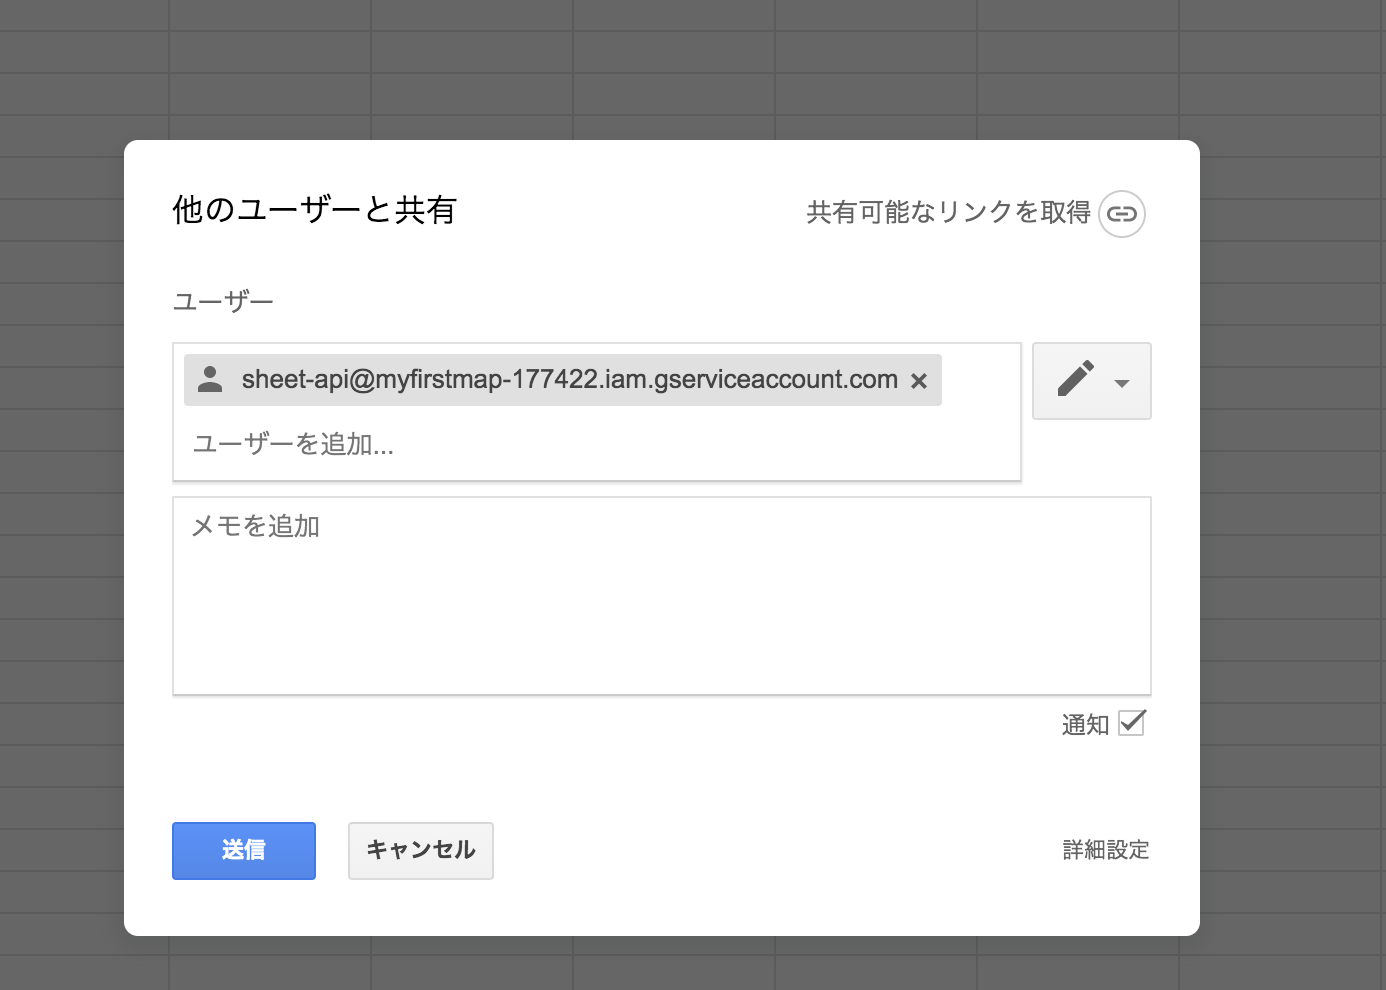
スプレッドシートをgoogle platform userと共有

それでは、プログラムを書いていきましょう♪

書評: Team Geek (Google Brain W.Fitzpatrick)

開発のチームビルディングを考えるため、Team Geek (Google Brain W.Fitzpatrick)を購入して読みました。
https://amzn.to/2JUsl7R

Googleが 謙虚、尊敬、信頼 を大事にしているとは驚きだった。
もっと技術的な思想があるかと思ったら、割とteamでの姿勢的なことなんだ。。
どこの開発現場でも一緒なんだなー

setting virtual host

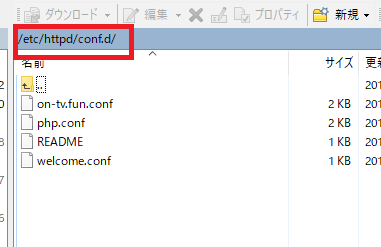
# sudo cat /etc/httpd/conf.d/hoge.conf
<VirtualHost *:80>
DocumentRoot /var/www/html/tv
DirectoryIndex index.html index.php
ServerName www.hoge
ServerAlias on-tv.fun
CustomLog logs/hoge-access.log common
ErrorLog  logs/hoge-error.log
AddDefaultCharset UTF-8
<Directory "/var/www/html/tv/">
AllowOverride All
</Directory>
</VirtualHost>

# /etc/init.d/httpd graceful

Not reflected unless restart.
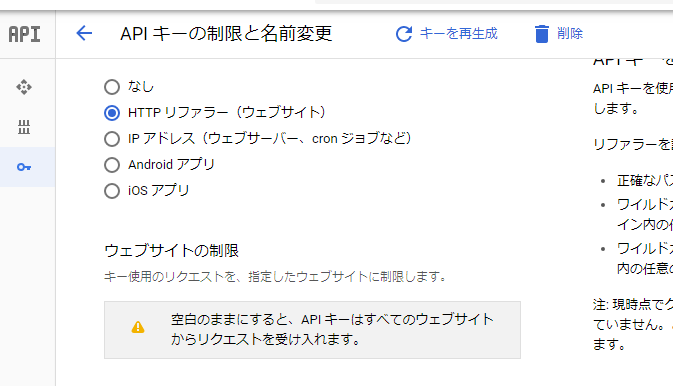
Also modify google developer console.

headless chrome 2

[google-chrome]
name=google-chrome
baseurl=http://dl.google.com/linux/chrome/rpm/stable/x86_64
enabled=1
gpgcheck=1
gpgkey=https://dl.google.com/linux/linux_signing_key.pub

$ sudo yum update

$ sudo yum install google-chrome-stable

rpm -Va –nofiles –nodigest

[vagrant@localhost ~]$ google-chrome –disable-setuid-sandbox –no-sandbox –headless –disable-gpu –dump-dom https://www.chromestatus.com/
-bash: google-chrome: コマンドが見つかりません

なんじゃこりゃーーーーーーーーーーーー

Headless chrom on CentOS

I would like to operate headless chrome on CentOS.

About Headless Chrome
It is a mode to operate without displaying the secreen, which will be available from Google Chrome 59. Useful for automated testing and web scraping.

Just because it’s Headless doesn’t change much from using regular Chrome. Control Chrome from Selenium through ChromeDriver. Pass ChromeOptions as an argument when creating a Chrome WebDriver, and specify the Chrome path and arguments to be executed in it.

Install required library.

$ sudo yum install -y libX11 GConf2 fontconfig
...
依存性関連をインストールしました:
  ConsoleKit.x86_64 0:0.4.1-6.el6      ConsoleKit-libs.x86_64 0:0.4.1-6.el6
  ORBit2.x86_64 0:2.14.17-7.el6        dbus.x86_64 1:1.2.24-9.el6
  eggdbus.x86_64 0:0.6-3.el6           libIDL.x86_64 0:0.8.13-2.1.el6
  polkit.x86_64 0:0.96-11.el6_10.1     sgml-common.noarch 0:0.6.3-33.el6

完了しました!

ほう。

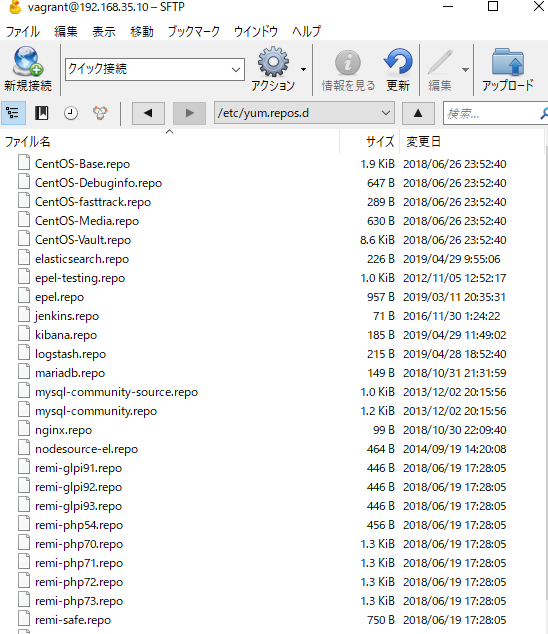
[vagrant@localhost ~]$ cd /etc/yum.repos.d
[vagrant@localhost yum.repos.d]$ sudo touch google-chrome.repo
[vagrant@localhost yum.repos.d]$ ls
CentOS-Base.repo jenkins.repo remi-glpi92.repo
CentOS-Debuginfo.repo kibana.repo remi-glpi93.repo
CentOS-Media.repo logstash.repo remi-php54.repo
CentOS-Vault.repo mariadb.repo remi-php70.repo
CentOS-fasttrack.repo mysql-community-source.repo remi-php71.repo
elasticsearch.repo mysql-community.repo remi-php72.repo
epel-testing.repo nginx.repo remi-php73.repo
epel.repo nodesource-el.repo remi-safe.repo
google-chrome.repo remi-glpi91.repo remi.repo

[google-chrome]
name=google-chrome
baseurl=http://dl.google.com/linux/chrome/rpm/stable/x86_64
enabled=1
gpgcheck=1
gpgkey=https://dl.google.com/linux/linux_signing_key.pub

$ sudo yum update

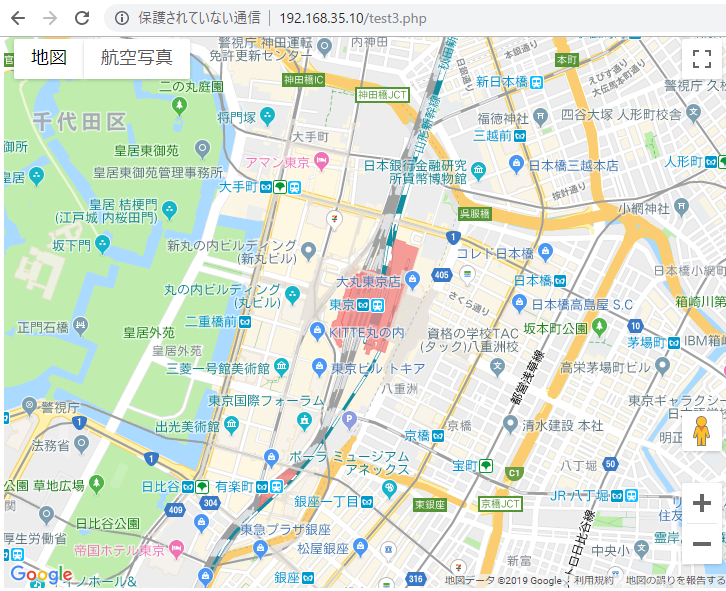
Google Map API

<!DOCTYPE html>
<html lang="ja">
<head>
	<meta charset="utf-8">
	<title>GoogleMap</title>
	<script src="http://maps.google.com/maps/api/js?key={api code}&language=ja"></script>
	<style>
	html {
		height:100%;
	}
	body {
		height:100%;
	}
	#map {
		height:100%;
		width:100%;
	}
</style>
</head>

<body>
<div id="map"></div>
<script>
var MyLatLng = new google.maps.LatLng(35.6811673, 139.7670516);
var Options = {
	zoom: 15,
	center: MyLatLng,
	mapTypeId: 'roadmap'
};
var map = new google.maps.Map(document.getElementById('map'), Options);
</script>
</body>
</html>