dryrunとは予行練習のこと
–dryrunオプションでコマンドのシミュレーション結果が出力される
ソフトウェアエンジニアの技術ブログ:Software engineer tech blog
随机应变 ABCD: Always Be Coding and … : хороший
dryrunとは予行練習のこと
–dryrunオプションでコマンドのシミュレーション結果が出力される
LambdaでS3にファイルを作成する方法を簡単に解説します。
(1)boto3のput_objectでS3にファイルを作成する
(2)access_key_id, secret_access_key, region_nameをLambdaの環境変数で設定
(3)lambdaにdeployし、テストで実行
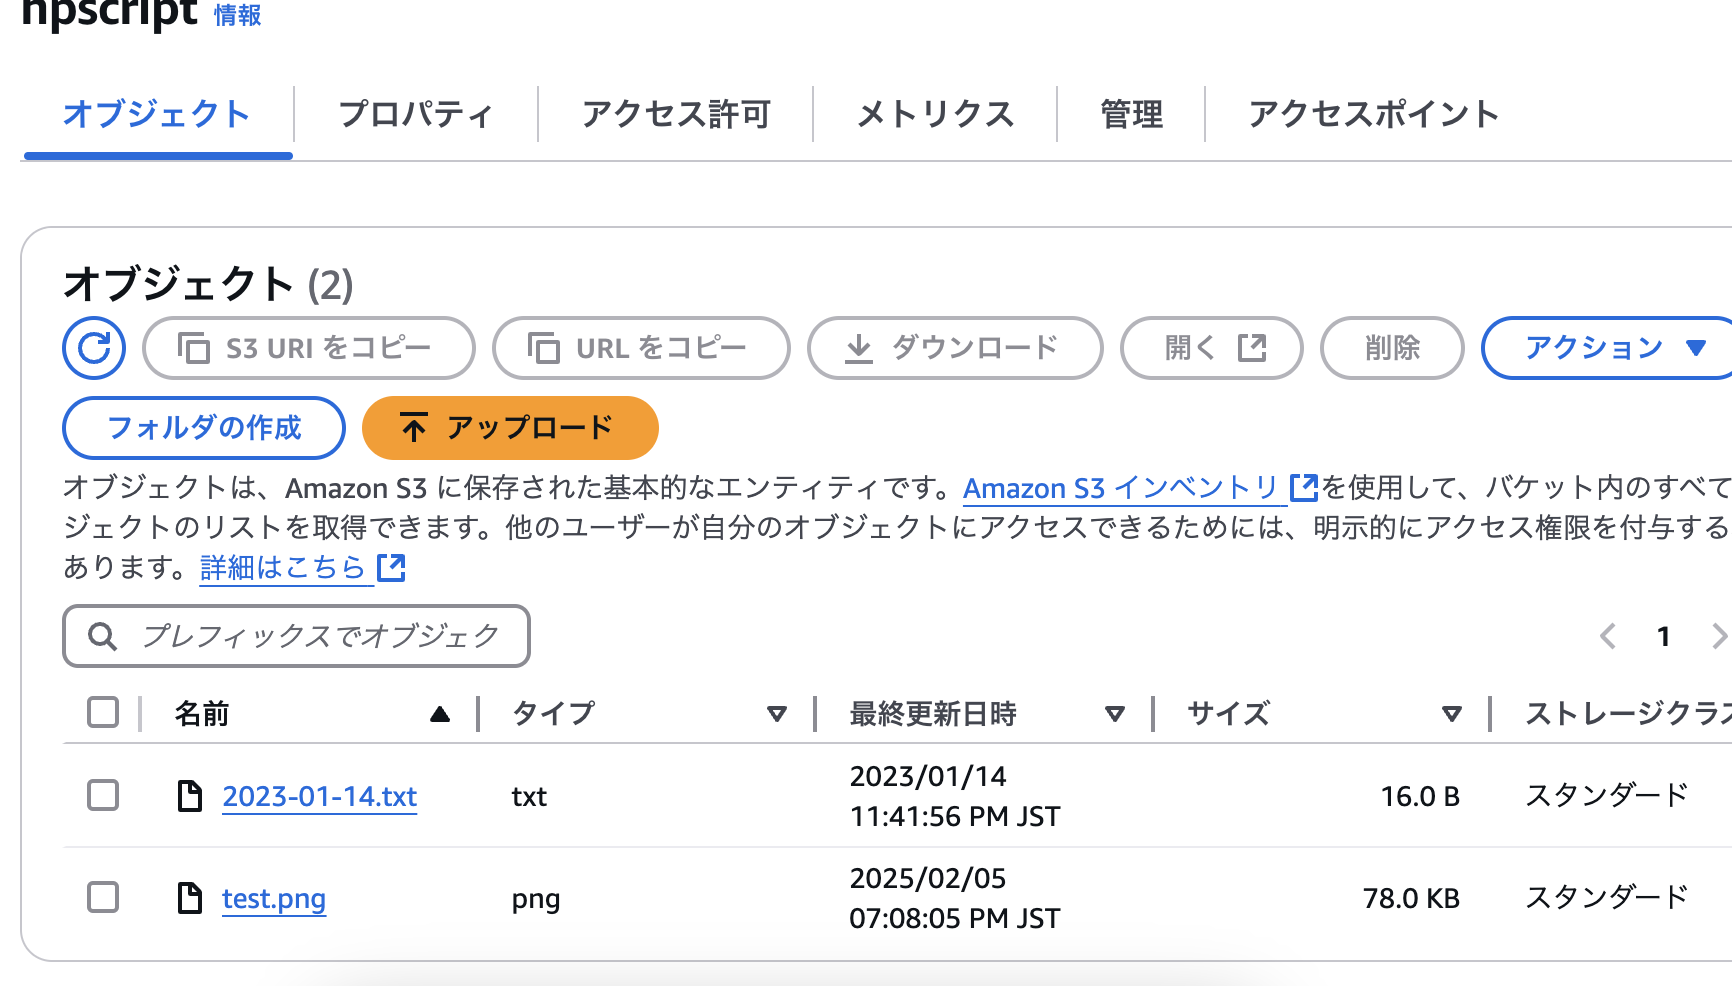
(4)S3で作られたファイルを確認
ソースコード
import boto3 import datetime import os def lambda_handler(event, context): client = boto3.client( 's3', aws_access_key_id=os.environ['aws_access_key_id'], aws_secret_access_key=os.environ['aws_secret_access_key'], region_name=os.environ['region_name'] ) dt = datetime.datetime.now() client.put_object(Body="This is lockfile", Bucket = "hpscript", Key = dt.strftime("%Y-%m-%d") + ".txt")
|
#!/usr/bin/env python3 Line 1 # -*- coding: utf-8 -*- Line 2 import boto3 client = boto3.client( 's3', aws_access_key_id="", aws_secret_access_key="", region_name="ap-northeast-1" ) print(client.list_buckets())
$ pip3 install python-dotenv
.env
AWS_ACCESS_KEY_ID='' AWS_SECRET_ACCESS_KEY='' REGION_NAME='ap-northeast-1'
Fileupload
import boto3 from dotenv import load_dotenv load_dotenv() client = boto3.client('s3') Filename = "lock.txt" Bucket = "hpscript" Key = "lockfile.txt" client.upload_file(Filename, Bucket, Key)
import boto3 from dotenv import load_dotenv import datetime load_dotenv() client = boto3.client('s3') dt = datetime.datetime.now() client.put_object(Body="This is lockfile", Bucket = "hpscript", Key = dt.strftime("%Y-%m-%d") + ".txt")
これをlambdaで実行したい。
### S3バケットのデータ保護
S3はデータセンターのディスクに書き込むときにデータをオブジェクトレベルで暗号化し、ユーザーがデータにアクセスするときに復号する。
### 暗号化の種類
### SSE-S3
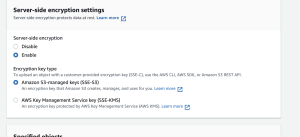
S3が管理するキーによるサーバ側の暗号化
SSE-S3を使用すると、オブジェクトは一意のキーで暗号化される
AES-256を使用して暗号化する
### SSE-KMS
AWS KMSに保存されているカスタマーキー(CMK)によるサーバー側の暗号化
### SSE-C
ユーザが指定したキーによるサーバ側の暗号化(SSE-C)
### クライアント側の暗号化
S3に送る前にデータを暗号化
AWS Encryption SDKを使用すると暗号化を容易に実装可能
なるほど、少しずつ理解してきた
$ curl -sS https://getcomposer.org/installer | php
$ php composer.phar require aws/aws-sdk-php
ファイルの読み込み
require_once “vendor/autoload.php”;
$bucket = ‘hoge’;
$key = ”;
$secret = ”;
$file = “test.txt”;
$s3client = new Aws\S3\S3Client([
‘credentials’ => [
‘key’ => $key,
‘secret’ => $secret,
],
‘region’ => ‘ap-northeast-1’,
‘version’ => ‘latest’,
]);
$s3client->registerStreamWrapper();
$stream = fopen(‘s3://hoge/test.txt’, ‘r’);
if (FALSE === $stream){
exit(“Failed to open”);
}
while (!feof($stream)){
echo fread($stream, 1024);
}
fclose($stream);
[/code]
S3のファイルの追記
require_once "vendor/autoload.php"; $bucket = 'hoge'; $key = 'hogehoge'; $secret = 'ccccc'; $file = "aaa.txt"; $s3client = new Aws\S3\S3Client([ 'credentials' => [ 'key' => $key, 'secret' => $secret, ], 'region' => 'ap-northeast-1', 'version' => 'latest', ]); $s3client->registerStreamWrapper(); $stream = fopen('s3://'. $bucket .'/test/' . $file, 'a'); fwrite($stream, 'hogehoge2' . PHP_EOL); fclose($stream);
できるか不安だったけど、割と簡単に実装できて安堵
– IAMグループを作成し、IAMグループに対しIAMポリシーを付けることで特定のフォルダしかアクセスできない様にする
ニャルほどー、これはエンドレスだわ…
VPCフローログとは、VPCのネットワークインターフェイスとの間で行き来するIPトラフィックに関する情報をキャプチャできるようにする機能
AWSTemplateFormatVersion: "2010-09-09" Description: VPCFlowLogs Settings (Destination Type is S3) Metadata: "AWS::CloudFormation::Interface": ParameterGroups: - Label: default: "Project Name Prefix" Parameters: - PJPrefix - Label: default: "VPCFlowLogs Configuration (Destination Type is S3)" Parameters: - Filter # ------------------------------------------------------------# # Input Parameters # ------------------------------------------------------------# Parameters: PJPrefix: Type: String Filter: Type: String Default: ALL AllowedValues: [ ALL, ACCEPT, REJECT ] Resources: # ------------------------------------------------------------# # S3 Bucket for VPCFlowLogs # ------------------------------------------------------------# # FlowLogsBucket FlowLogsBucket: Type: "AWS::S3::Bucket" Properties: BucketName: !Sub "${PJPrefix}-vpcflowlogs" # ------------------------------------------------------------# # VPCFlowLogs # ------------------------------------------------------------# VPCFlowLogs: Type: "AWS::EC2::FlowLog" DependsOn: FlowLogsBucket Properties: LogDestination: !Sub "arn:aws:s3:::${FlowLogsBucket}" LogDestinationType: s3 ResourceId: {"Fn::ImportValue": !Sub "${PJPrefix}-vpc" } ResourceType: "VPC" TrafficType: !Ref Filter # ------------------------------------------------------------# # Output Parameters # ------------------------------------------------------------# Outputs: # FlowLogsBucket FlowLogsBucket: Value: !Ref FlowLogsBucket Export: Name: !Sub "${PJPrefix}-vpcflowlogs"
Object can be publicになるのが気になるが、割と簡単に出来る。
pythonでS3にアップロードします
L S3 full accessのcredentialは別ファイルからimportにします。
import boto3 import json import credentials str = { "speech":"最高" } with open("sample.json", "w") as f: json.dump(str, f, ensure_ascii=False) s3 = boto3.client('s3', aws_access_key_id=credentials.Accesskey, aws_secret_access_key= credentials.Secretkey, region_name=credentials.Region) filename = "sample.json" bucket_name = "hogehoge" s3.upload_file(filename,bucket_name,filename, ExtraArgs={'ContentType': "application/json",'ACL':'public-read'}) print("upload {0}".format(filename))
React.jsでJsonをsetIntervalで読み込みます
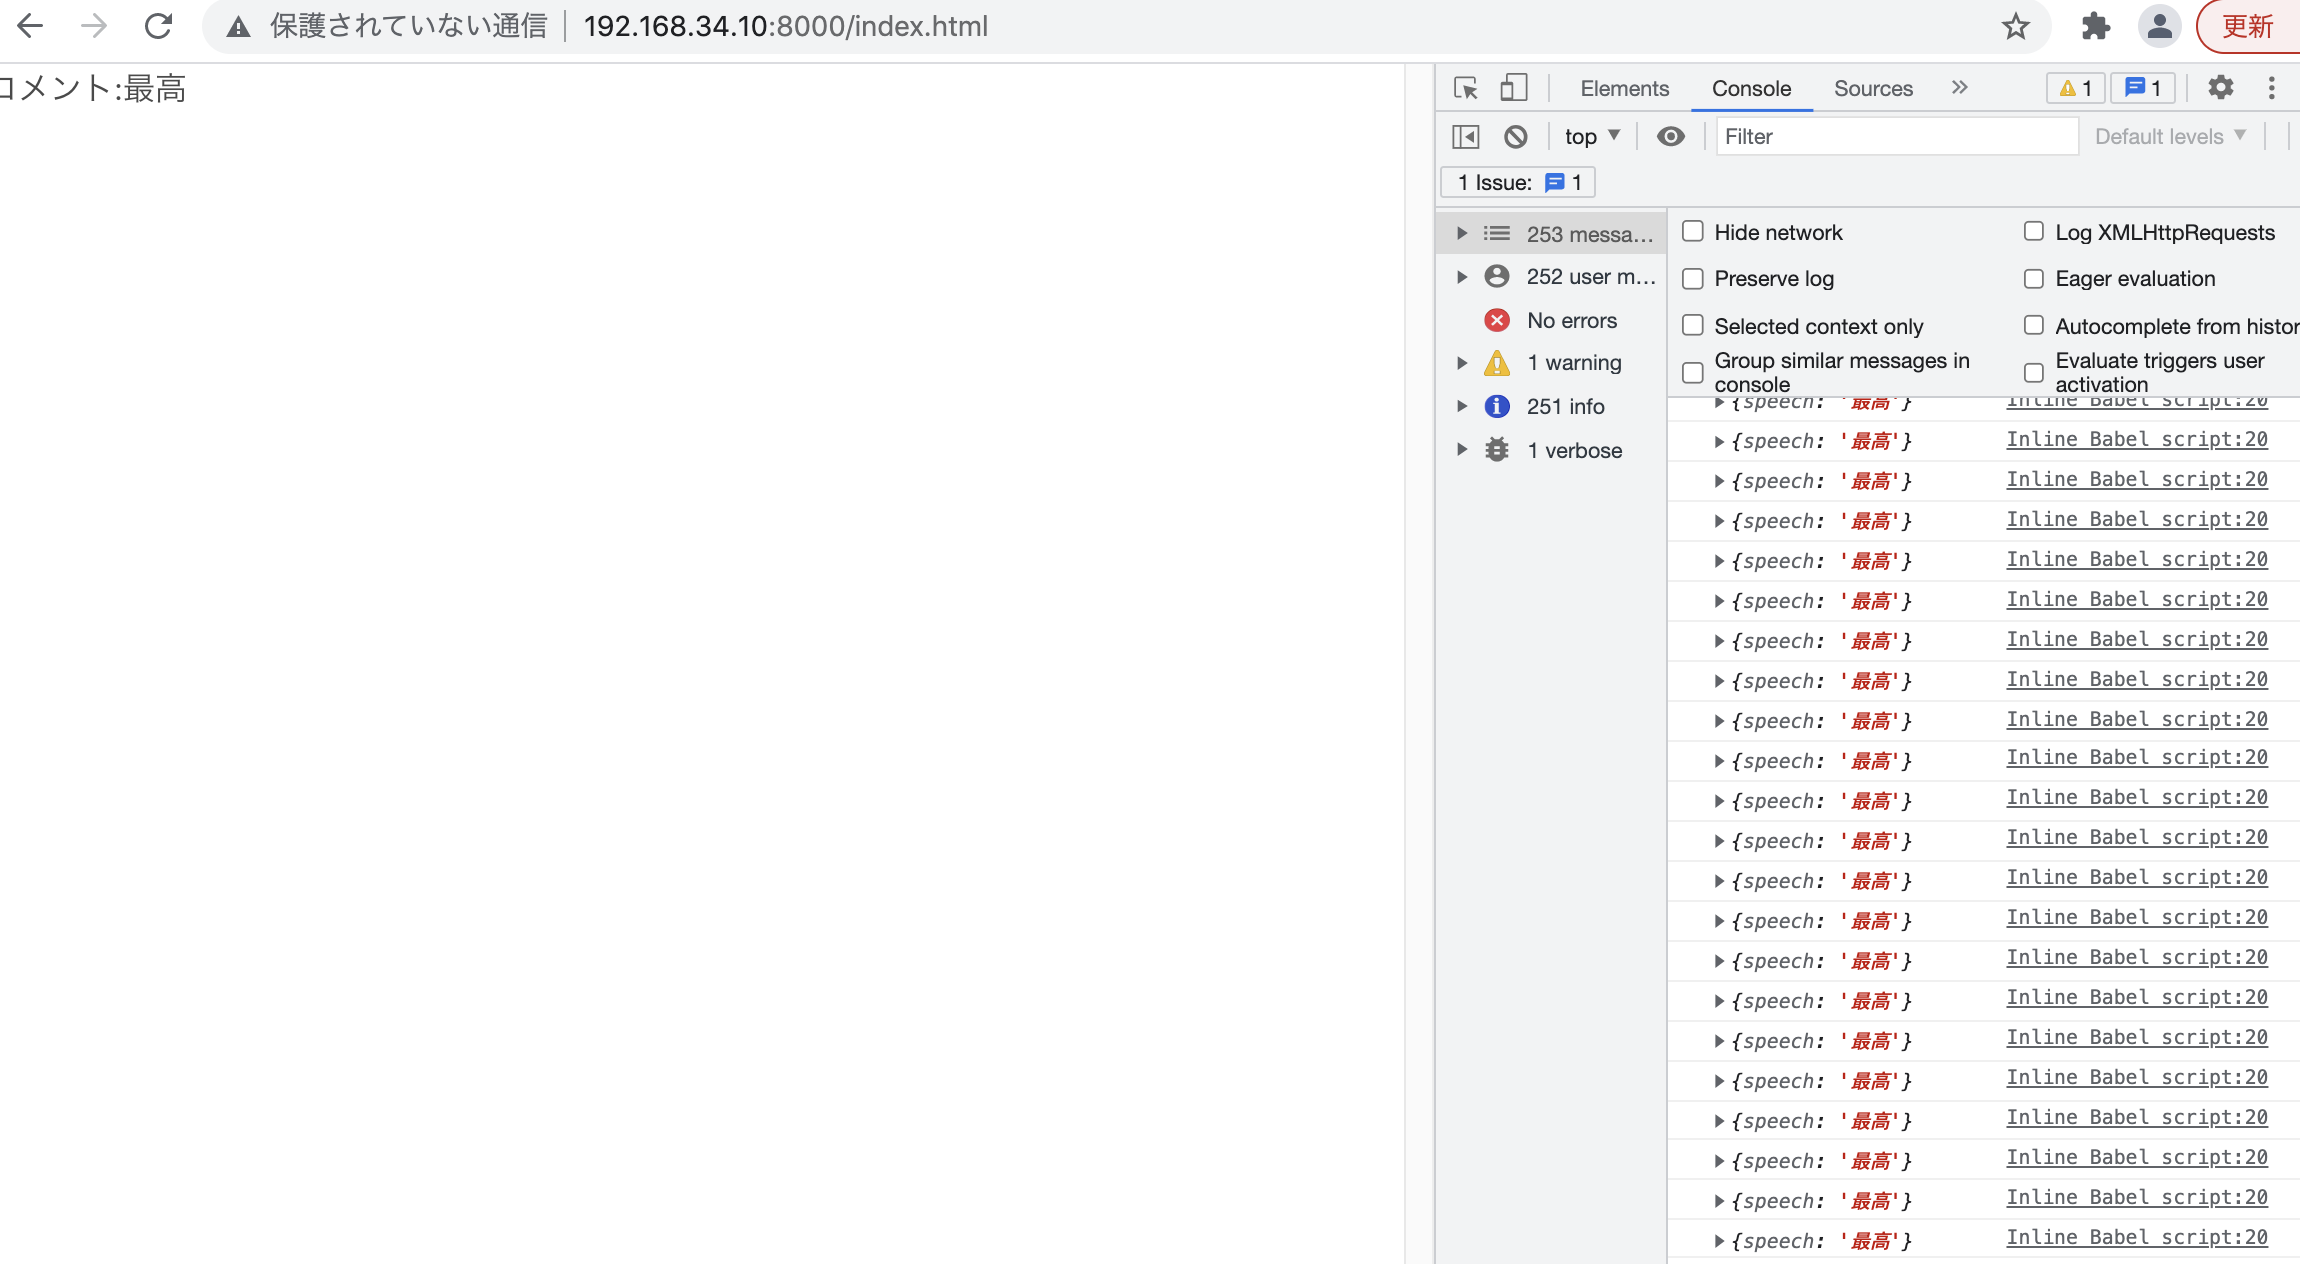
function App(){ const [data, setData] = React.useState([]); React.useEffect(() => { const fetchData = async() => { fetch("https://hoge.s3.ap-northeast-1.amazonaws.com/sample.json") .then((res) => res.json()) .then((data) =>{ setData(data); }); } const id = setInterval(() => { fetchData(); }, 2000); }, []); console.log(data); return( <h1>コメント:{data.speech}</h1> ); } const target = document.getElementById('app'); ReactDOM.render(<App />, target);
pythonでuploadしたワードがブラウザの更新なくHTML側に表示されます。
OK、後はUIを作っていく
strのところは、mufj, 1375で作ってますが、本来はpython3で処理した値をuploadする想定です。
import boto3 import json accesskey = "" secretkey = "" region = "" // 機械学習等の処理 str = { "三菱UFJフィナンシャル・グループ":668.3, "日経ダブルインバース上場投信":367 } with open("stock.json", "w") as f: json.dump(str, f, ensure_ascii=False) s3 = boto3.client('s3', aws_access_key_id=accesskey, aws_secret_access_key= secretkey, region_name=region) filename = "stock.json" bucket_name = "speech-dnn" s3.upload_file(filename,bucket_name,filename, ExtraArgs={'ACL':'public-read'}) print("upload {0}".format(filename))
result
{“三菱UFJフィナンシャル・グループ”: 668.3, “日経ダブルインバース上場投信”: 367}
OK これをreactと接続して、インタラクティブに表示されるか確認する
### 修正
‘ContentType’: “application/json”で指定しないと、jsonファイルとして保存されない
s3.upload_file(filename,bucket_name,filename, ExtraArgs={'ContentType': "application/json",'ACL':'public-read'})
s3.upload_file で、 ExtraArgs={‘ACL’:’public-read’}を追加する
s3 = boto3.client('s3', aws_access_key_id=accesskey, aws_secret_access_key= secretkey, region_name=region) filename = "a.json" bucket_name = "hoge" s3.upload_file(filename,bucket_name,filename, ExtraArgs={'ACL':'public-read'}) print("upload {0}".format(filename))
※追加しないとaccess denyとなるので注意が必要