## pdfの準備
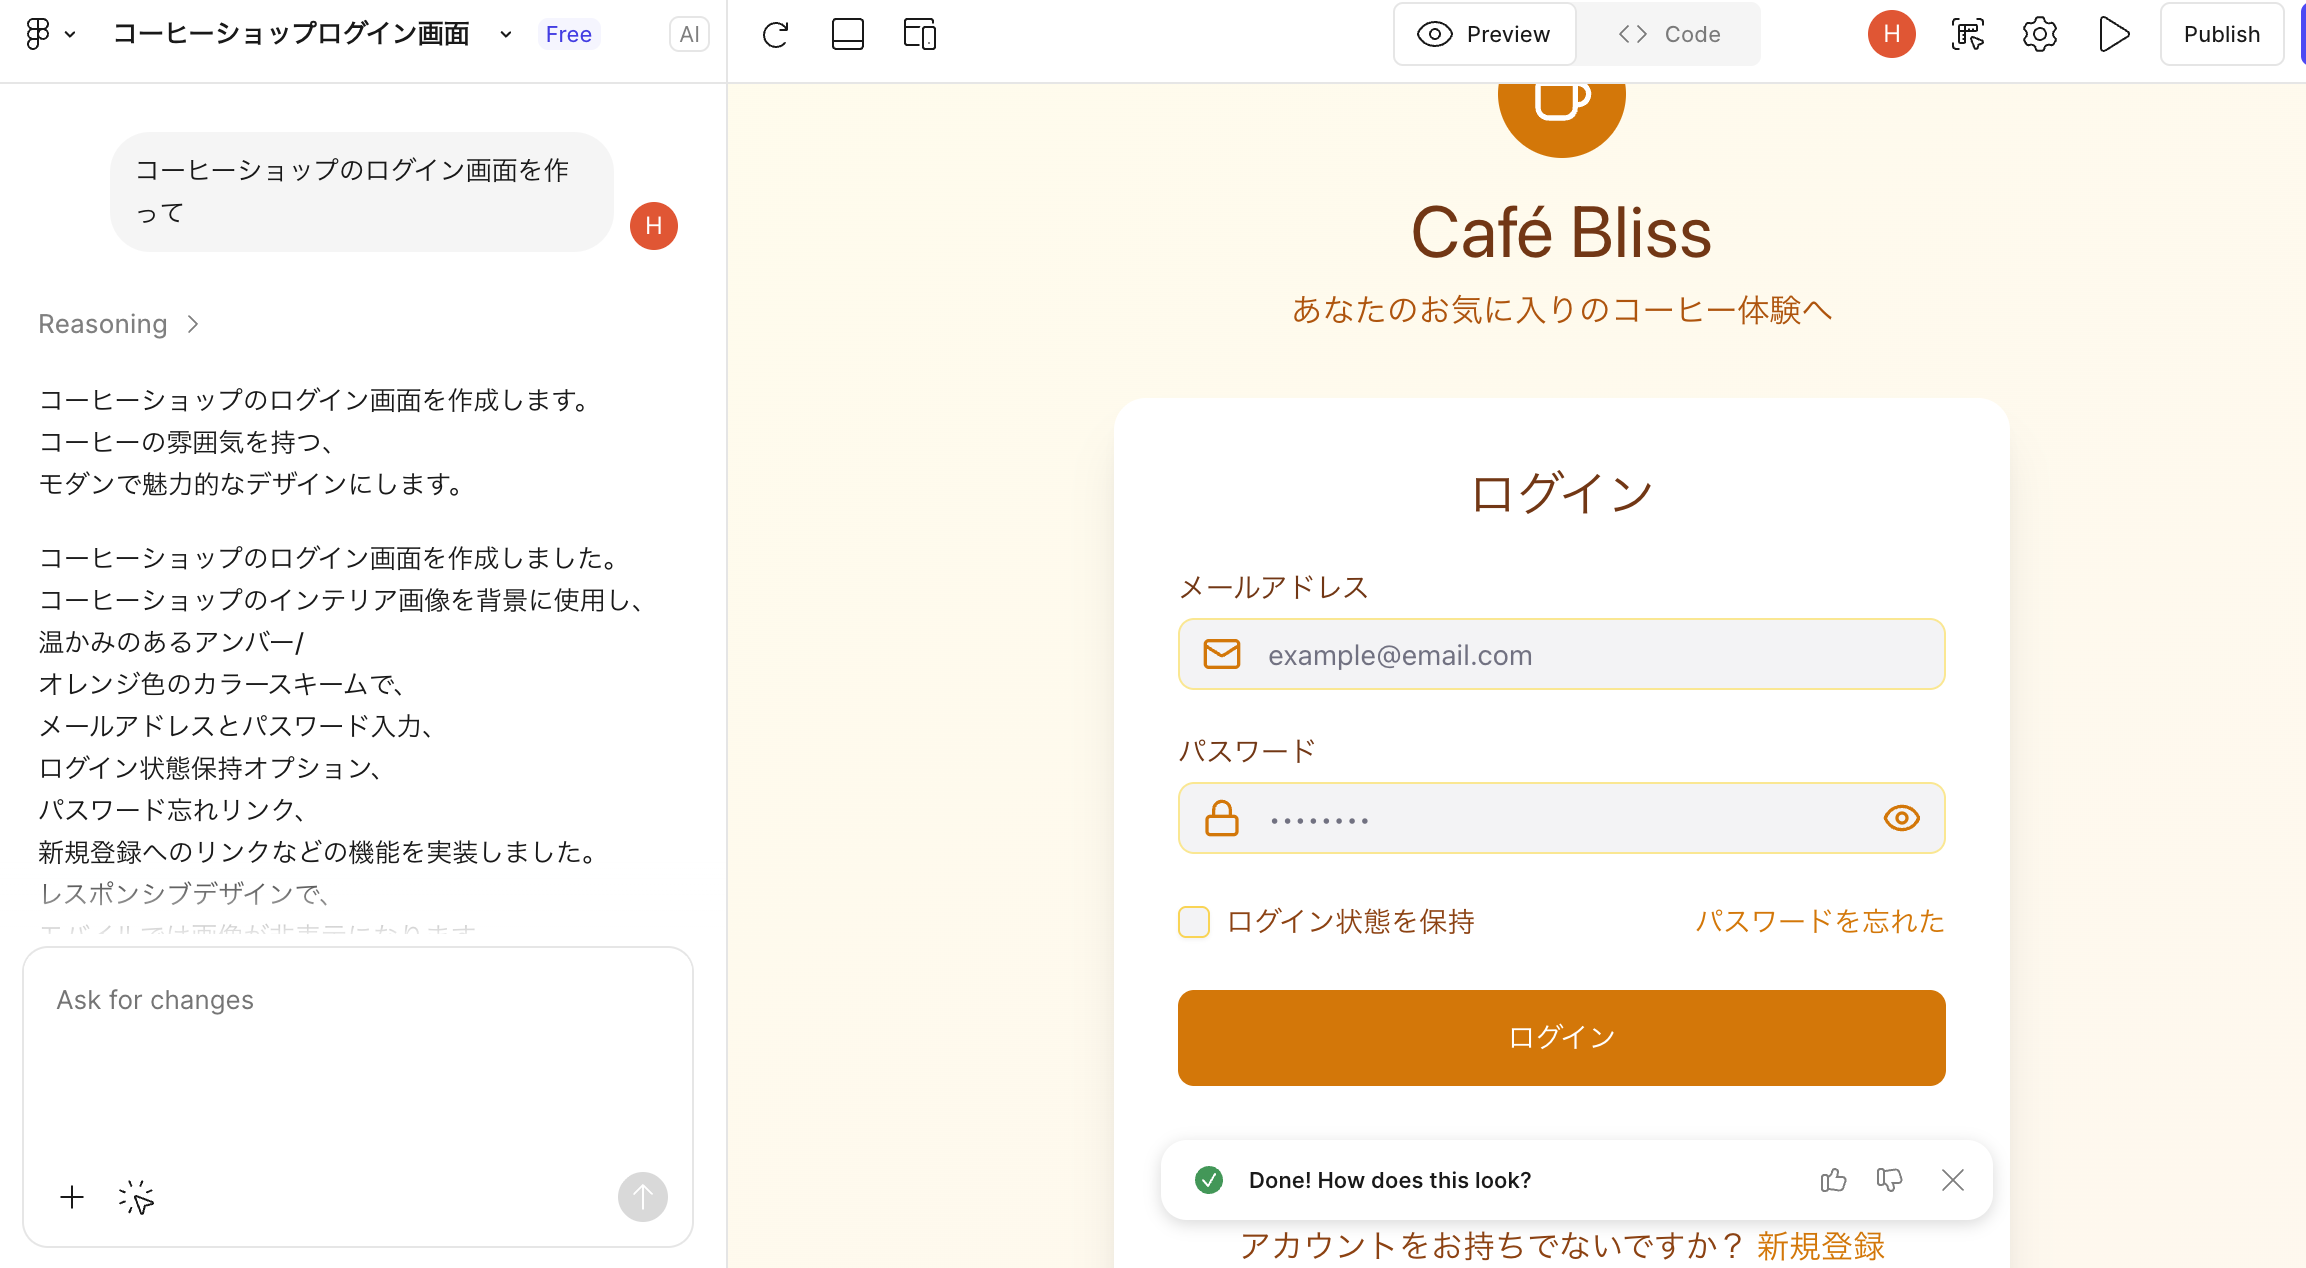
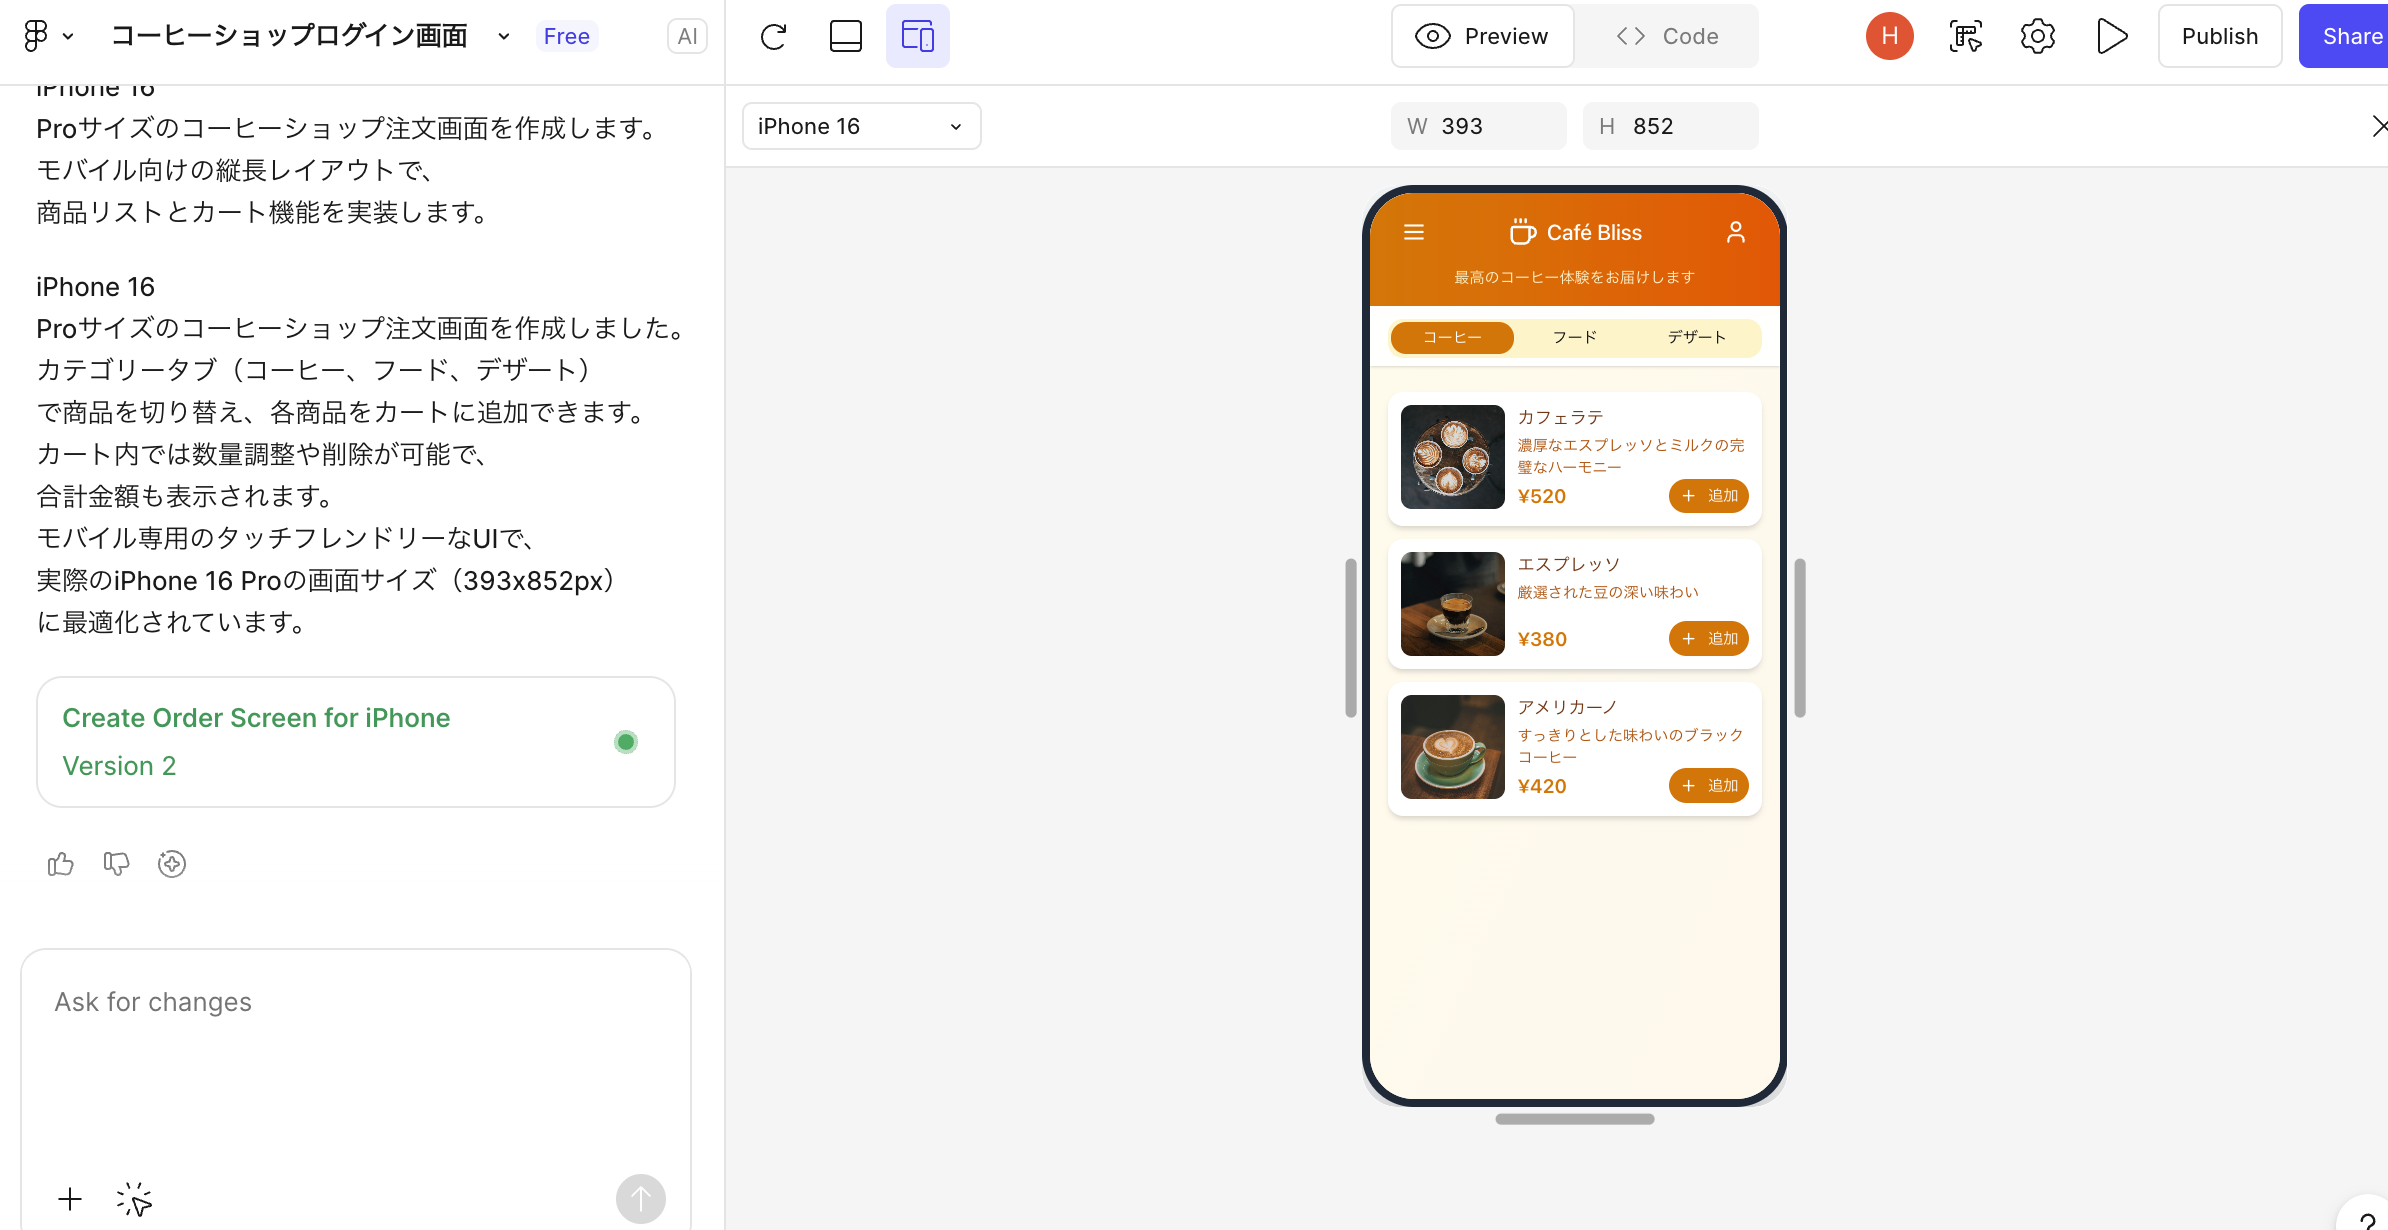
skyworkで適当にpdfを作成する(geminiではpdf出力ができなかったので)
「OpenAIのエンジニアブログとはどんな内容が書かれていますか?サマリーをまとめてpdfで出力してください」
## GCP準備
– APIの有効化: 「Document AI API」を有効化する
– プロセッサの作成:
Document AI の管理画面へ行く。
「プロセッサを作成」をクリック。
「フォームパーサー (Form Parser)」 を選択して作成。
作成後に表示される 「プロセッサID」 をメモしておく。
– 認証: サービスアカウントキーを設定
$ pip3 install google-cloud-documentai
from google.cloud import documentai
from google.oauth2 import service_account

def quickstart_document_ai(project_id, location, processor_id, file_path):
    # 1. クライアントの初期化
    credentials = service_account.Credentials.from_service_account_file("***.json")
    client = documentai.DocumentProcessorServiceClient(credentials=credentials)

    # 2. プロセッサのリソース名を作成
    name = client.processor_path(project_id, location, processor_id)

    # 3. ファイルを読み込む
    with open(file_path, "rb") as image:
        image_content = image.read()

    # 4. リクエストの構成
    raw_document = documentai.RawDocument(content=image_content, mime_type="application/pdf")
    request = documentai.ProcessRequest(name=name, raw_document=raw_document)

    # 5. 処理の実行
    result = client.process_document(request=request)
    document = result.document

    # 6. 抽出されたテキストの表示
    print(f"Document processing complete.")
    print(f"Text content: {document.text[:100]}...") # 最初の100文字を表示

# 設定値
PROJECT_ID = "***"
LOCATION = "us" # または "eu"
PROCESSOR_ID = "***"
FILE_PATH = "test.pdf"

quickstart_document_ai(PROJECT_ID, LOCATION, PROCESSOR_ID, FILE_PATH)
$ python3 document.py
WARNING: All log messages before absl::InitializeLog() is called are written to STDERR
E0000 00:00:1769899191.780692 1445134 alts_credentials.cc:93] ALTS creds ignored. Not running on GCP and untrusted ALTS is not enabled.
Document processing complete.
Text content: OpenAI エンジニアブログの動向分析レポ
ート
作成日: 2026年1月31日
1. 要約
本レポートは、OpenAlの公式エンジニアブログ(Developer Blog)で公開された2025年の…
元のPDF
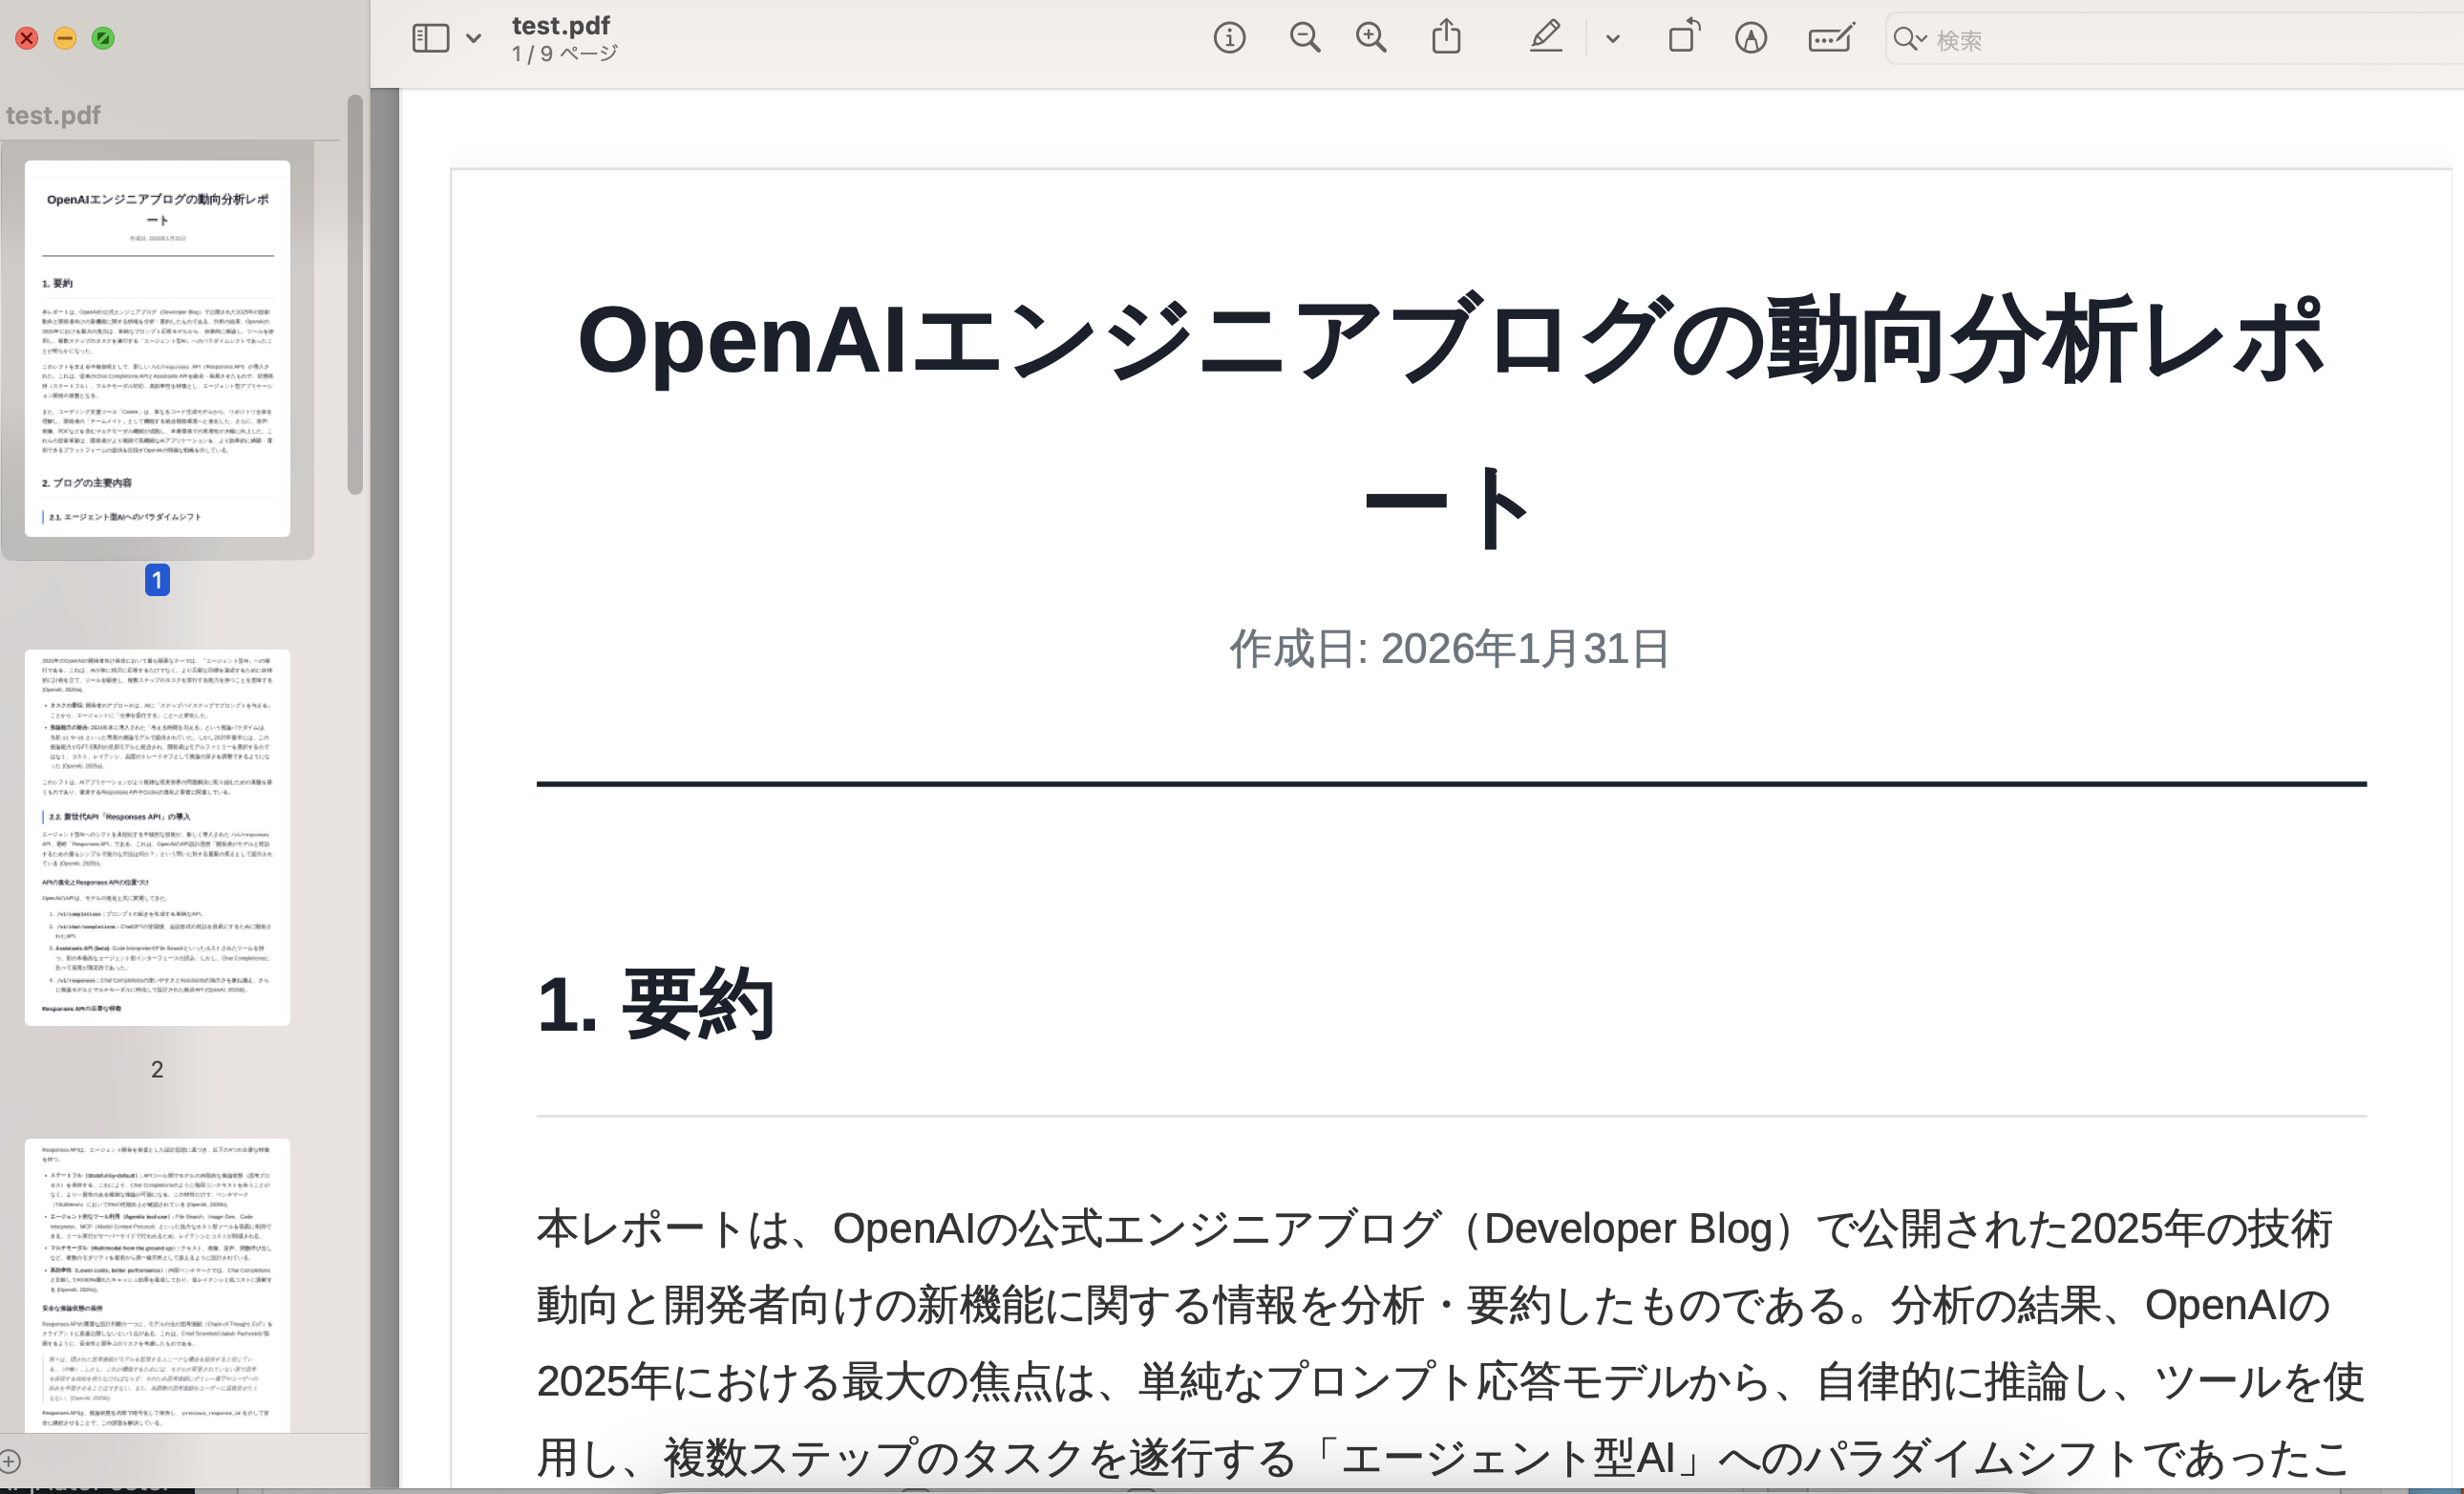
改行まで正確に読み取れていますね。