【PostgreSQL】JOINの使い方とイロハ

### JOINとは?
テーブル同士を結合させるときに使用するSQL句

JOINには
– cross join
– inner join
– left join
– right join
– full outer join
がある。

postgres=# CREATE TABLE example1 (
        id integer primary key,
        name text NOT NULL,
        age integer
);
CREATE TABLE                              ^
postgres=# CREATE TABLE example2 (
        id integer primary key,
        user_id integer,
        hobby text,
        favorite_food text,
        FOREIGN KEY (user_id) references example1(id)
);
CREATE TABLE
postgres=# INSERT INTO example1(id, name, age)
VALUES
        (1, '山田太郎', 31),
        (2, '田中一郎', 25),
        (3, '小林幸子', 27);
INSERT 0 3
postgres=# INSERT INTO example2(id, user_id, hobby, favorite_food)
VALUES
        (1, 1, '散歩', 'りんご'),
        (2, 2, '手芸', '秋刀魚'),
        (3, null, 'サッカー', 'ラーメン'),
        (4, null, '映画鑑賞', '寿司');
INSERT 0 4

### CROSS JOIN
考えうる全ての組み合わせを作成
SELECT * FROM example1 CROSS JOIN example2;

### (INNER) JOIN
指定したレコードを軸に結合(一番イメージが近い)
postgres=# SELECT * FROM example1 JOIN example2 ON example2.user_id = example1.id;
id | name | age | id | user_id | hobby | favorite_food
—-+———-+—–+—-+———+——-+—————
1 | 山田太郎 | 31 | 1 | 1 | 散歩 | りんご
2 | 田中一郎 | 25 | 2 | 2 | 手芸 | 秋刀魚
(2 rows)

### LEFT JOIN
joinで指定したテーブルに対応するレコードがない場合でも全て取得
postgres=# SELECT * FROM example1 LEFT JOIN example2 ON example2.user_id = example1.id;
id | name | age | id | user_id | hobby | favorite_food
—-+———-+—–+—-+———+——-+—————
1 | 山田太郎 | 31 | 1 | 1 | 散歩 | りんご
2 | 田中一郎 | 25 | 2 | 2 | 手芸 | 秋刀魚
3 | 小林幸子 | 27 | | | |
(3 rows)

### RIGHT JOIN
left joinの反対
postgres=# SELECT * FROM example1 RIGHT JOIN example2 ON example2.user_id = example1.id;
id | name | age | id | user_id | hobby | favorite_food
—-+———-+—–+—-+———+———-+—————
1 | 山田太郎 | 31 | 1 | 1 | 散歩 | りんご
2 | 田中一郎 | 25 | 2 | 2 | 手芸 | 秋刀魚
| | | 3 | | サッカー | ラーメン
| | | 4 | | 映画鑑賞 | 寿司

### FULL OUTER JOIN
left joinとright joinを組み合わせたようなもの
postgres=# SELECT * FROM example1 FULL OUTER JOIN example2 ON example2.user_id = example1.id;
id | name | age | id | user_id | hobby | favorite_food
—-+———-+—–+—-+———+———-+—————
1 | 山田太郎 | 31 | 1 | 1 | 散歩 | りんご
2 | 田中一郎 | 25 | 2 | 2 | 手芸 | 秋刀魚
| | | 3 | | サッカー | ラーメン
| | | 4 | | 映画鑑賞 | 寿司
3 | 小林幸子 | 27 | | | |
(5 rows)

なるほど、、、1対1で対応してないとjoinはselectできないね。

更にデータを追加します。
INSERT INTO example2(id, user_id, hobby, favorite_food)
VALUES
(5, 1, ‘買い物’, ‘マンゴー’),
(6, 2, ‘旅行’, ‘パスタ’);

postgres=# SELECT * FROM example1 JOIN example2 ON example2.user_id = example1.id;
id | name | age | id | user_id | hobby | favorite_food
—-+———-+—–+—-+———+——–+—————
1 | 山田太郎 | 31 | 1 | 1 | 散歩 | りんご
2 | 田中一郎 | 25 | 2 | 2 | 手芸 | 秋刀魚
1 | 山田太郎 | 31 | 5 | 1 | 買い物 | マンゴー
2 | 田中一郎 | 25 | 6 | 2 | 旅行 | パスタ
(4 rows)

joinでwhereをつけられる
postgres=# SELECT * FROM example1 JOIN example2 ON example2.user_id = example1.id WHERE example1.id = 1;
id | name | age | id | user_id | hobby | favorite_food
—-+———-+—–+—-+———+——–+—————
1 | 山田太郎 | 31 | 1 | 1 | 散歩 | りんご
1 | 山田太郎 | 31 | 5 | 1 | 買い物 | マンゴー

なるほど、雰囲気は大体わかりました。
これをtransactionとblockでやりたい

bootstrapでcardを横並びに書く方法

PCでは横並びにして、SPでは縦並びにする書き方
まずrowで囲み、その中で、col-md-*で横のサイズを指定して、cardを囲む
div class=”card col-md-6″だとズレて表示されてしまうため、注意が必要

<div class="row">
          <div class="col-md-6">
          <div class="card ">
            <h5 class="card-header">Blocks</h5>
            <div class="card-body">
              <h5 class="card-title">Special title treatment</h5>
              <p class="card-text">With supporting text below as a natural lead-in to additional content.</p>
              <a href="#" class="btn btn-primary">Go somewhere</a>
            </div>
          </div>
          </div>
          <div class="col-md-6">
            <div class="card">
              <h5 class="card-header">Transactions</h5>
              <div class="card-body">
                <h5 class="card-title">Special title treatment</h5>
                <p class="card-text">With supporting text below as a natural lead-in to additional content.</p>
                <a href="#" class="btn btn-primary">Go somewhere</a>
              </div>
            </div>
          </div>  
        </div>
      </div>

【Vite】npm run devでlocalhost:5173で接続できない時

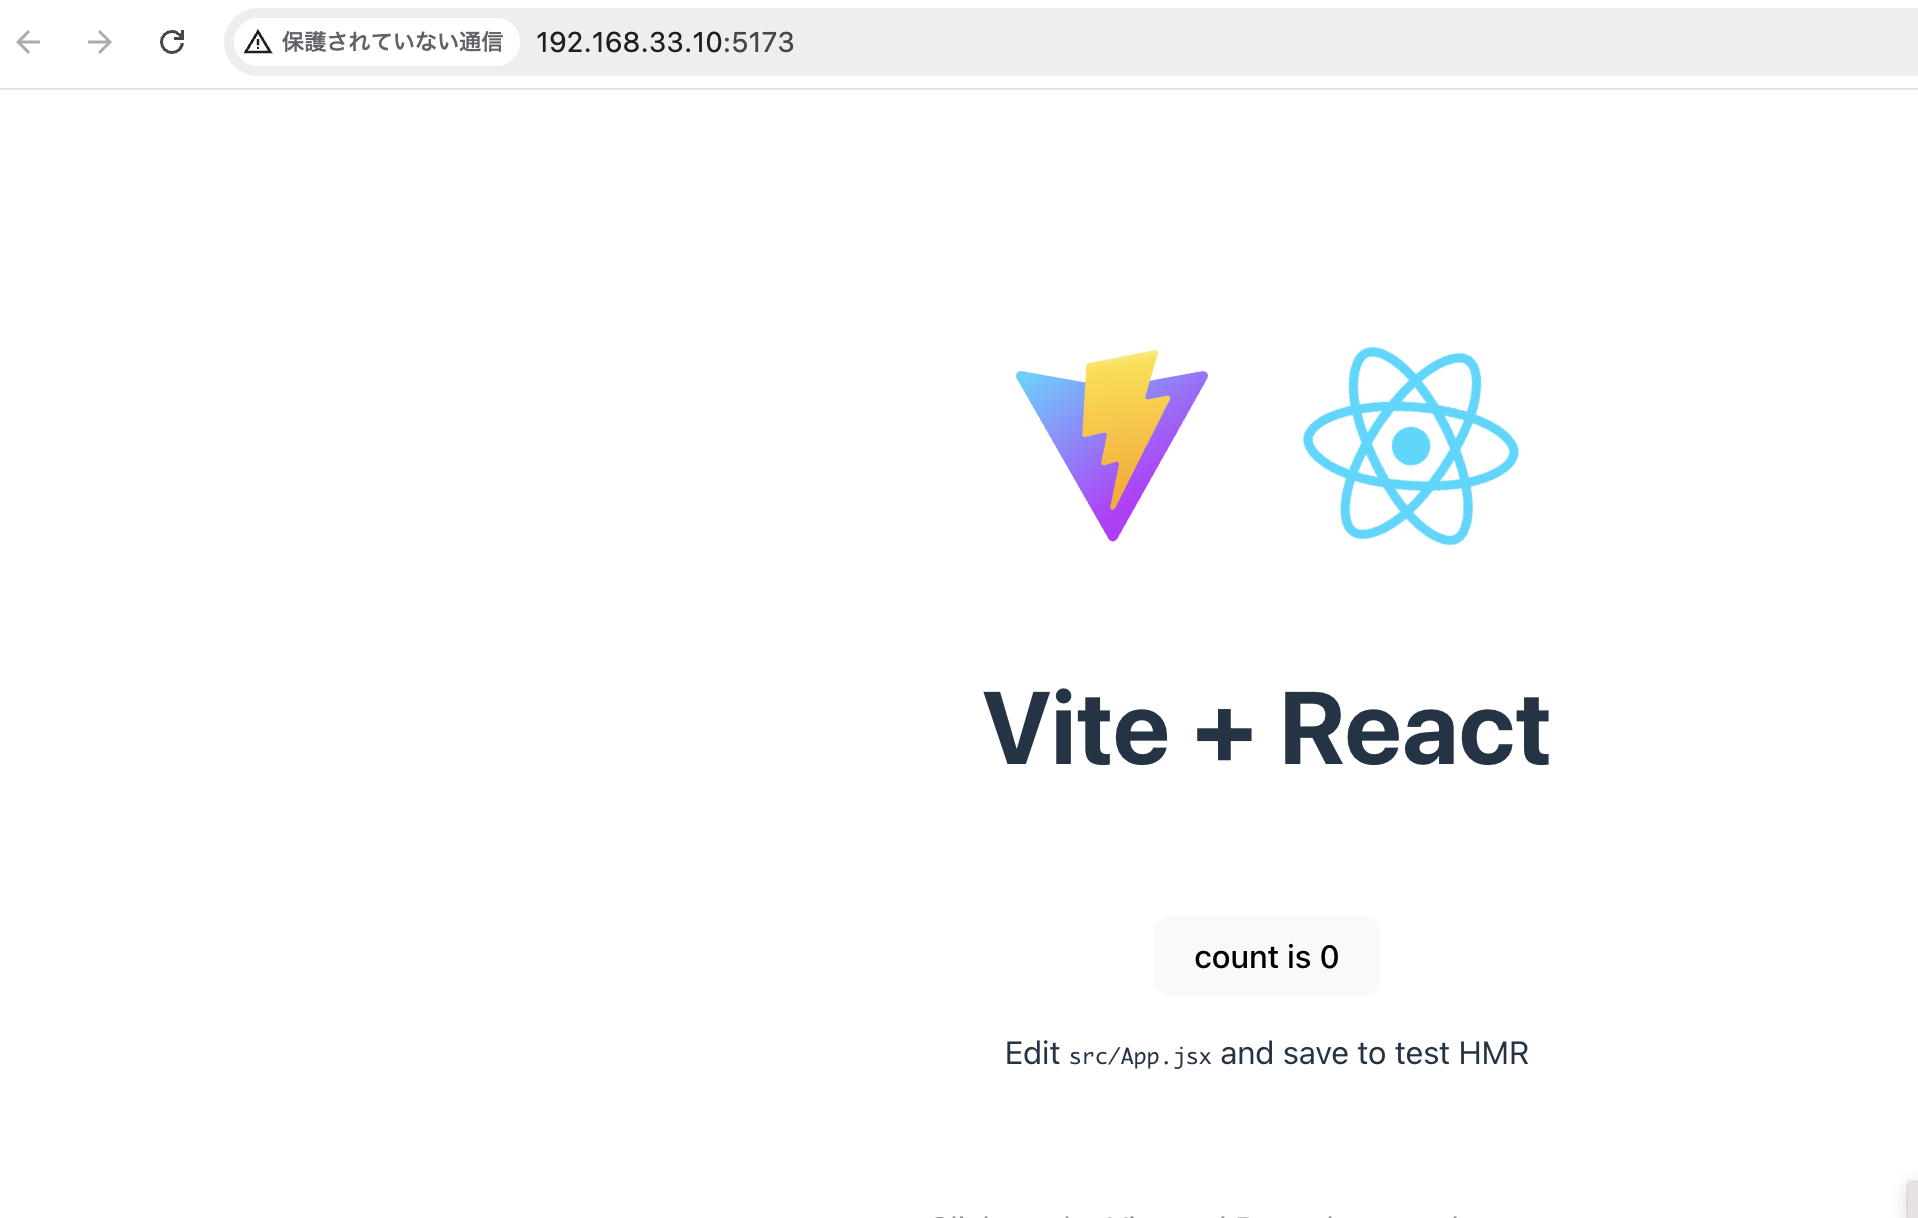
vagrantでサーバを立てており、localhost:5173で接続できない時

$ npm run dev

> explore@0.0.0 dev
> vite

9:48:42 PM [vite] (client) Re-optimizing dependencies because vite config has changed

VITE v6.2.5 ready in 466 ms

➜ Local: http://localhost:5173/
➜ Network: use –host to expose
➜ press h + enter to show help

$ npm run dev — –host

> explore@0.0.0 dev
> vite –host

VITE v6.2.5 ready in 132 ms

➜ Local: http://localhost:5173/
➜ Network: http://10.211.55.3:5173/
➜ Network: http://192.168.33.10:5173/
➜ press h + enter to show help

これで、192.168.33.10:5173でアクセスできるようになる。
OK^^

【Vite】viteでSassを使いたい

<head>
  <meta charset="UTF-8">
  <meta name="viewport" content="width=device-width, initial-scale=1.0">
  <title>About - My Vite Project</title>
  <link rel="stylesheet" href="./src/style.scss">
</head>

style.scss

body {
    margin: 50px;
    h1 {
        color: green;
    }
}

### build
$ npm run build
$ cd dist
$ tree
.
├── assets
│ ├── index-D8b4DHJx.css
│ ├── index-DK-xQhXp.js
│ └── react-CHdo91hT.svg
├── index.html
└── vite.svg

1 directory, 5 files

body{margin:50px}body h1{color:green}

うおおおおおおおおおお、これは凄い…

【Vite】フロントエンドの開発でViteを使ってみたい

$ node -v
v22.13.1
$ npm create vite@latest
$ npm install
$ npm run dev

vite.config.js

import { defineConfig } from 'vite'
import react from '@vitejs/plugin-react'

// https://vite.dev/config/
export default defineConfig({
  plugins: [react()],
})

$ npm install sass -D

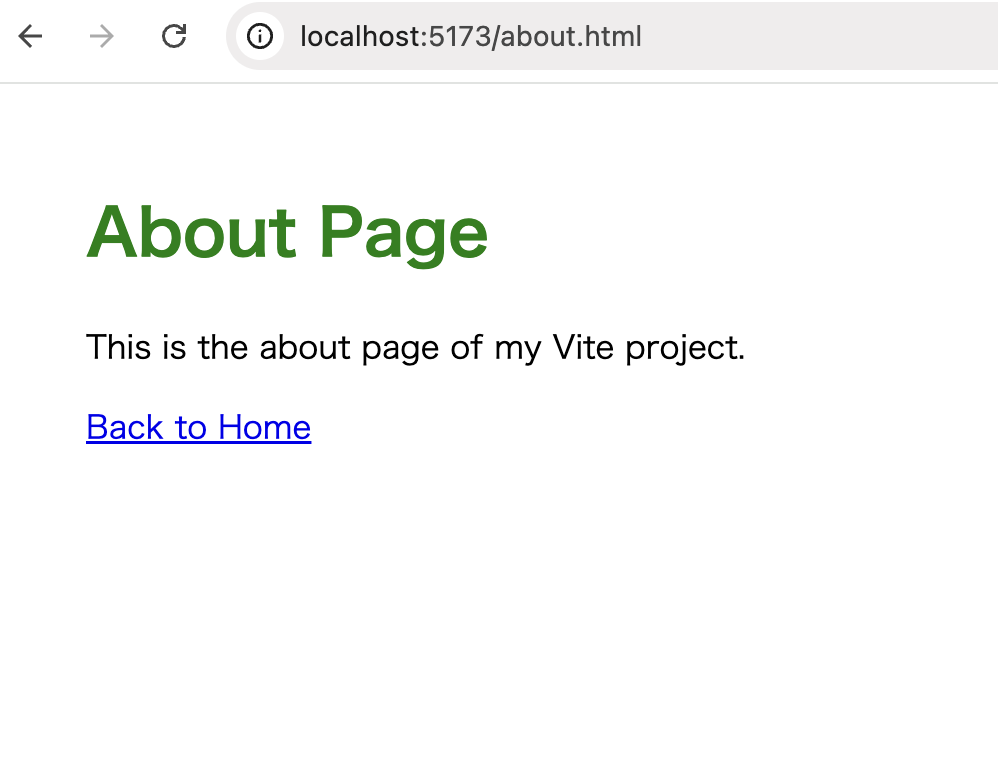
about.html

<!DOCTYPE html>
<html lang="ja">
<head>
  <meta charset="UTF-8">
  <meta name="viewport" content="width=device-width, initial-scale=1.0">
  <title>About - My Vite Project</title>
</head>
<body>
  <h1>About Page</h1>
  <p>This is the about page of my Vite project.</p>
  <a href="index.html">Back to Home</a>

  <script type="module" src="./src/about.js"></script>
</body>
</html>

src/about.js

console.log('About page loaded!')

なるほど、使いやすそうではある。

【Rust】反復処理【Algorithm】

偶数の和の場合は、n += 2;とする

fn main() {

   let mut n: i32 = 1;
   let mut t: i32 = 0;

   while n <= 100 {
      t = t + n;
      n += 1;
   }
   println!("{}", t);
}
fn main() {

   println!("入力されたmからnまでの合計を求めます。二つの数字を入力してください。");
   let mut x = String::new();
   let mut y = String::new();
   std::io::stdin().read_line(&mut x).expect("Failed to read line");
   x = x.trim_end().to_owned();
   let mut x: i32 = x.parse::<i32>().unwrap();
   std::io::stdin().read_line(&mut y).expect("Failed to read line");
   y = y.trim_end().to_owned();
   let mut y: i32 = y.parse::<i32>().unwrap();
   
   if x > y {
      println!("mの方が大きいです。")
   }
   let mut w: i32 = 0;
   while x <= y {
      w = w + x;
      x += 1;
   }
   println!("mからnまでの合計値は{}", w);
}

Finished `dev` profile [unoptimized + debuginfo] target(s) in 0.38s
Running `target/debug/basic`
入力されたmからnまでの合計を求めます。二つの数字を入力してください。
2
5
mからnまでの合計値は14

ユークリッド互助法

fn main() {

   println!("最大公約数を求めます。二つの数字を入力してください。");
   let mut x = String::new();
   let mut y = String::new();
   std::io::stdin().read_line(&mut x).expect("Failed to read line");
   x = x.trim_end().to_owned();
   let mut x: i32 = x.parse::<i32>().unwrap();
   std::io::stdin().read_line(&mut y).expect("Failed to read line");
   y = y.trim_end().to_owned();
   let mut y: i32 = y.parse::<i32>().unwrap();
   
   let mut a: i32;
   let mut b: i32;
   let mut r: i32;
   if (x > y) {
      a = x;
      b = y;
   } else {
      a = y;
      b = x;
   }

   r = a % b;

   while (r != 0) {
      a = b;
      b = r;
      r = a % b;
   }
   println!("最大公約数は{}", b);
}

Finished `dev` profile [unoptimized + debuginfo] target(s) in 0.18s
Running `target/debug/basic`
最大公約数を求めます。二つの数字を入力してください。
100
75
最大公約数は25

【Rust】分岐処理【Algorithm】

fn main() {

   println!("数字を入力してください。");
   let mut x = String::new();
   std::io::stdin().read_line(&mut x).expect("Failed to read line");
   x = x.trim_end().to_owned();
   let x: i32 = x.parse::<i32>().unwrap();

   if x > 100 {
      println!("{}は100より大きい", x);
   } else {
      println!("{}は100より小さい", x);
   }
}

最小値

fn main() {

   let a = 10;
   let b = 15;
   let c = 9;
   let mut w: i32;

   if a <= b {
      if a <= c {
         w = a;
      } else {
         w = c;
      }
   } else {
      if b <= c {
         w = b;
      } else {
         w = c;
      }
   }
   println!("{}", w);
}

Rustにはstd::cmp::minという関数があるが、argmentは2つでないといけない
https://doc.rust-lang.org/std/cmp/fn.min.html
std::cmp::min(a, b, c);とは書けない。

fn main() {

   let a = 10;
   let b = 15;
   let c = 9;
   let mut w: i32;
   
   if(a <= b && a <= c) {
      w = a;
   } else if (a <= b && a > c) {
      w = c;
   } else if (a > b && b <= c) {
      w = b;
   } else {
      w = c;
   }
   println!("{}", w);
}

計算量を少なくする方法

fn main() {

   let a = 10;
   let b = 15;
   let c = 9;
   let mut w: i32;
   
   w = a;
   if(b < w) {
      w = b;
   }
   if (c < w) {
      w = c;
   }
   println!("{}", w);
}

大文字小文字

fn main() {

   println!("一文字入力してください。");
   let mut x = String::new();
   std::io::stdin().read_line(&mut x).expect("Failed to read line");
   x = x.trim_end().to_owned();
   let char_vec: Vec<char> = x.chars().collect();
   for y in char_vec {
      if y.is_uppercase() {
         println!("大文字です");
      } else {
         println!("子文字です");
      }
   }
}

【Rust】四則演算【Algorithm】

fn main() {

   println!("二つの数字を入力してください。");
   let mut x = String::new();
   let mut y = String::new();
   std::io::stdin().read_line(&mut x).expect("Failed to read line");
   x = x.trim_end().to_owned();
   let x: i32 = x.parse::<i32>().unwrap();
   std::io::stdin().read_line(&mut y).expect("Failed to read line");
   y = y.trim_end().to_owned();
   let y: i32 = y.parse::<i32>().unwrap();

   println!("{} + {} = {}", x, y, x+y);
   println!("{} - {} = {}", x, y, x-y);
   println!("{} * {} = {}", x, y, x*y);
   println!("{} / {} = {}", x, y, x/y);
}

Finished `dev` profile [unoptimized + debuginfo] target(s) in 0.17s
Running `target/debug/basic`
二つの数字を入力してください。
24
6
24 + 6 = 30
24 – 6 = 18
24 * 6 = 144
24 / 6 = 4

【Rust】mem::swap【Algorithm】

mem::swap(&mut x, &mut y);でswapできる。
https://doc.rust-lang.org/std/mem/fn.swap.html

use std::mem;

fn main() {

   println!("二つの数字を入力してください。");
   let mut x = String::new();
   let mut y = String::new();
   std::io::stdin().read_line(&mut x).expect("Failed to read line");
   x = x.trim_end().to_owned();
   std::io::stdin().read_line(&mut y).expect("Failed to read line");
   y = y.trim_end().to_owned();

   mem::swap(&mut x, &mut y);
   println!("入力した値をswapすると「{}」と「{}」です", x, y);
}

Finished `dev` profile [unoptimized + debuginfo] target(s) in 0.39s
Running `target/debug/basic`
二つの数字を入力してください。
20
15
入力した値をswapすると「15」と「20」です

既に用意されているのね…

【BNB】BEP-20 Token on BSCを作る

1. bitbankなどでbnbを取得して、metamaskに送信します。
※bitbankの表記では、bnbはビルドアンドビルドとなっており、binance cointと異なるかと思いってしまいますが、ビルドアンドビルドでOKです。
metamaskでbscネットワークに接続し、bnbが受け取れたことを確認してアドレスを取得

2. remixを表示し、bep-20.solファイルを作成する
https://remix.ethereum.org/

pragma solidity >=0.6.0;

import "https://github.com/OpenZeppelin/openzeppelin-contracts/blob/master/contracts/token/ERC20/ERC20.sol";

contract HpsToken is ERC20 {
    constructor(uint256 initialSupply) public ERC20("HpscriptToken", "HPS") {
        _mint(msg.sender, initialSupply);
    }
}

3. コンパイル

4.DEPLOY & RUN TRANSACTIONS
– Environmentをmetamaskにする
– ACCOUNTがMetamaskのアドレスになっていることを確認
– CONTRACTが先ほどコンパイルしたTokenになっている
– トークン供給量は100,000,000に設定する
-> Deploy

5. txハッシュからトランザクション確認
https://bscscan.com/

6. トークンの受け取り
コントラクトのアドレスを入力