Proof of Stake

– 貨幣量を多く所有している承認者が優先的にブロックを作成できる
– 貨幣量によってハッシュ計算の難易度が下がる
– Proof of Workの代替案
– マイニングによる消費電力がない
– コンセンサスに必要な時間が短い
– ASIC等を使ったマイナーによる中央集権化のリスクが少ない

ビットコインの取引処理件数は7件/1秒と言われており、Visaカードの
50,000件/1秒に比べて取引速度が大きく劣る

Coin Age
コインの保有量 x コインの保有期間 が大きければ大きいほどマイニングに成功しやすくなる

Randomized Proof of Stake
コインの保有量に比例して、ランダムに取引承認者を選ぶ

ただし、コインをため込まれると、通貨の流動性が下がる
PoSでは格差が広がり易い

PoSの公式

SHA256(prevhash + address + timestamp) <= 2^256 * balance / diff [/code] GitHubにblock chainのサンプルがありますね。 https://github.com/AvinashNath2/Block-Chain-Example/blob/master/Block_Chain.py

PoWトランザクション

1.walletがトランザクションを発行し、参加者全員にブロードキャスト
2.受け取った承認者がハッシュ計算。先に見つけたブロックがブロックチェーンに追加
3.walletが別のトランザクションを発行し、全員にブロードキャスト
4.受けっとた承認者がハッシュ計算。複数のノードが同時に見つけた場合はブロックチェーンは分岐する
5.次に別のノードがブロックを追記した時、追記されたブロックチェーンが正となる
Byzantine Faultに対応
参加サーバはローカル通信のみでよい
多数決の代わりとなるのはCPU演算力
電気代が安い地域に集中する懸念がある

from random import randint 
from hashlib import sha256 

previous_hash = "****"
cnt = 1
nonce = str(randint(0, 1000000))

header = sha256(f'{previous_hash}{nonce}'.encode()).hexdigest()

while header[:4] != "0000":
	text = 'loop:{}, header:{}, header[:4], nonce:{}\n'
	print(text.format(cnt, header, header[:4], nonce))

	nonce = str(randint(0, 1000000))
	header = sha256(f'{previous_hash}{nonce}'.encode()).hexdigest()
	cnt += 1 

text = 'loop:{}, header:{}, header[:4]:{}, nonce:{}'
print(text.format(cnt, header, header[:4], nonce))

コンセンサスアルゴリズム

ビザンチン将軍問題の解決が重視され、パブリック型では、悪意のある者が紛れ込んでいることを想定した仕組みが構築される
コンソーシアム型はPoWは必要なし
コンセンサスアルゴリズムが整理と真偽判断をする
Proof of Stake はPoWの改良版

問題
– 特定のマイナー(ブロック作成者)が計算能力を占有すると、PoWが正常に機能しなくなる
– チェーンが分岐したときの決済完全性が完璧ではない、不確実性が存在する
– 通信時間のネットワーク性能の限界
– 容量の増加

コンセンサスアルゴリズムの種類
– Proof of Work
– Proof of Stake
– Paxos
– Raft
– PBFT
– Sieve

障害時の想定モデルが異なる

macにubuntuを入れよう

まずvagrant boxes
https://app.vagrantup.com/boxes/search

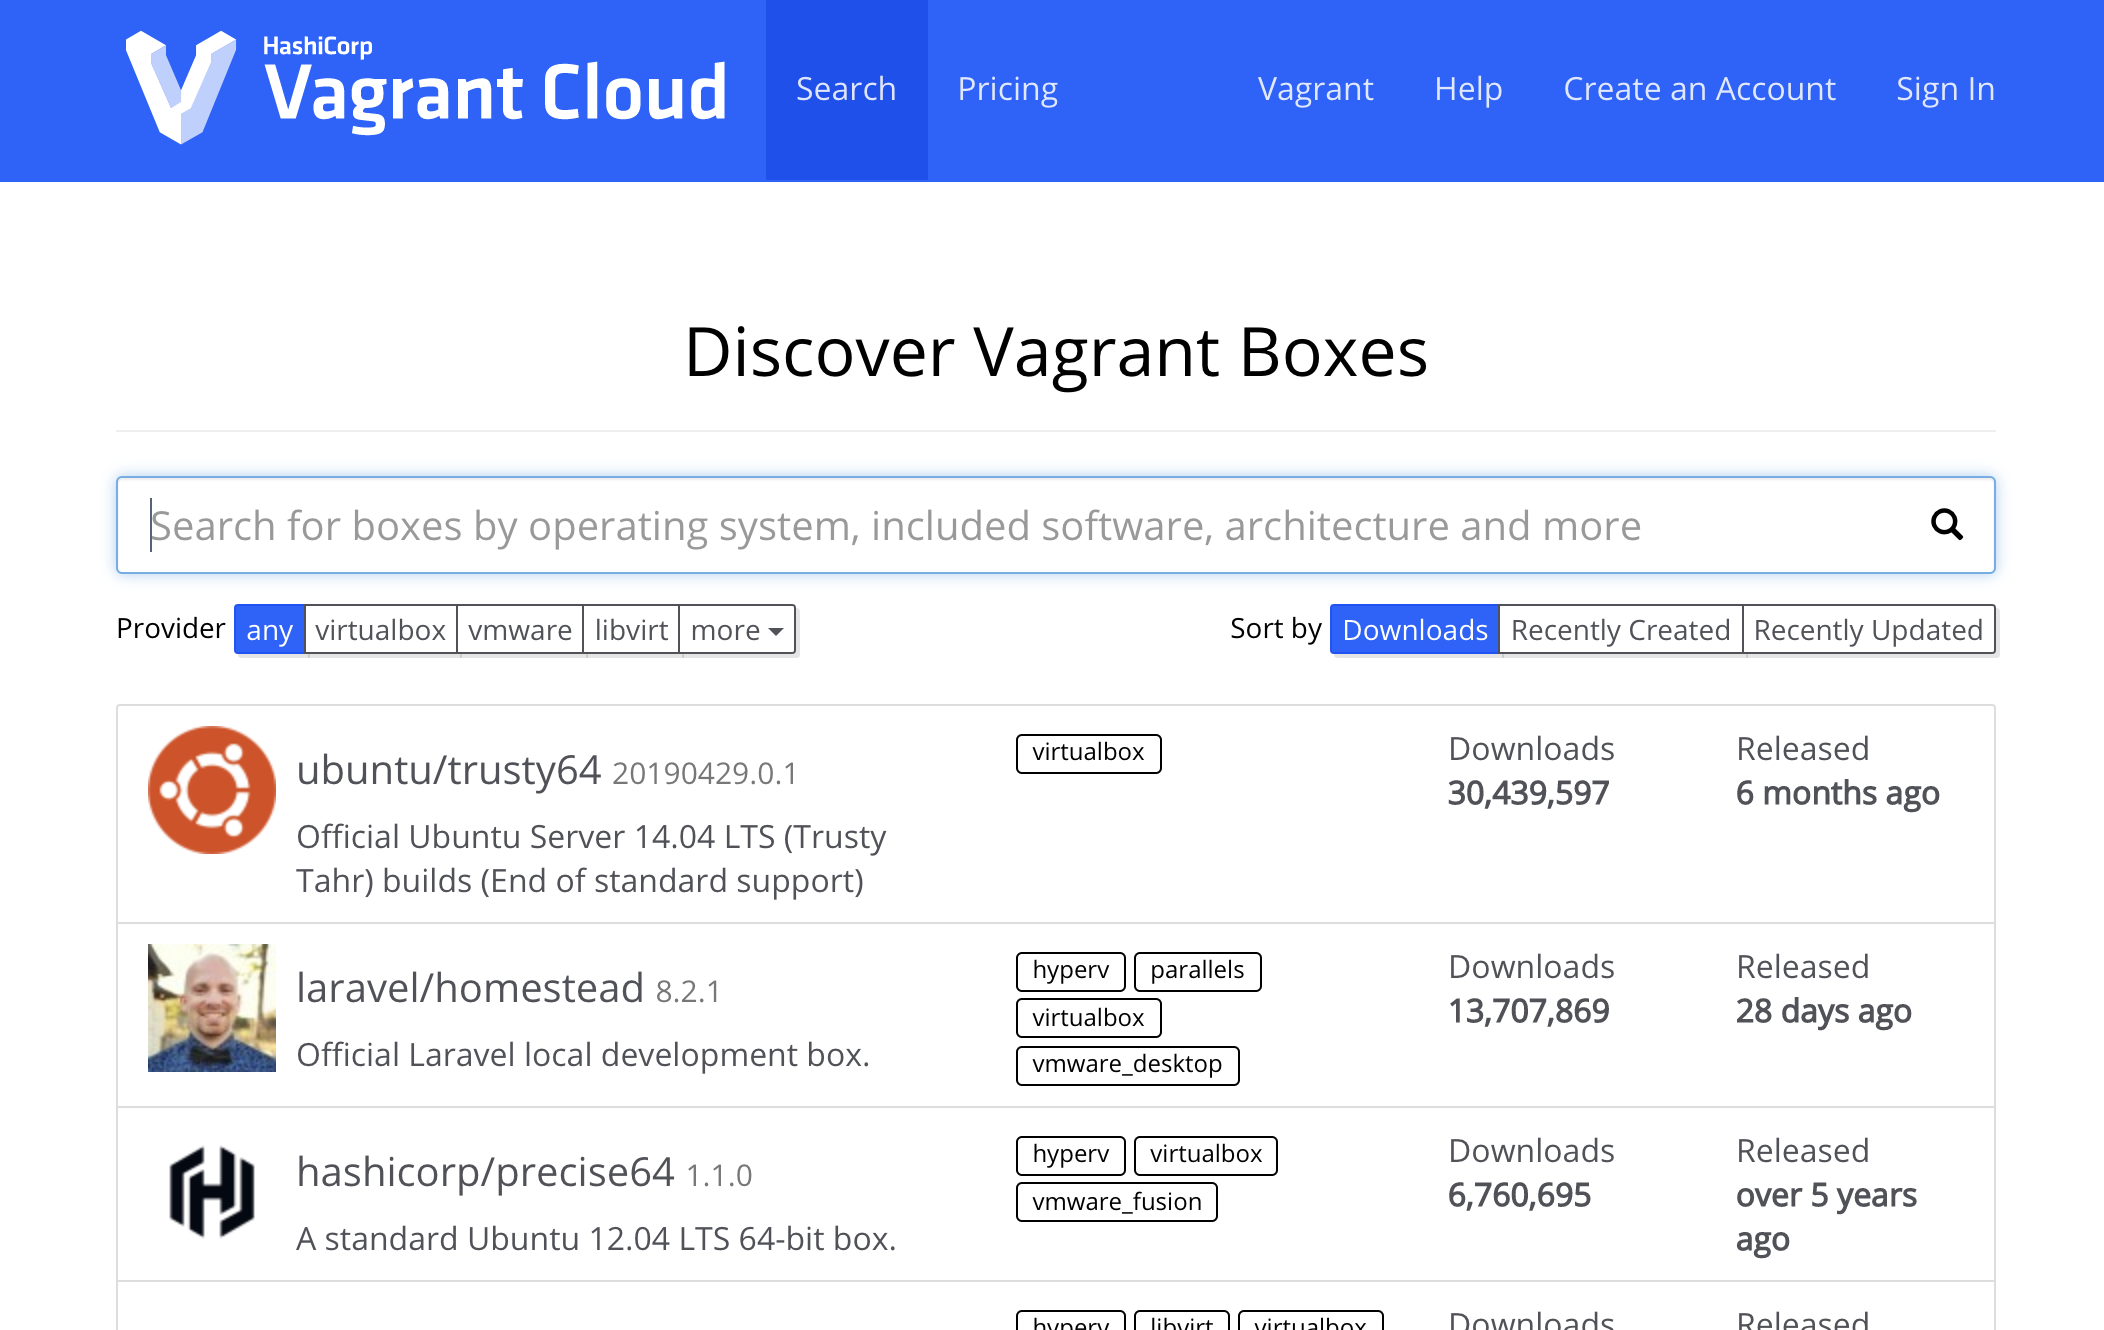
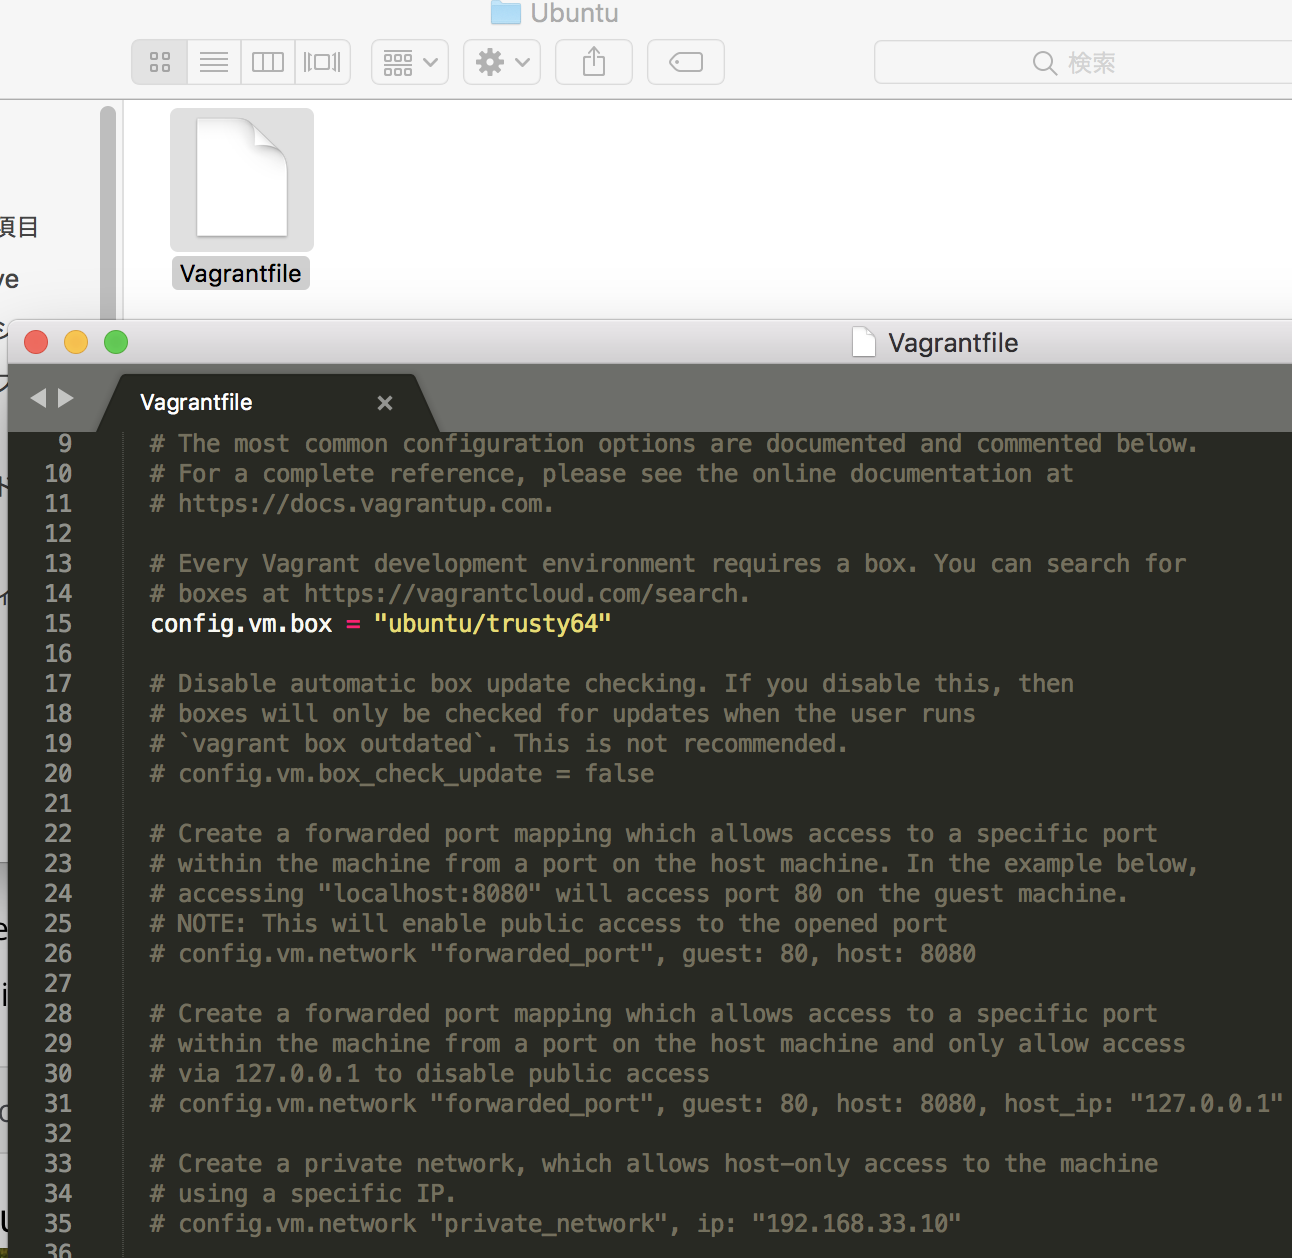
まず、trusty64のvagrant fileを作ります。
mac:myvagrant mac$ mkdir Ubuntu
mac:myvagrant mac$ ls
MyCentOS Ubuntu
mac:myvagrant mac$ cd ubuntu
mac:ubuntu mac$ vagrant init ubuntu/trusty64
A `Vagrantfile` has been placed in this directory. You are now
ready to `vagrant up` your first virtual environment! Please read
the comments in the Vagrantfile as well as documentation on
`vagrantup.com` for more information on using Vagrant.

ポートフォワーディング

  # config.vm.network "forwarded_port", guest: 80, host: 8080
  config.vm.network "forwarded_port", guest: 80, host: 8080

mac:ubuntu mac$ vagrant reload
==> default: VM not created. Moving on…
mac:ubuntu mac$ vagrant up

mac:ubuntu mac$ vagrant ssh
Welcome to Ubuntu 14.04.6 LTS (GNU/Linux 3.13.0-170-generic x86_64)

* Documentation: https://help.ubuntu.com/

System information as of Sun Oct 27 12:59:04 UTC 2019

System load: 0.49 Processes: 81
Usage of /: 3.6% of 39.34GB Users logged in: 0
Memory usage: 25% IP address for eth0: 10.0.2.15
Swap usage: 0%

Graph this data and manage this system at:
https://landscape.canonical.com/

0 updates can be installed immediately.
0 of these updates are security updates.

New release ‘16.04.6 LTS’ available.
Run ‘do-release-upgrade’ to upgrade to it.

vagrant@vagrant-ubuntu-trusty-64:~$ ip a
1: lo: mtu 65536 qdisc noqueue state UNKNOWN group default
link/loopback 00:00:00:00:00:00 brd 00:00:00:00:00:00
inet 127.0.0.1/8 scope host lo
valid_lft forever preferred_lft forever
inet6 ::1/128 scope host
valid_lft forever preferred_lft forever
2: eth0: mtu 1500 qdisc pfifo_fast state UP group default qlen 1000
link/ether 08:00:27:bb:97:37 brd ff:ff:ff:ff:ff:ff
inet 10.0.2.15/24 brd 10.0.2.255 scope global eth0
valid_lft forever preferred_lft forever
inet6 fe80::a00:27ff:febb:9737/64 scope link
valid_lft forever preferred_lft forever
vagrant@vagrant-ubuntu-trusty-64:~$ hostname -I
10.0.2.15

あれ
mac:ubuntu mac$ vagrant ssh-config
Host default
HostName 127.0.0.1
User vagrant
Port 2222
UserKnownHostsFile /dev/null
StrictHostKeyChecking no
PasswordAuthentication no
IdentityFile /Users/mac/MyVagrant/Ubuntu/.vagrant/machines/default/virtualbox/private_key
IdentitiesOnly yes
LogLevel FATAL

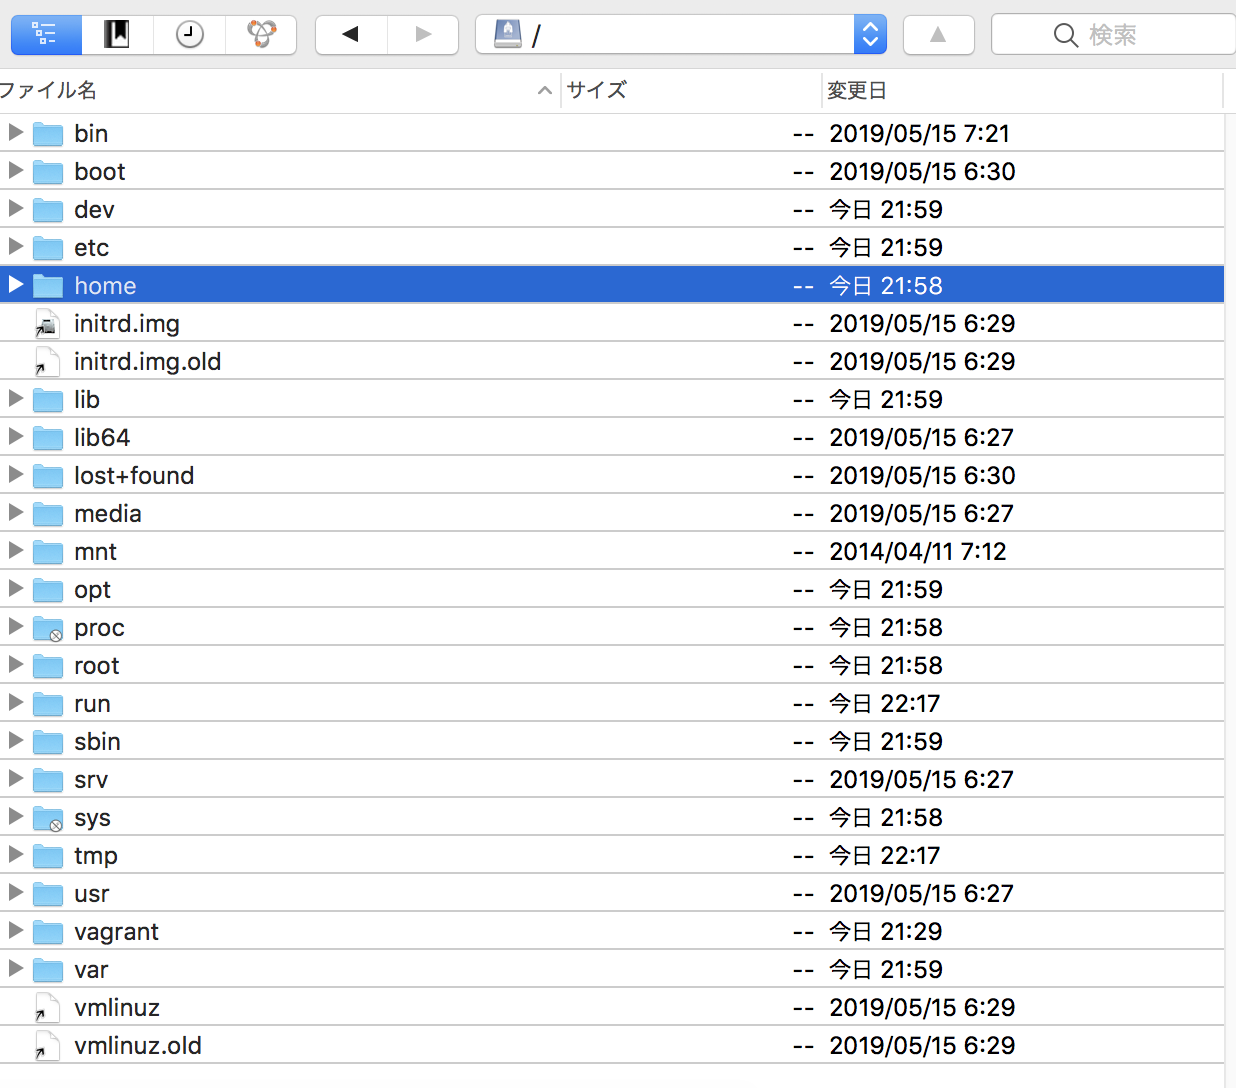
ubuntuの中身を見ると、centosとファイル構成は似ているように見えます。後は使いながら少しずつ覚えていくしかないですね。とりあえず、pythonで開発する際はubuntuベースで使っていこうかと思います^^

ubuntu

pythonの記事を見ると、OSは圧倒的にubuntuを使っている
前にもみたが、centOSとubuntuって何が違うんだっけ??

CentOS
– コミュニティによるエンタープライズ級のOS
– ベースはRed Hatで、GPLライセンス
– RPM + YUMの統合管理

Ubuntu
– 誰にでも使いやすい最新かつ安定したOS
– ベースはDebianで、半年に一度リリース
– deb+apt形式
– デスクトップエディションとサーバーエディションがあり、デスクトップエディションが目立つ

あ!

NVIDIA社のGPUを組み込んだPCにUbuntuをインストールすることで、機械学習が行えるようになります。

ん! マジこれ?
https://w3techs.com/technologies/history_details/os-linux

25 Nov 2018
Ubuntu    38.0%
Debian     22.9%
CentOS    17.9%

更に

パッケージ管理ツール(apt)でインストールできるビルド済のパッケージソフト数が47000個と多い

ええええ、そうなんだ。どうしよう、これ。とりあえず、ubuntuの開発環境は絶対に作らないとダメだな。

WebRTC

ウェブブラウザやモバイルアプリケーションにシンプルなAPI経由でリアルタイム通信を提供するオープンソースPJ
https://webrtc.org/

-Supported Browsers & Platforms
Firefox, Opera, Android, iOS

使用するAPI
– MediaStream
– PeerConnection
– DataChannel

P2P、Node.js、WebSocket
あれ??? これもしかして、、、

figma

Figmaはプロトタイピングツールで、競合はSketch、XDなど
特徴は、オンラインでリアルタイム共有
コードの出力機能や画像の書き出し機能も備わっている

UIは素晴らしいですね

さっそく触ってみます。
これは凄い、滅茶苦茶使いやすいかも。。

cacoo辞めて、これ使おうかな♪

luigi

データフロー制御フレームワーク
spotifyが開発
タスク同士の依存関係を解決し、オブジェクト指向でデータ処理のタスクが書ける
Hadoopとの連携

class Artists(luigi.Task):

	date_interval = luigi.DateIntervalParameter()
	use_hadoop = luigi.BoolParameter()

	def requires(self):
		if self.use_hadoop:
			return AggregateArtistsHadoop(self.date_interval)
		else:
			return AggregateArtists(self.date_interval)

	def output(self):
		return luigi.LocalTarget("data/top_artists_%s.tsv" % self.date_interval)

	def run(self):
		top_10 = nlargest(10, self._input_iterator())
		with self.output().open('w') as out_file:
			for streams, artist in top_10:
				out_line = '\t'.join([
						str(self.date_interval.date_a),
						str(self.date_interval.date_b),
						artist,
						str(streams)
				])
				out_file.write((out_line + '\n'))

	def _input_iterator(self):
		with self.input().open('r') as in_file:
			for line in in_file:
				artist, streams = line.strip().split()
				yield int(streams), artist

statsmodel

[vagrant@localhost python]$ pip install statsmodels

import numpy as np 
import statsmodels.api as sm 
import matplotlib.pyplot as plt 

data = np.loadtxt("data.txt")
x = data.T[0]
y = data.T[1]

nsample = x.size 

X = np.column_stack((np.repeat(1, nsample), x))

model = sm.OLS(y, X)
results = model.fit()

print(results.summary())

GitLab

GitLabはグループ・プライベートレポジトリが作れる
無償版Community Editionと有償版Enterprise Editionがある
Railsで作成されている

gitlabにgithubのアカウントでログインしようとしたら、Invalid Login or password。おかしいなと思ったら、”sigin in with”のところでauthする必要があったのね。

使い方はgithubと似ていそうですね。