
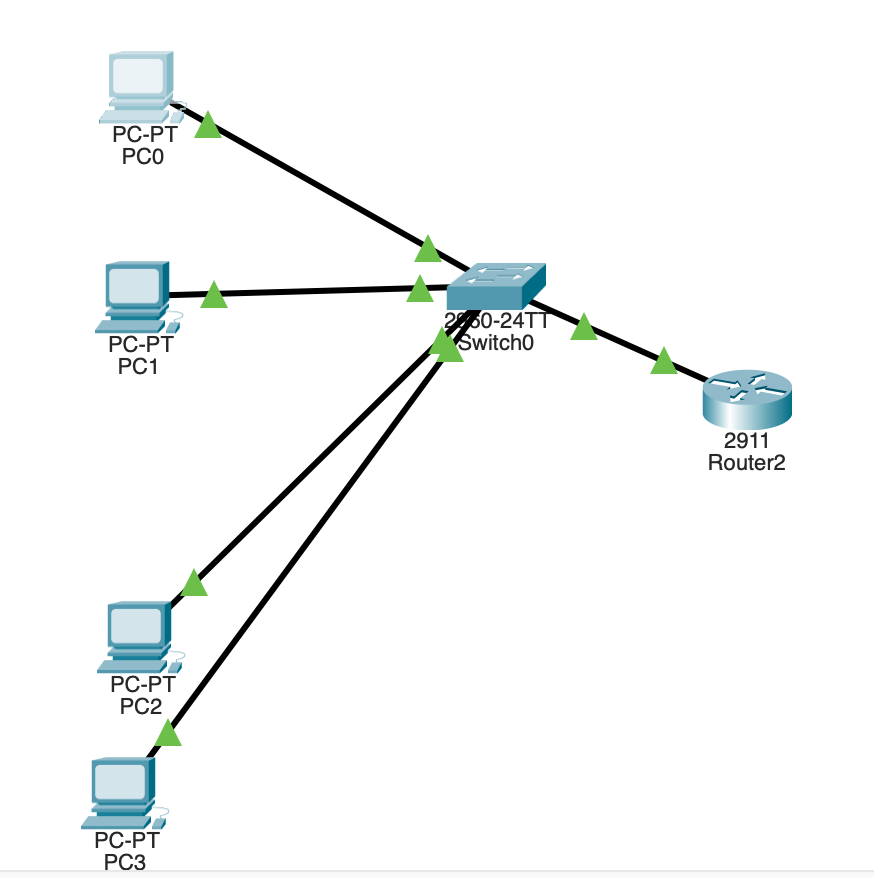
ルーターを使ったVLAN間ルーティング(Router-on-a-Stick構成)は、VLANで分離されたネットワーク同士を通信可能にする方法
switchの設定
Switch> enable
Switch# configure terminal

! VLANの作成
Switch(config)# vlan 10
Switch(config-vlan)# name VLAN10
Switch(config-vlan)# exit

Switch(config)# vlan 20
Switch(config-vlan)# name VLAN20
Switch(config-vlan)# exit

! ポートにVLANを割り当て
Switch(config)# interface range fa0/1 - 2
Switch(config-if-range)# switchport mode access
Switch(config-if-range)# switchport access vlan 10
Switch(config-if-range)# exit

Switch(config)# interface range fa0/3 - 4
Switch(config-if-range)# switchport mode access
Switch(config-if-range)# switchport access vlan 20
Switch(config-if-range)# exit

! ルーターに接続するポートをトランクに設定
Switch(config)# interface fa0/5
Switch(config-if)# switchport mode trunk
Switch(config-if)# exit
ルータの設定
Router> enable
Router# configure terminal

! サブインターフェース作成 VLAN10
Router(config)# interface g0/0.10
Router(config-subif)# encapsulation dot1Q 10
Router(config-subif)# ip address 192.168.10.1 255.255.255.0
Router(config-subif)# exit

! サブインターフェース作成 VLAN20
Router(config)# interface g0/0.20
Router(config-subif)# encapsulation dot1Q 20
Router(config-subif)# ip address 192.168.20.1 255.255.255.0
Router(config-subif)# exit

! 物理インターフェースを有効化
Router(config)# interface g0/0
Router(config-if)# no shutdown
Router(config-if)# exit
pc0からVLANで分離されたpc2に接続できるようになる。
必要な通信は許可するというような時に活用する。
つまり、switch単体ではVLANを分離できるが、そのVLANを接続させるなどの制御にはルーターが必要