What is APNs?
Apple Push Notification Service (APNs) is the core of remote notification functionality. It is a robust, secure, and very efficient service for application developers to deliver information to iOS(and indirectly watchOS), tvOS, and macOS devices.
なるほど。
Category: iOS layout
The four main methods used on the app’s introductory screen
Splash
It is a technique called splash that is adopted by most applications. This screen appears when you tap the app icon from home, and it is used to earn data loading time or to make the app known to the user as a brand.
However, since it is only for the purpose of earning time and recognizing the brand, it is not compatible with tool-based apps. The user who uses the tool wants to “use it quickly and repeatedly”.
Walk through
A technique called walk-through is a method that allows the user to gradually understand the features and usage of the app using slides instead of letting the app touch the app immediately after launching the app. Often see people who call it “Tutorial”, but the official name for this is Walkthrough.
Coach mark
Overlays and pop-ups appear on the normal screen of the app. Use arrows to explain the function of each button and what its contents mean. If the UI becomes complicated and it is determined that “a user who has just installed the app will be confused if you look at this screen”, you should adop it.
Empty state
It may be an unfamiliar word, but the point is “the guy who displays when the content is empty”. The purpose of this screen is “convey information that there is no content now” and “convey action to be performed next”.
It may be more user-friendly to have an empty state for apps that do not display content if you do not follow someone, or for apps such as Notepad that create content yourself.
setValue:forUndefinedKey:]: this class is not key value coding-compliant for the key
以下が表示される
setValue:forUndefinedKey:]: this class is not key value coding-compliant for the key
右クリックで対象のclassの接続を削除して再度コンパイル
Assets.xcassetsに画像を置く
グー、チョキ、パーの画像を置いていきます。

これをどうやって、controller.swfitで呼び出すんだ?
let image = UIImage(named: “Image2”)でコンパイルしてみる。
override func viewDidLoad() {
        super.viewDidLoad()
        let image = UIImage(named: "Image2")
        imageView.image = image
        imageView.contentMode = UIViewContentMode.center
        self.view.addSubview(imageView)
        // Do any additional setup after loading the view, typically from a nib.
    }
あれ、UIImage(named: “ファイル名”)でいけますね。
すると、/app/hoge.jpg と /app/Aseets.xcassets/hoge 共にUIImage(named: “hoge”)で読み込める、ということですな。 詳細はわかりませんが、コンパイルする際に、同階層として扱っているんでしょう。
では、ボタンを押したら、グーチョキパーがランダムで表示されるよう作っていきたいと思います。
Assets.xcassetsでAppIconを設定する
Asset Catalog ファイル(.xcassets):
画像を一元管理出来るようになり、画像ファイルの追加・削除・修正を行ってもプロジェクトファイル(.pbxproj)は変更されない
早速置いてみましょう。
Assets.xcassetsを押下すると、以下のような画面になります。
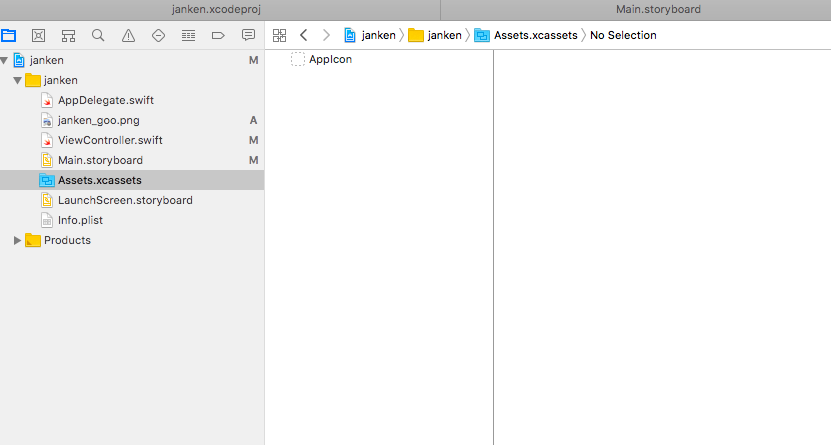
AppIconがデフォルトで入っています。AppIconをクリックすると

retina ディスプレイ対応を2x, 3xで表しています。
2xは、2倍ですね。
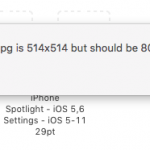
以下の画像をおきます。
![]()
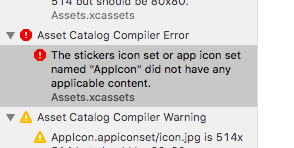
あら、should be 80 x 80pix と言われました。
とりあえず、エミュレーターをbuildして見ます。
なに、なんか知らんがエラーになった。
やっぱり120px x 120でないとダメみたい。
本当なら、psdで編集したいが、横着してtoolでresizeします。
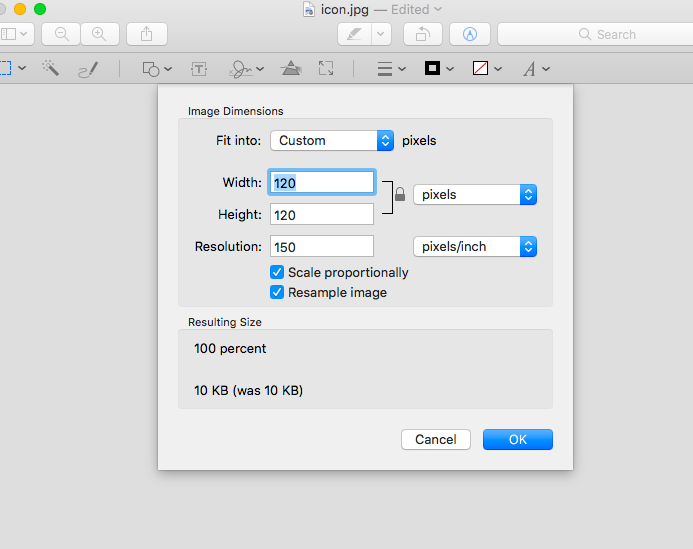
エラーが消えたのでコンパイルします。
bui1ld succeeded!
いいね、これ好きです。
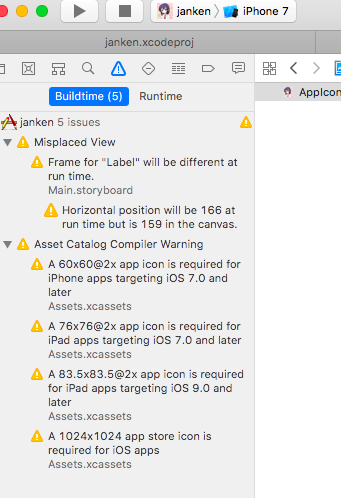
うお、warningが出まくってる
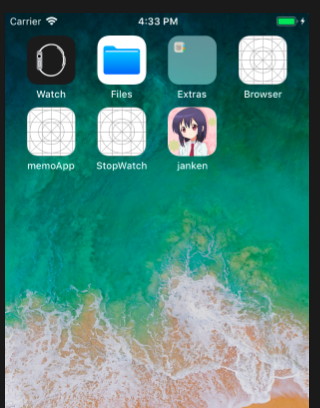
きた! icon変わりました。niceです。
imageView.contentModeでエラーになった時
まず画像を用意する
チョキは適当な画像が見当たらなかった為、ピースサイン
![]()
![]()

続いてStory boardにUIImageViewを配置する
control でviweController.swiftに繋げて、UIImage(named: “janken_goo”)と書く
let image = UIImage(named: “janken_goo”)
imageView.image = image
class ViewController: UIViewController {

    @IBOutlet weak var imageView: UIImageView!

    override func viewDidLoad() {
        super.viewDidLoad()
        let image = UIImage(named: "janken_goo")
        imageView.image = image
        // Do any additional setup after loading the view, typically from a nib.
    }

    override func didReceiveMemoryWarning() {
        super.didReceiveMemoryWarning()
        // Dispose of any resources that can be recreated.
    }


}
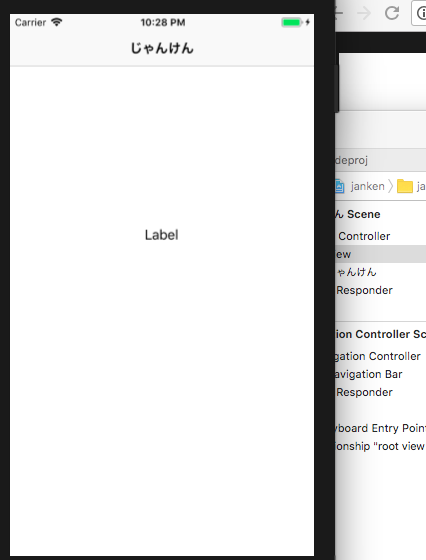
UIImageViewの画像サイズのままになっている。。
48x48pixなんだけどな。
それと、今日、本屋で立ち読みした本には、画像はAssets.xcassestsに置くと書いてあったが。。swift書くまえにいきなりつまづいた。
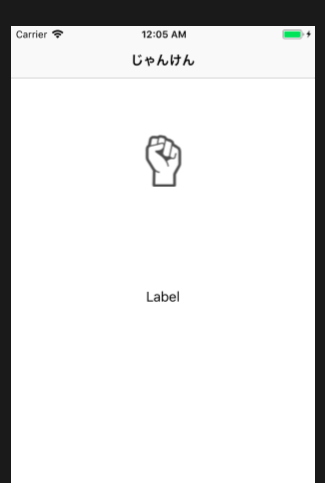
imageView.contentMode で画像の縦横サイズを指定出来るらしい。
override func viewDidLoad() {
        super.viewDidLoad()
        let image = UIImage(named: "janken_goo")
        imageView.image = image
        imageView.contentMode = UIViewContentMode.Center
        self.view.addSubview(imageView)
        // Do any additional setup after loading the view, typically from a nib.
    }
UIViewContentMode.Centerでerror, build出来ない。
なに???
いろいろなサイトを横断して、appleのdeveloper siteのuiviewcontentmodeを見てみる
https://developer.apple.com/documentation/uikit/uiviewcontentmode
case center
The option to center the content in the view’s bounds, keeping the proportions the same.
なに? centerは小文字?
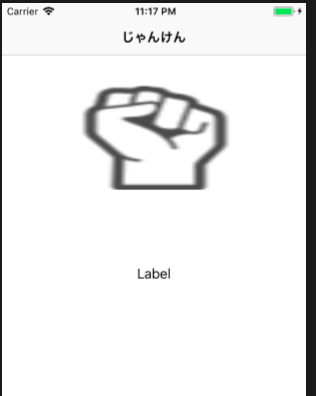
imageView.contentMode = UIViewContentMode.centerで再度build
override func viewDidLoad() {
        super.viewDidLoad()
        let image = UIImage(named: "janken_goo")
        imageView.image = image
        imageView.contentMode = UIViewContentMode.center
        self.view.addSubview(imageView)
        // Do any additional setup after loading the view, typically from a nib.
    }
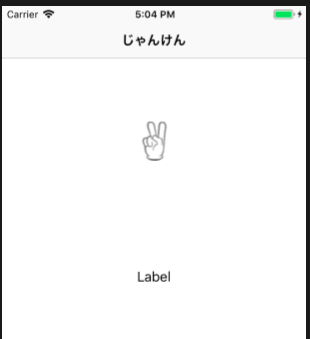
おおおお、ファイヤー
iOS開発で初めてちょっと仕事した!
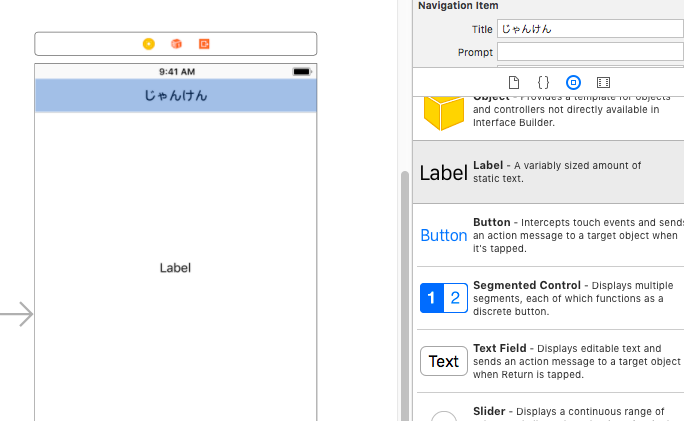
xcode9.3のnavigation controllerのtitle
embed inでnavigation controllerを設置し、titleの個所をクリックしてもedit出来ないと思っていたら、attribute inspectorのNavigation itemで編集出来ますね。
これだけにずっと悩んでいた
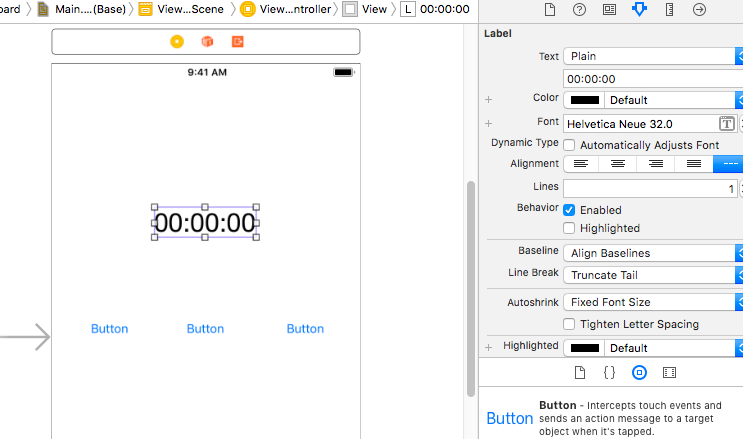
Helvetica Neue
Helvetica Neueだと、数値が均等になるらしい。
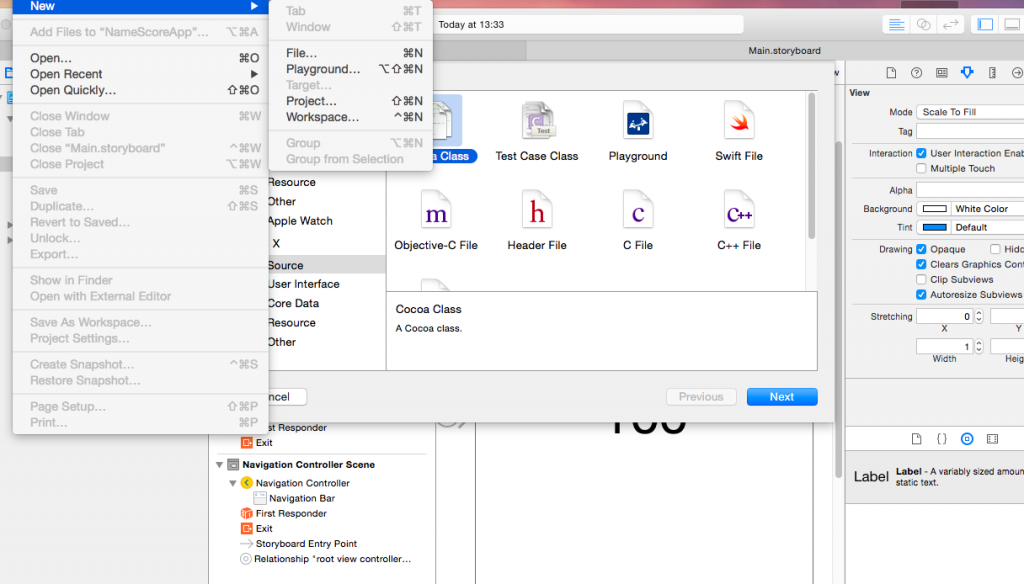
ios 新しいclass file
file -> new -> file -> cocoa file
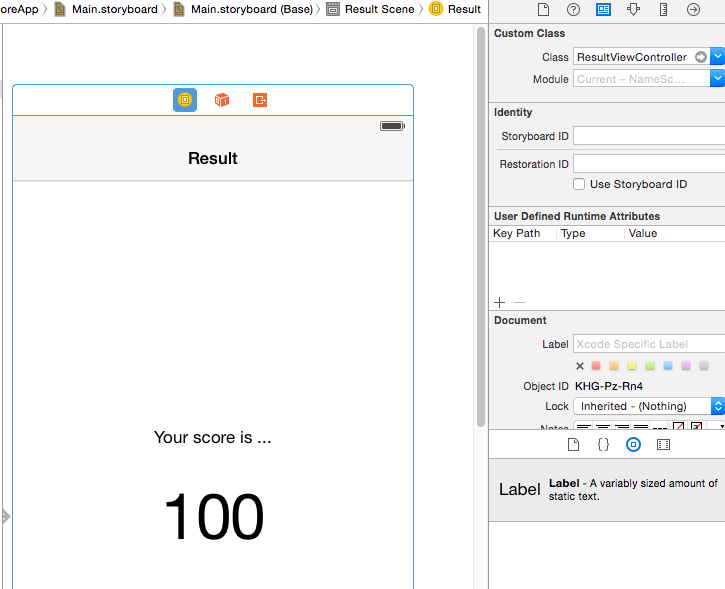
新しく作ったcocoa classをview controllerと紐づける
ふむふむ
prepare func
class ViewController: UIViewController {

    @IBOutlet weak var nameText: UITextField!

    override func viewDidLoad() {
        super.viewDidLoad()
        // Do any additional setup after loading the view, typically from a nib.
    }

    override func didReceiveMemoryWarning() {
        super.didReceiveMemoryWarning()
        // Dispose of any resources that can be recreated.
    }

    ovrride func prepare(for seque: UIStoryboardSeque, sender: Any?)
    {
        let resultVC = seque.destination as! ResultViewController
        resultVC.myName = self.nameText.text!
    }


}
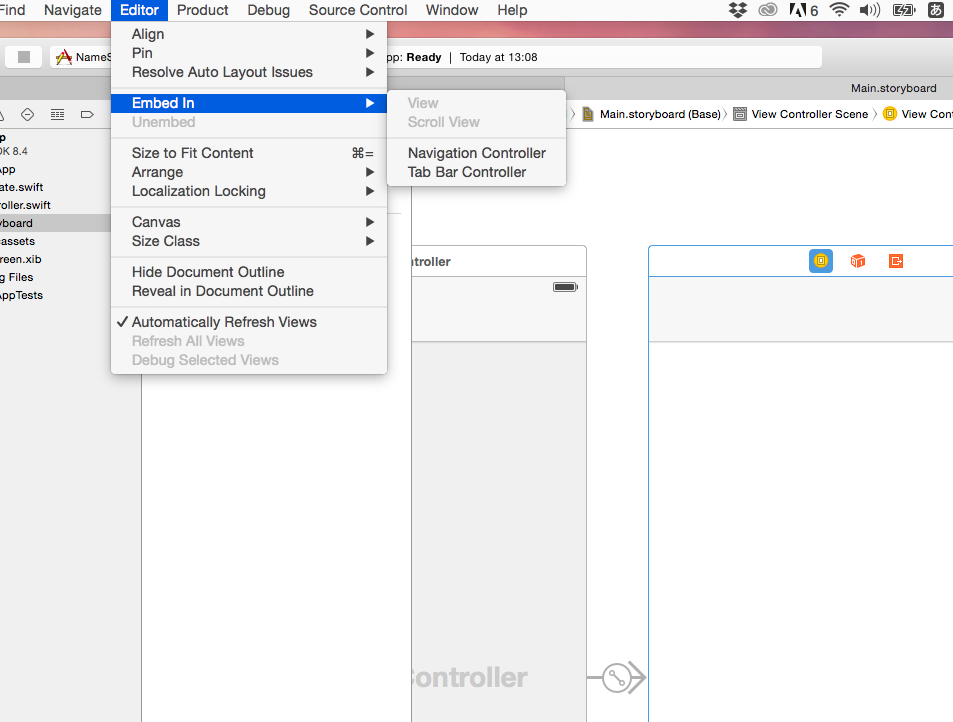
navigation controller
editor -> embed in -> navigation controller