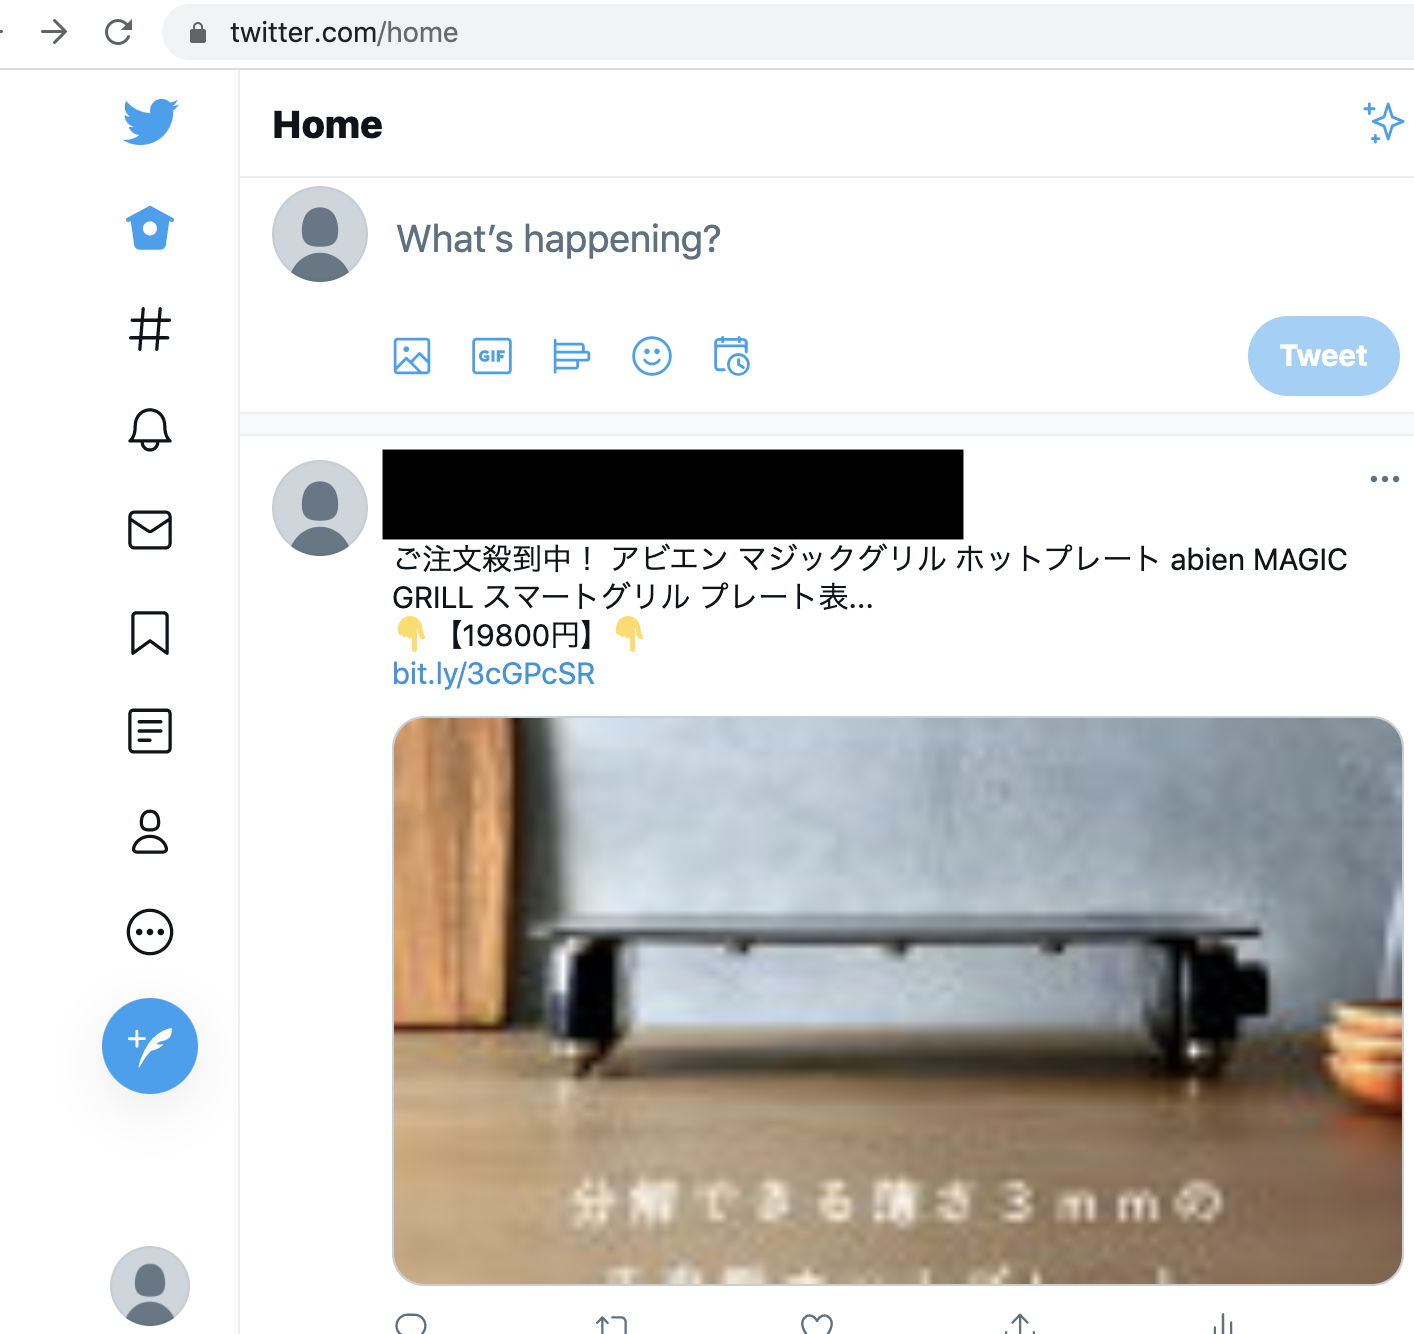
以前、バッチ処理で楽天の商品を紹介するtwitterボットのアカウントを2つ作成したのですが、ついに報酬が発生しました! 4,950円の商品が1つ売れたみたい。 不労所得で商品が売れる瞬間って面白いですね。
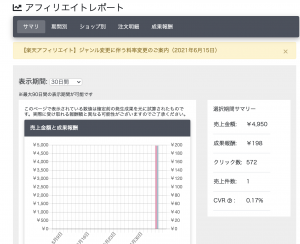
もっと自動化したいのう。
ソフトウェアエンジニアの技術ブログ:Software engineer tech blog
随机应变 ABCD: Always Be Coding and … : хороший

以前、バッチ処理で楽天の商品を紹介するtwitterボットのアカウントを2つ作成したのですが、ついに報酬が発生しました! 4,950円の商品が1つ売れたみたい。 不労所得で商品が売れる瞬間って面白いですね。
もっと自動化したいのう。
# -*- coding: utf-8 -*-
import MeCab
import matplotlib.pyplot as plt
import csv
from wordcloud import WordCloud

dfile = "test.txt"

fname = r"'" + dfile + "'"
fname = fname.replace("'","")

mecab = MeCab.Tagger("-Owakati")

words = []

with open(fname, 'r', encoding="utf-8") as f:

	reader = f.readline()

	while reader:

		node = mecab.parseToNode(reader)

		while node:
			word_type = node.feature.split(",")[0]

			if word_type in ["名詞", "動詞", "形容詞", "副詞"]:

				words.append(node.surface)

			node = node.next

		reader = f.readline()

font_path = "NotoSansMonoCJKjp-Regular.otf"

txt = "	".join(words)

stop_words = ['そう', 'ない', 'いる', 'する', 'まま', 'よう', 'てる', 'なる', 'こと', 'もう', 'いい', 'ある', 'ゆく', 'れる', 'ん', 'の']

wordcloud = WordCloud(background_color="black", font_path=font_path, stopwords=set(stop_words),
	width=800, height=600).generate(txt)

wordcloud.to_file('./wordcloud.png')
なるほど、一応できたか
キーワードを自然言語処理ではなく、「自民 -RT」でstop_wordsに自民を指定してやってみる
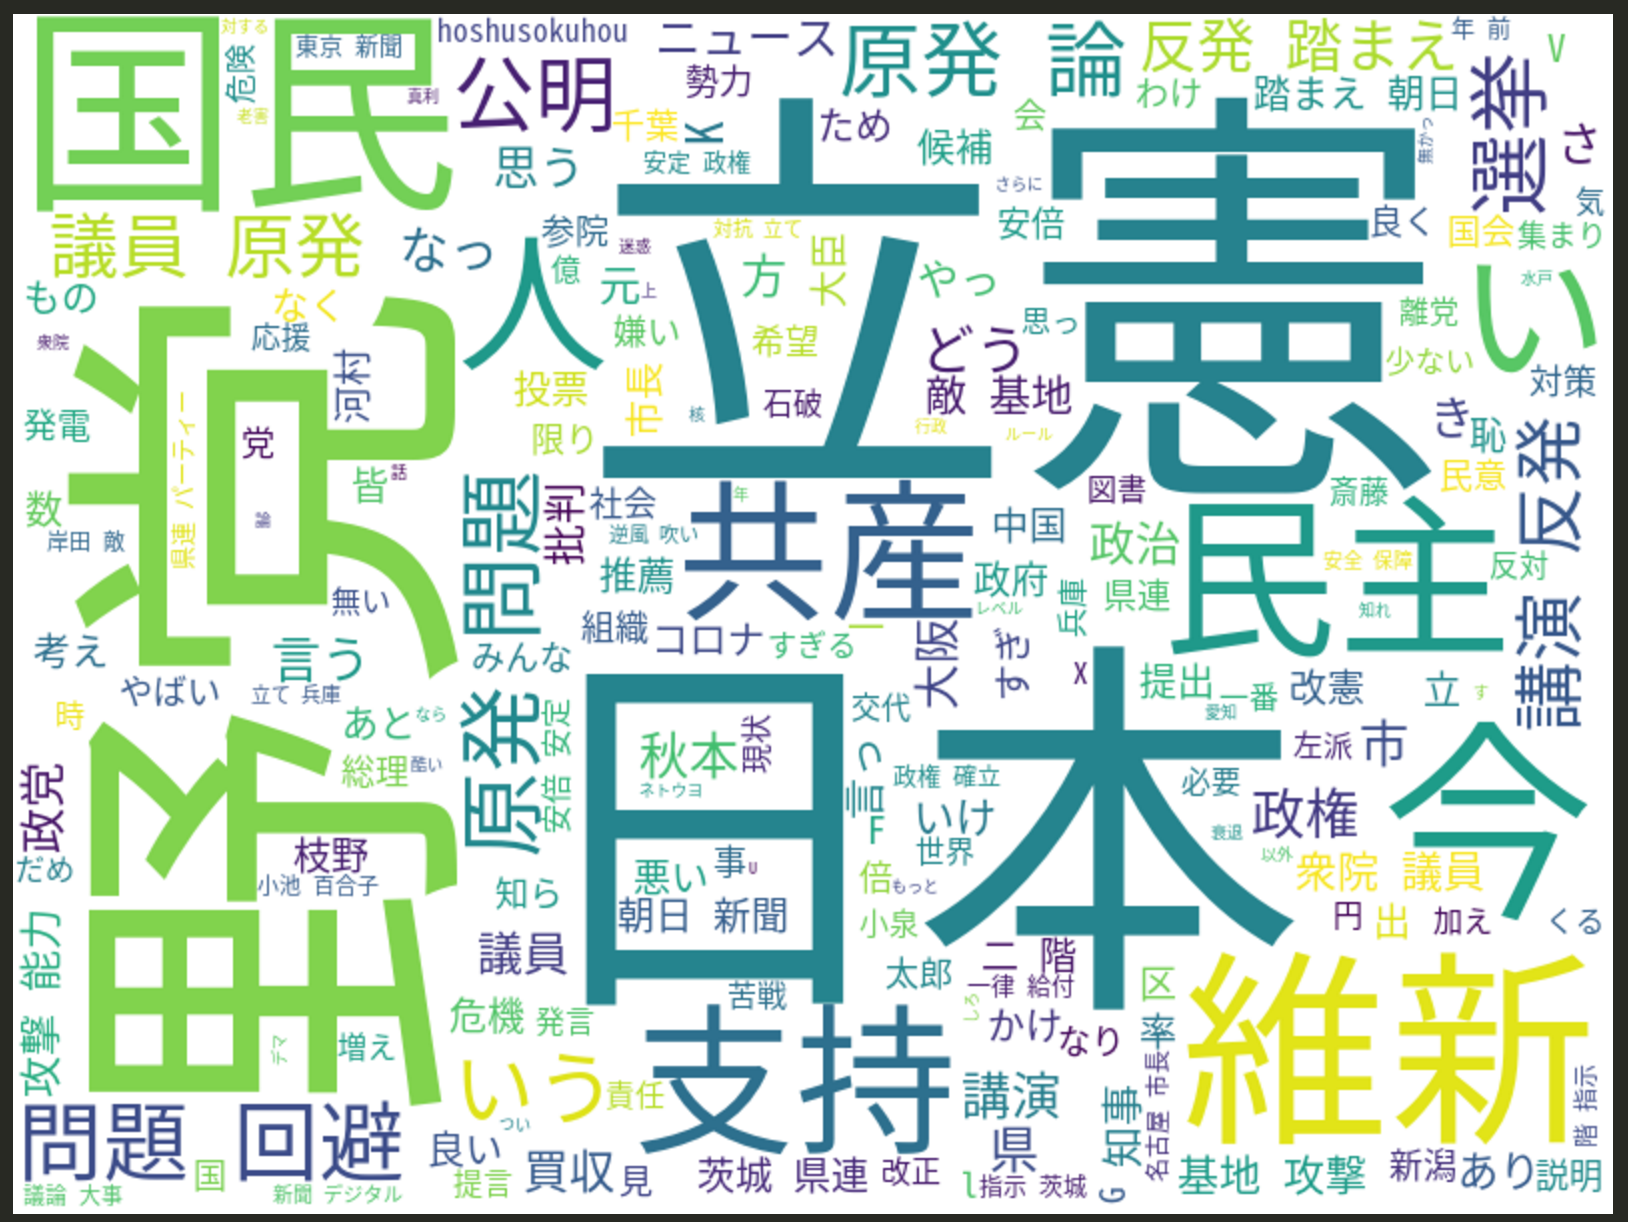
政党名が多くて、ちょっと期待してたのと違うな。。。
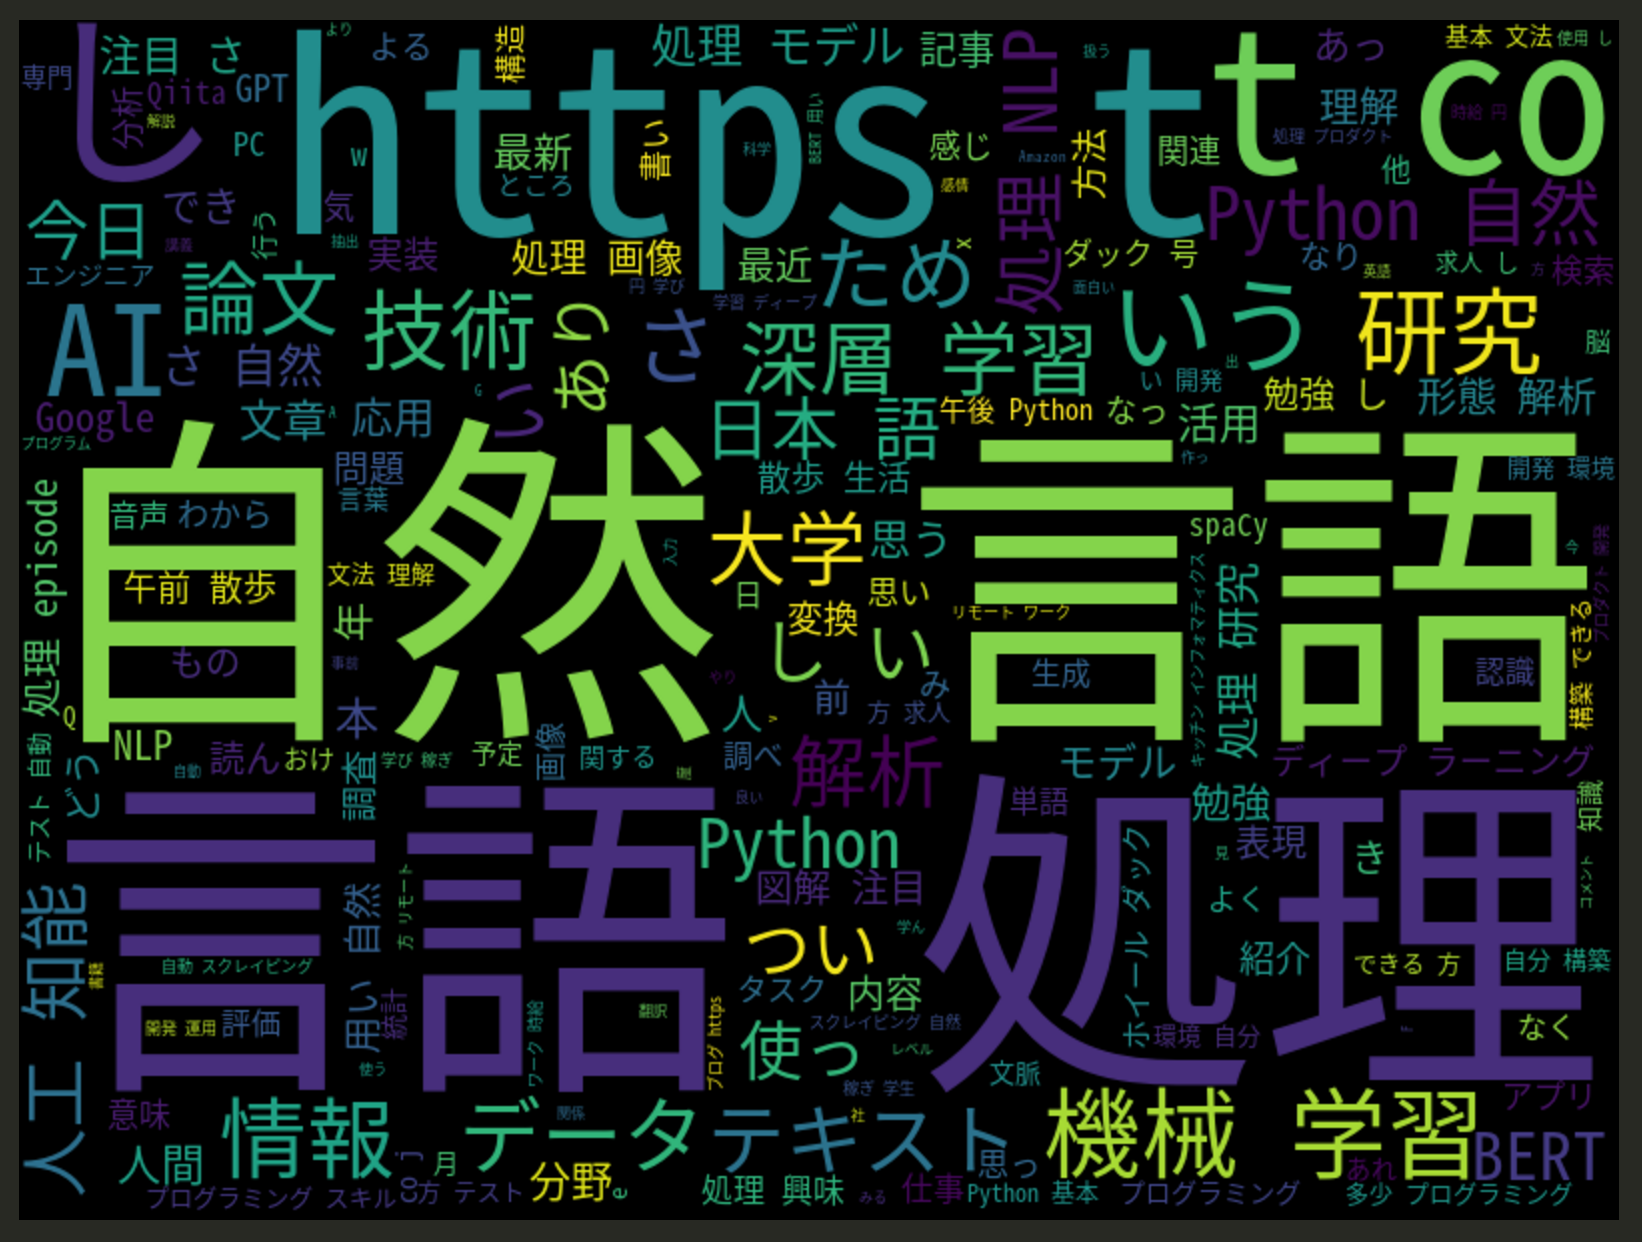
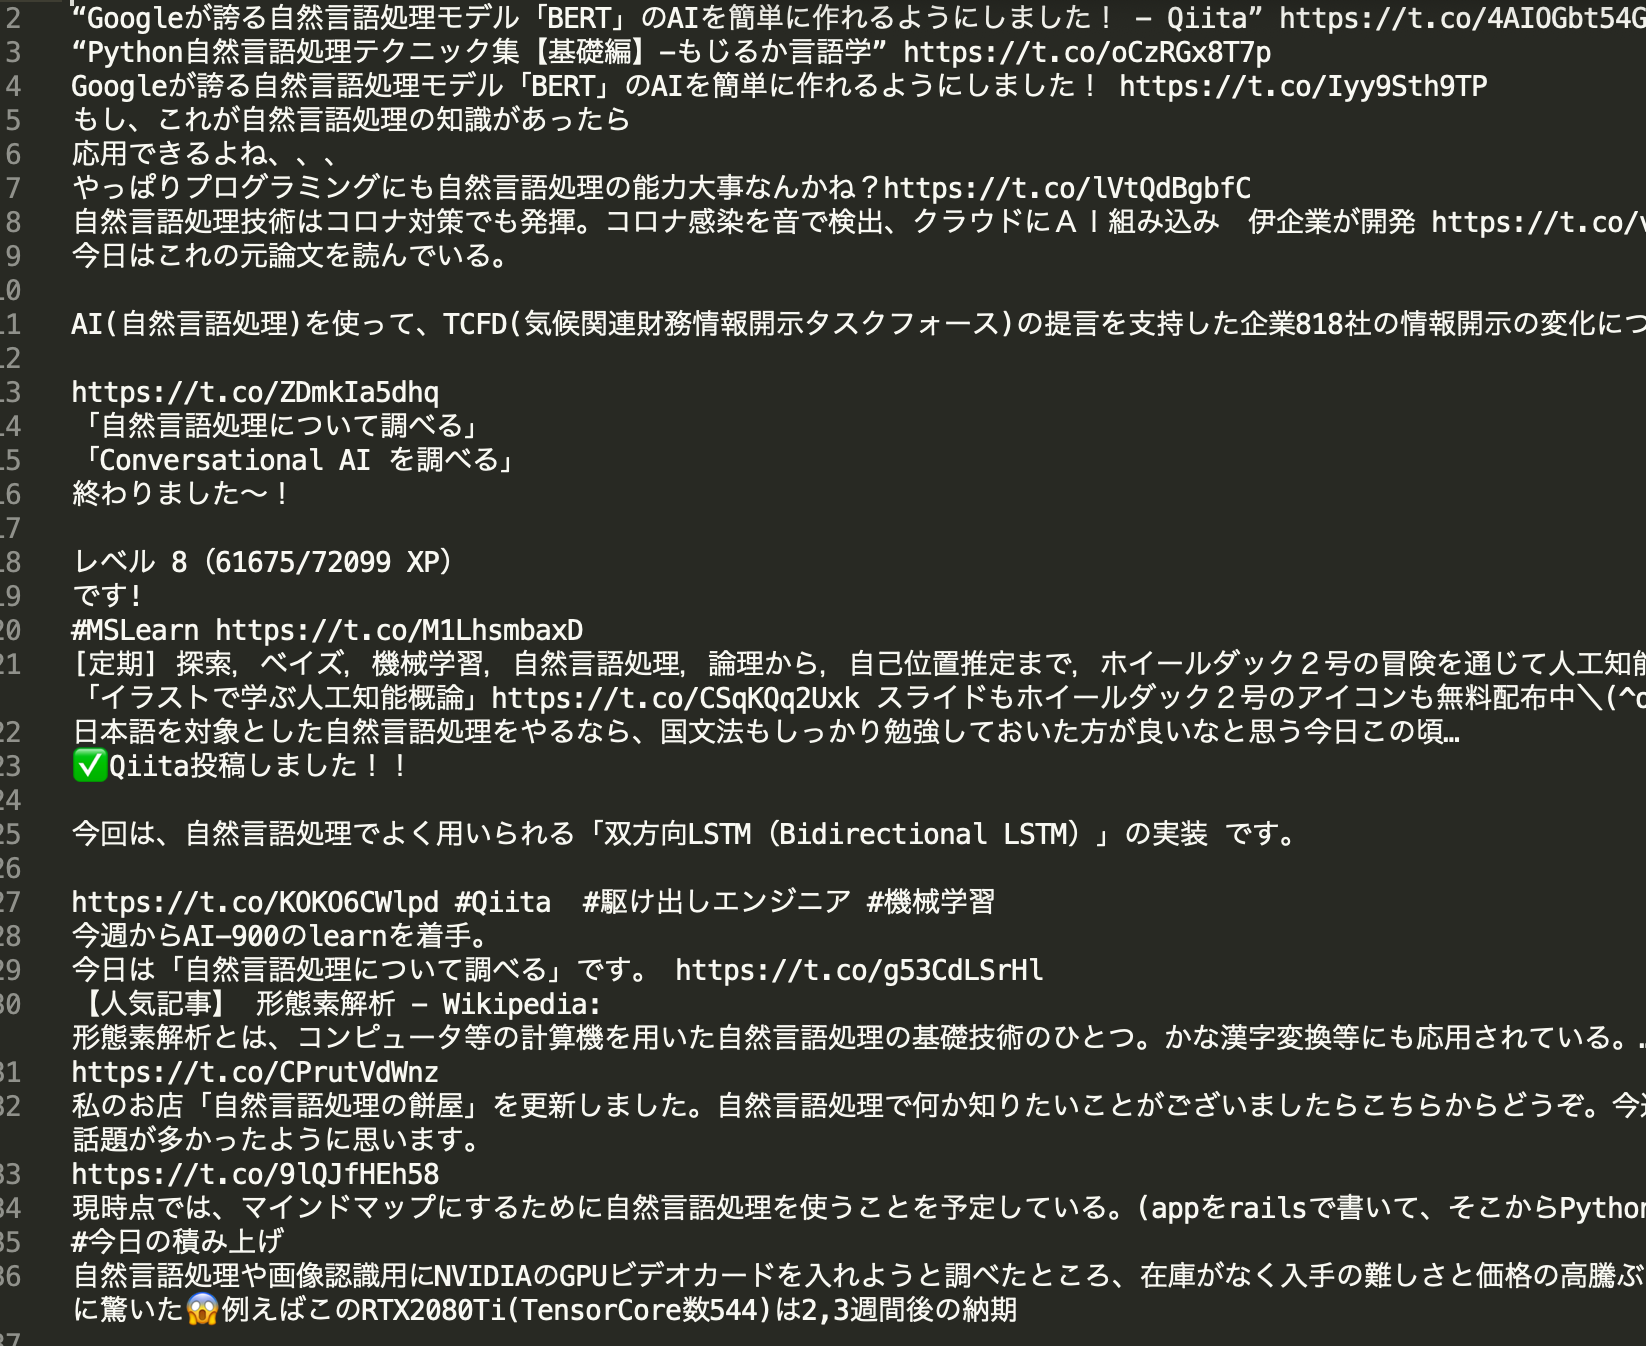
pythonでtwitterのつぶやきを取得して、wordcloudでの表示をやってみます。
$ sudo pip3 install tweepy
// mecab, wordcloudはインストール済
import tweepy
import datetime

keyword = "自然言語処理 -RT"
dfile = "test.txt"

jsttime = datetime.timedelta(hours=9)

Consumer_key = ''
Consumer_secret = ''
Access_token = ''
Access_secret = ''

auth = tweepy.OAuthHandler(Consumer_key, Consumer_secret)
auth.set_access_token(Access_token, Access_secret)

api = tweepy.API(auth, wait_on_rate_limit = True)

q = keyword

tweets_data = []


for tweet in tweepy.Cursor(api.search, q=q, count=5,tweet_mode='extended').items():

	tweets_data.append(tweet.full_text + '\n')

fname = r"'" + dfile + "'"
fname = fname.replace("'", "")

with open(fname, "w", encoding="utf-8") as f:
	f.writelines(tweets_data)
twitterのdevアカウントがあれば、取得は容易
bitlyにアカウント登録します。
Freeだと1000件/month なので、1日30件が限度。
$long_url = 'https://stackoverflow.com/questions/ask';
$apiv4 = 'https://api-ssl.bitly.com/v4/bitlinks';
$genericAccessToken = '***';

$data = array(
    'long_url' => $long_url
);
$payload = json_encode($data);

$header = array(
    'Authorization: Bearer ' . $genericAccessToken,
    'Content-Type: application/json',
    'Content-Length: ' . strlen($payload)
);

$ch = curl_init($apiv4);
curl_setopt($ch, CURLOPT_CUSTOMREQUEST, "POST");
curl_setopt($ch, CURLOPT_POSTFIELDS, $payload);
curl_setopt($ch, CURLOPT_RETURNTRANSFER, true);
curl_setopt($ch, CURLOPT_HTTPHEADER, $header);
$result = curl_exec($ch);
$resultToJson = json_decode($result);

if (isset($resultToJson->link)) {
    echo $resultToJson->link;
}
else {
    echo 'Not found';
}
$ php bitly.php
https://bit.ly/3tp7C1c
OK、全部繋げてみよう
なるほどー
$ php composer.phar require abraham/twitteroauth
require 'vendor/autoload.php';
use Abraham\TwitterOAuth\TwitterOAuth;
$consumerKey = '';
$consumerSecret = '';
$accessToken = '';
$accessTokenSecret = '';
$connection = new TwitterOAuth($consumerKey, $consumerSecret, $accessToken, $accessTokenSecret);
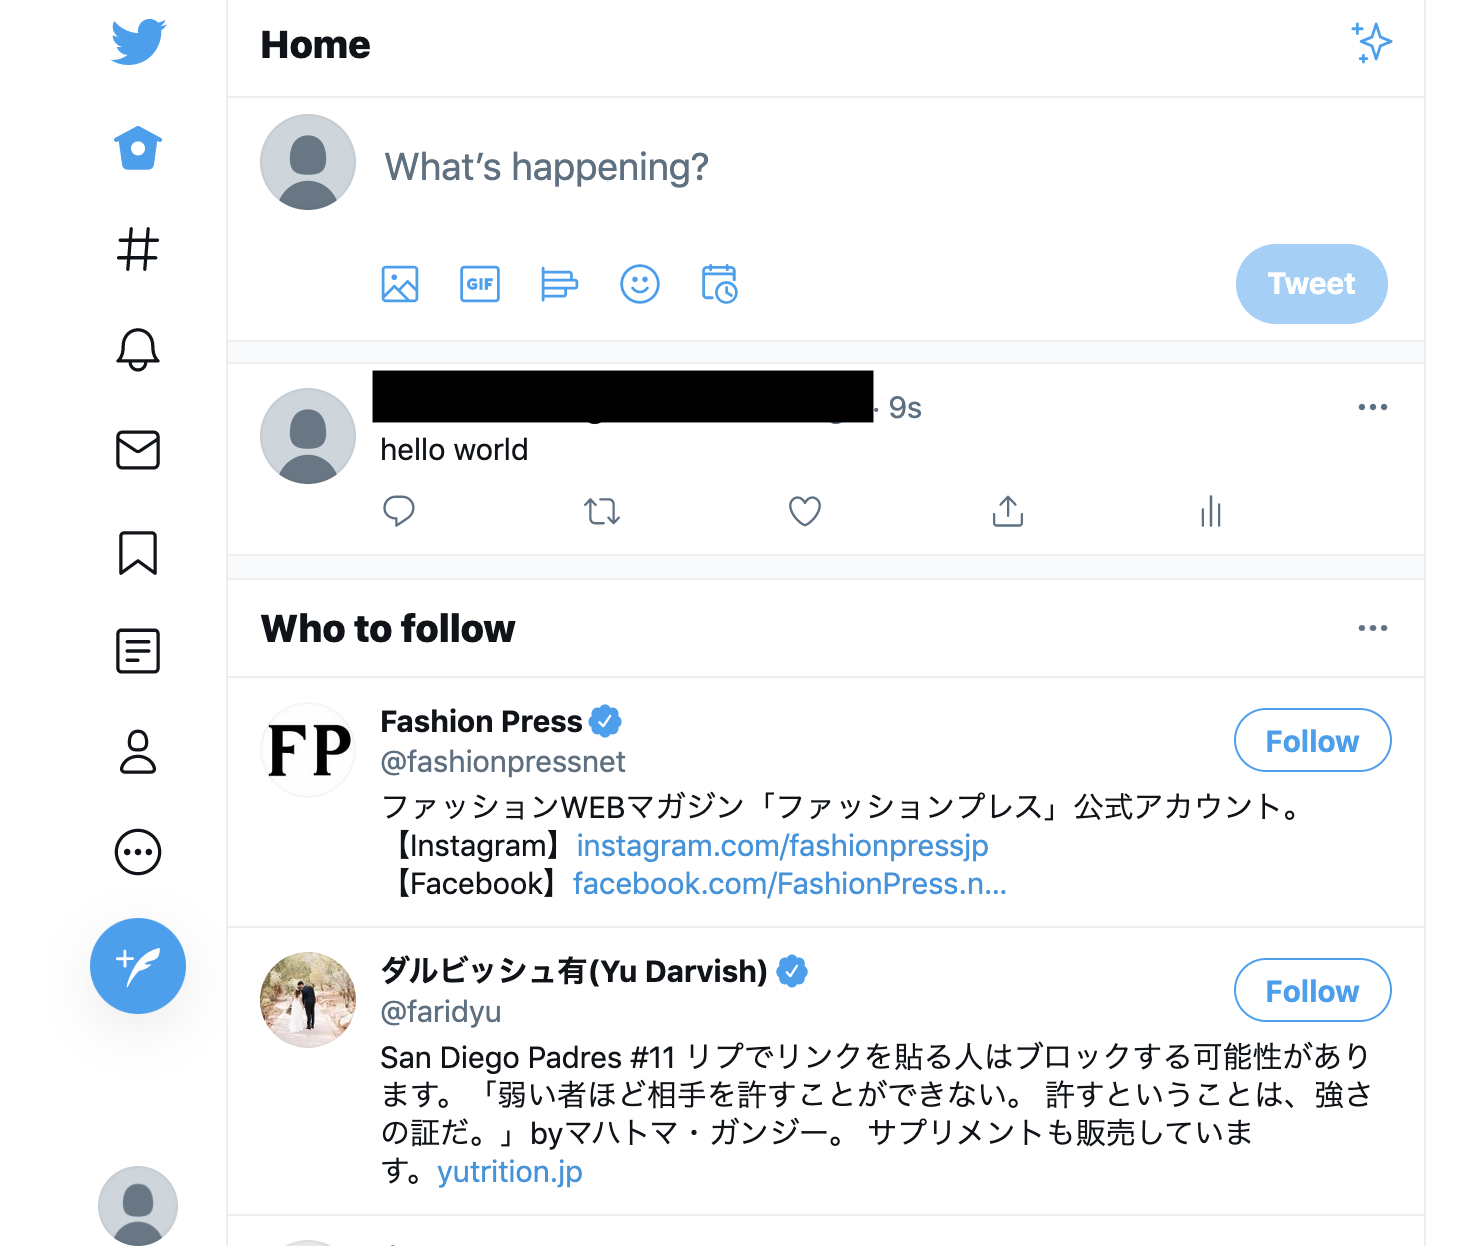
$result = $connection->post("statuses/update", array("status" => "hello world"));
var_dump($result);
$ php twitter.php
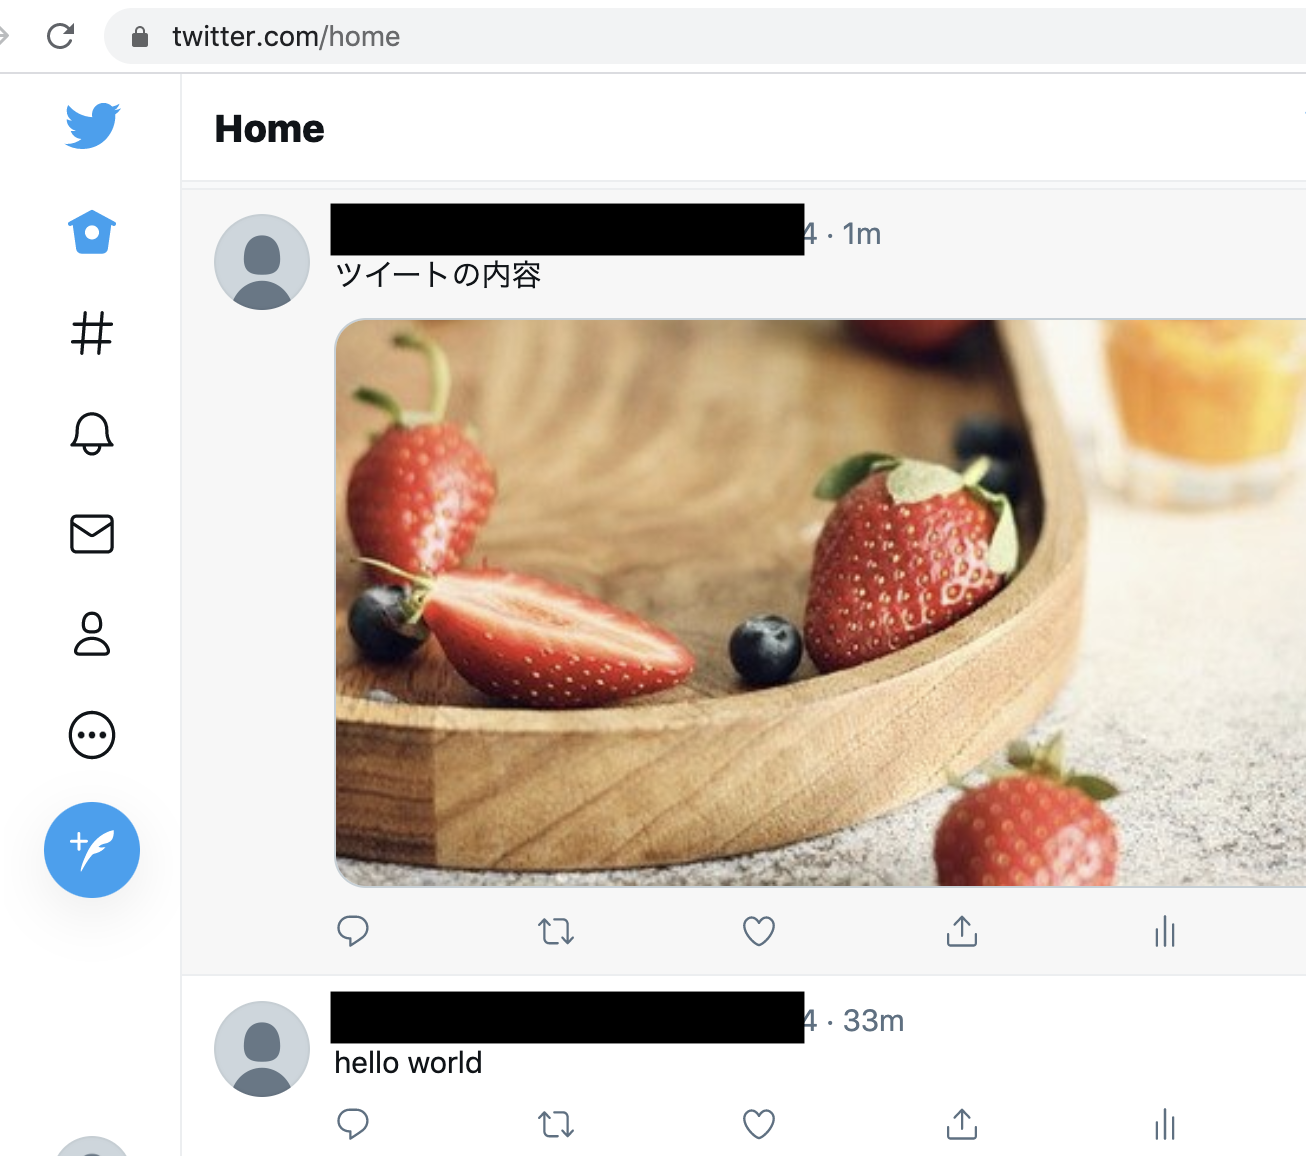
### 画像をPOST
$media1 = $connection->upload('media/upload', array('media' => 'test.jpg'));

//投稿設定
$tweet = [
'status' => $postMsg,  // ツイートの内容(テキスト部分)
'media_ids' => implode(',', [  // 画像の指定
$media1->media_id_string
])
];


//投稿
$result = $connection->post('statuses/update', $tweet);
画像ファイルは、他のサーバーから取得するのではなく、自分のサーバーの画像をuploadしないといけない。
うーん、画像をDLして保存する処理が必要になる。
$file_name = 'tweet.jpg';
$image = file_get_contents($img);
$save_path = 'img/'.$file_name;
file_put_contents($save_path,$image);
こうか↓
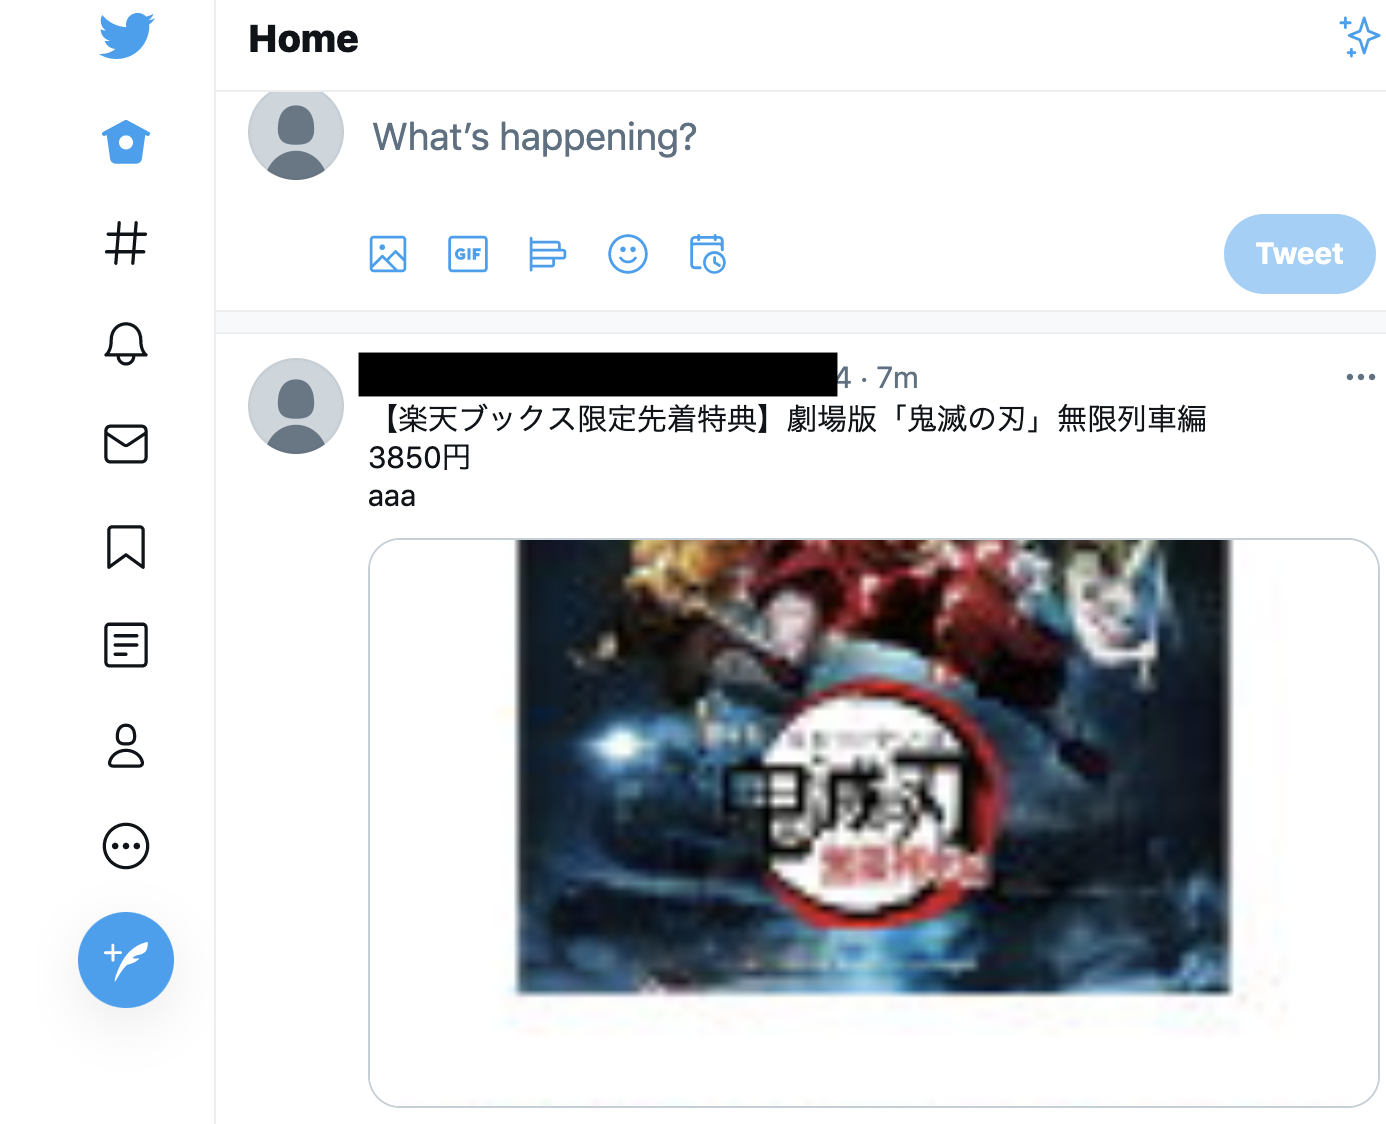
後はURL短縮だな。
{
	"_id" : ObjectID("xxxx"),
	"text" : "Something interesting ...",
	"entities" : {
		"user_mentions" : [
			{
				"screen_name" : "somebody_else",
				...
			}
		],
		"urls" : [],
		"hashtags": []
	},
	"user" : {
		"friends_count" : 544,
		"screen_name" : "somebody",
		"followers_count" : 100,
	}
}
from pymongo import MongoClient
import pprint

client = MongoClient("mongodb://localhost:27017")
db = client.twitter

def most_tweets():
	result = db.tweets.aggregate([
			{ "$group" : {"_id" : "$user.screen_name",
				"count": {"$sum" : 1}}},
			{ "$sort" : {"count" : -1 }}
		])
	return result

if __name__ == '__main__':
	result = most_tweets()
	pprint.pprint(result)
まう、開発環境にcomposerをインストールします。
curl -sS https://getcomposer.org/installer | php
続いてtwitteroauthを入れます。
[vagrant@localhost bot]$ php composer.phar require abraham/twitteroauth
twitteroauthのHPに沿って、PHPを書いていきます。なお、 CONSUMER_KEY, CONSUMER_SECRET, ACCESS_TOKEN, ACCESS_TOKEN_SECRETはtwitter developersのmy appから取得する必要があります。
https://twitteroauth.com/
<?php

require_once(__DIR__ . '/config.php');

// package
// -Composer

use Abraham\TwitterOAuth\TwitterOAuth;

$connection = new TwitterOAuth(
  CONSUMER_KEY,
  CONSUMER_SECRET,
  ACCESS_TOKEN,
  ACCESS_TOKEN_SECRET);
// $content = $connection->get("account/verify_credentials");
$content = $connection->get("statuses/home_timeline", ['count'=>3]);

var_dump($content);
crontabで指定した日時につぶやきをセットすることができます。
ランダム関数は、Math.floor(Math.random() * types.length、tweetリンクは、twitter developerのweb intentsを使います。
<!DOCTYPE html>
<html lang="ja">
<head>
<meta charset="utf-8">
<meta name="viewport" content="width=device-width, initial-scale=1.0">
<title>キャラ診断</title>
<style>
body {
text-align: center;
}
</style>
<link rel="stylesheet" href="styles.css">
</head>
<body>
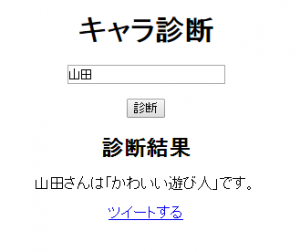
<h1>キャラ診断</h1>
<p><input type="text" id="name" value=""></p>
<p><input type="button" id="getResult" value="診断"></p>
<h2>診断結果</h2>
<p id="result">こちらに結果が表示されます。</p>
<div id="tweet"></div>
<script src="https://ajax.googleapis.com/ajax/libs/jquery/3.1.1/jquery.min.js"></script>
<script>
$(function(){
$("#getResult").click(function(){
var name = $("#name").val();
// console.log(name);
if (name === ""){
alert("名前を入力してください!");
return;
}
// タイプの定義
var types = ["勇者","魔法使い","戦士","遊び人","スーパースター"];
var type = types[Math.floor(Math.random() * types.length)];
var character = ["賢い","勇ましい","かわいい","情けない","人気の"];
var character = character[Math.floor(Math.random() * character.length)];
var result = name + "さんは「" + character + type + "」です。";
$("#result").text(result);
var tweetLink = "<a href='https://twitter.com/intent/tweet?text="+ encodeURIComponent(result) +"&hashtags=chara' target='_blank'>ツイートする</a>";
$("#tweet").html(tweetLink);
});
});
</script>
</body>
</html>
code-bird phpはtwitter APIにphpでアクセスする際のライブラリです。
git hubのページに解説があるように、以下のように記載していきます。
require_once ('codebird.php');
\Codebird\Codebird::setConsumerKey('YOURKEY', 'YOURSECRET'); // static, see README

$cb = \Codebird\Codebird::getInstance();
You may either set the OAuth token and secret, if you already have them:
$cb->setToken('YOURTOKEN', 'YOURTOKENSECRET');
twitter-devでmyappを作成し、アクセスキー、トークンを取得してphpに実装していきましょう。
<?php

require_once('codebird.php');
require_once('config.php');

Codebird::setConsumerKey(CONSUMER_KEY, CONSUMER_SECRET);
$cb = Codebird::getInstance();
$cb->setToken(ACCESS_TOKEN, ACCESS_TOKEN_SECRET);

$params = array(
  'screen_name' => 'name',
  'include_rts' => true
);

$tweets = (array) $cb->statuses_userTimeline($params);

var_dump($tweets);