辞書ファイルを作成するには、「語彙」「音素」「構文」が必要
語彙: Juliusに認識させたい単語を定義
音素: 語彙の読みを定義
構文: 認識する文章の構成を定義
### 読みファイルの作成
/julius/dict/greeting.yomi
L 平仮名で作成
おはよう	おはよう
ございます ございます
こんにちは こんにちわ
こんばんは こんばんわ
### 音素ファイルの作成
$ iconv -f utf8 -t eucjp dict/greeting.yomi | gramtools/yomi2voca/yomi2voca.pl | iconv -f eucjp -t utf8 > dict/greeting.phone
perl: warning: Setting locale failed.
perl: warning: Please check that your locale settings:
LANGUAGE = (unset),
LC_ALL = (unset),
LANG = “ja_JP.UTF-8”
are supported and installed on your system.
perl: warning: Falling back to the standard locale (“C”).
どうやらjuliusはeucではなくutf8になってるらしい
$ iconv dict/greeting.yomi | gramtools/yomi2voca/yomi2voca.pl > dict/greeting.phone
/julius/dict/greeting.phone
おはよう	o h a y o u
ございます	g o z a i m a s u
こんにちは	k o N n i ch i w a
こんばんは	k o N b a N w a
### 構文ファイルの作成
greeting.grammar
L NS_Bが文書の開始、NS_Eが文章の終了 2行目以降がGREETで認識される読みの文字列
S : NS_B GREET NS_E
GREET : OHAYOU
GREET : OHAYOU GOZAIMASU
GREET : KONNICHIWA
GREET : KONBANWA
### 語彙ファイルの作成
各音素に対して、構文で割り振った読みと、開始終了を表すNS_B、NS_Eを設定
% OHAYOU
おはよう	o h a y o u
% GOZAIMASU
ございます	g o z a i m a s u
% KONNICHIWA
こんにちは	k o N n i ch i w a
% KONBANWA
こんばんは	k o N b a N w a
% NS_B
s		silB
% NS_E
/s	silE
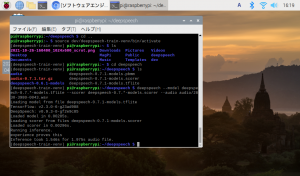
辞書ファイルを作成する
$ cp -b gramtools/mkdfa/mkfa-1.44-flex/mkfa gramtools/mkdfa/mkfa
$ cp -b gramtools/dfa_minimize/dfa_minimize gramtools/mkdfa/dfa_minimize
$ cp -b gramtools/dfa_determinize/dfa_determinize gramtools/mkdfa/dfa_determinize
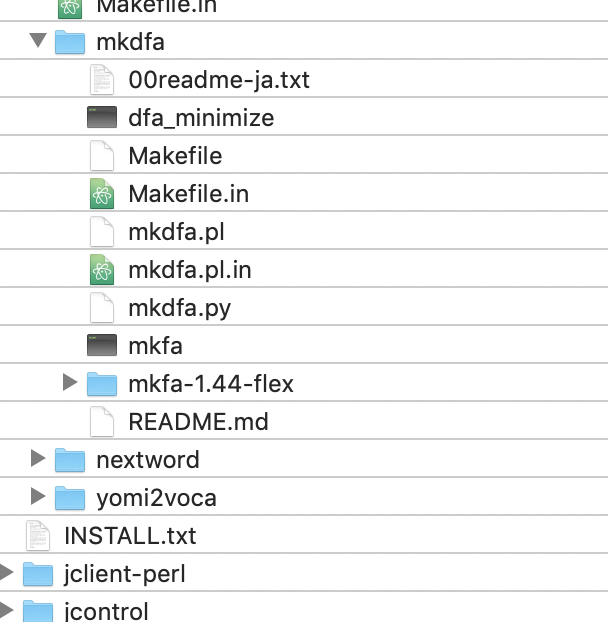
$ gramtools/mkdfa/mkdfa.pl dict/greeting
// 省略
now reversing dict/greeting.dfa into NFA “dict/greeting.dfa.forward_nfa”
executing [gramtools/mkdfa/dfa_determinize dict/greeting.dfa.forward_nfa -o dict/greeting.dfa.forward_beforeminimize]
6 categories, 6 nodes, 7 arcs
-> determinized: 5 nodes, 7 arcs
executing [gramtools/mkdfa/dfa_minimize dict/greeting.dfa.forward_beforeminimize -o dict/greeting.dfa.forward]
6 categories, 5 nodes, 7 arcs
-> minimized: 5 nodes, 7 arcs
—
generated: dict/greeting.dfa dict/greeting.term dict/greeting.dict dict/greeting.dfa.forward
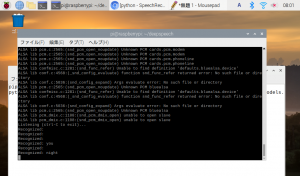
### 辞書を指定
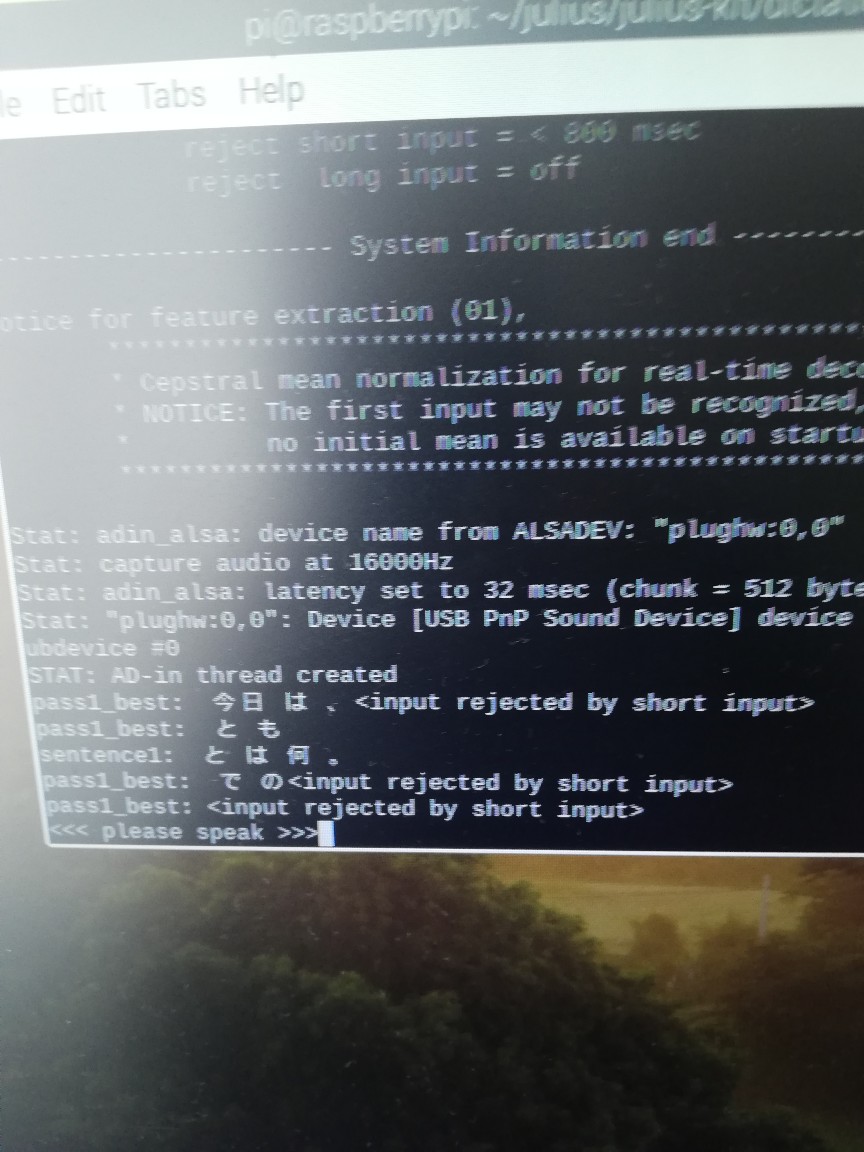
$ julius/julius -C ../ja_model/am-gmm.jconf -nostrip -gram dict/greeting -input mic
なるほど、辞書の作り方はOK
次はGoやな