### Django プロジェクト作成
$ python3 –version
Python 3.8.10
$ pip3 –version
pip 20.0.2 from /usr/lib/python3/dist-packages/pip (python 3.8)
$ sudo apt install python3-django
$ pip3 install dj-database-url
$ django-admin startproject newsproject
$ cd newsproject
$ python3 manage.py startapp newsapp
templatesフォルダ作成
newsproject/settings.py
ALLOWED_HOSTS = ["192.168.34.10"]

INSTALLED_APPS = [
    'django.contrib.admin',
    'django.contrib.auth',
    'django.contrib.contenttypes',
    'django.contrib.sessions',
    'django.contrib.messages',
    'django.contrib.staticfiles',
    'newsapp',
]

TEMPLATES = [
    {
        'BACKEND': 'django.template.backends.django.DjangoTemplates',
        'DIRS': [BASE_DIR, 'templates'],
        'APP_DIRS': True,
        'OPTIONS': {
            'context_processors': [
                'django.template.context_processors.debug',
                'django.template.context_processors.request',
                'django.contrib.auth.context_processors.auth',
                'django.contrib.messages.context_processors.messages',
            ],
        },
    },
]
newsproject/urls.py
from django.urls import path, include

urlpatterns = [
    path('admin/', admin.site.urls),
    path('', include('newsapp.urls')),
]
newsapp/urls.py
from django.urls import path
from .views import Create, listfunc

urlpatterns = [
	path('', Create.as_view(), name='home'),
	path('list/', listfunc, name='list'),
]
newsapp/views.py
from django.shortcuts import render
from .models import News
from django.views.generic import CreateView
from django.urls import reverse_lazy
import urllib.request
import requests
from bs4 import BeautifulSoup

class Create(CreateView):
	template_name = 'home.html'
	model = News
	fields = ('url'),
	success_url = reverse_lazy('list')

def listfunc(request):
	for post in News.objects.all():
		url = post.url
	list = []
	response = requests.get(url)
	bs = BeautifulSoup(response.text, "html.parser")
	ul_tag = bs.find_all(class_="topicsList_main")
	for tag in ul_tag[0]:
		title = tag.a.getText()
		url2 = tag.a.get("href")
		list.append([title, url2])
	context = {'list': list,}
	return render(request, 'list.html', context)
newsapp/models.py
from django.db import models

class News(models.Model):
	url = models.CharField(max_length=100)
// migration
$ python3 manage.py makemigrations
$ python3 manage.py migrate
templates/base.html
<!doctype html>
<html lang="en">
 <head>
   <!-- Required meta tags -->
   <meta charset="utf-8">
   <meta name="viewport" content="width=device-width, initial-scale=1, shrink-to-fit=no">
   <!-- Bootstrap CSS -->
   <link rel="stylesheet" href="https://stackpath.bootstrapcdn.com/bootstrap/4.4.1/css/bootstrap.min.css" integrity="sha384-Vkoo8x4CGsO3+Hhxv8T/Q5PaXtkKtu6ug5TOeNV6gBiFeWPGFN9MuhOf23Q9Ifjh" crossorigin="anonymous">
   <title>Pachi Data</title>
 </head>
 <body>
   {% block header %}
   {% endblock header %}
   {% block content %}
   {% endblock content %}
   <!-- Optional JavaScript -->
   <!-- jQuery first, then Popper.js, then Bootstrap JS -->
   <script src="https://code.jquery.com/jquery-3.4.1.slim.min.js" integrity="sha384-J6qa4849blE2+poT4WnyKhv5vZF5SrPo0iEjwBvKU7imGFAV0wwj1yYfoRSJoZ+n" crossorigin="anonymous"></script>
   <script src="https://cdn.jsdelivr.net/npm/popper.js@1.16.0/dist/umd/popper.min.js" integrity="sha384-Q6E9RHvbIyZFJoft+2mJbHaEWldlvI9IOYy5n3zV9zzTtmI3UksdQRVvoxMfooAo" crossorigin="anonymous"></script>
   <script src="https://stackpath.bootstrapcdn.com/bootstrap/4.4.1/js/bootstrap.min.js" integrity="sha384-wfSDF2E50Y2D1uUdj0O3uMBJnjuUD4Ih7YwaYd1iqfktj0Uod8GCExl3Og8ifwB6" crossorigin="anonymous"></script>
 </body>
</html>
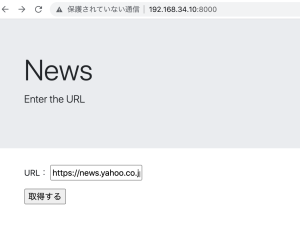
templates/home.html
[htmle]
{% extends ‘base.html’ %}
{% block header %}
News
Enter the URL
{% endblock header %}
{% block content %}
{% endblock content %}
[/html]
templates/list.html
{% extends 'base.html' %}

{% block header %}
<div class="jumbotron">
   <div class="container">
     <h1 class="display-4">News</h1>
   </div>
 </div>
{% endblock header %}

{% block content %}
<div class="container">
<ul class="list-group list-group-flush">
 <table border="2">
   <tr>
     <th>タイトル</th>
     <th>URL</th>
   </tr>
   {% for post, post2 in list %}
   <tr>
     <td>{{ post }}</td>
     <td><a href="{{ post2 }}">{{ post2 }}</a></td>
   </tr>
   {% endfor %}
 </table>
</ul>
</div>
{% endblock content %}
$ python3 manage.py runserver 192.168.34.10:8000
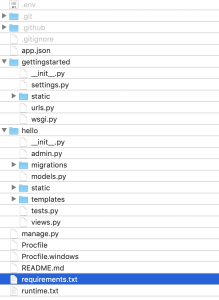
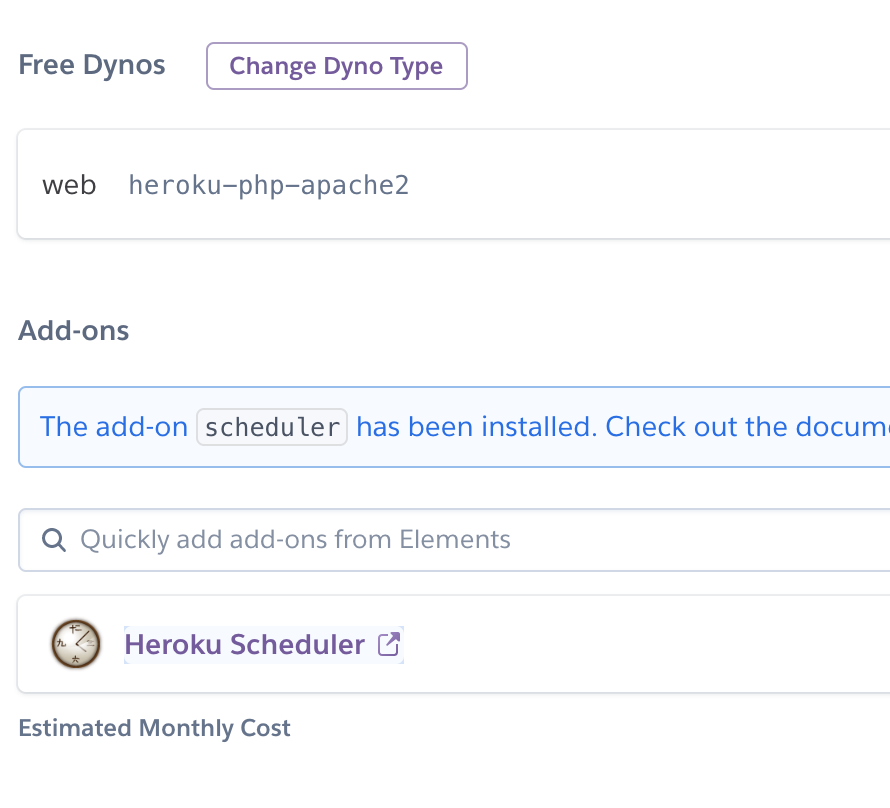
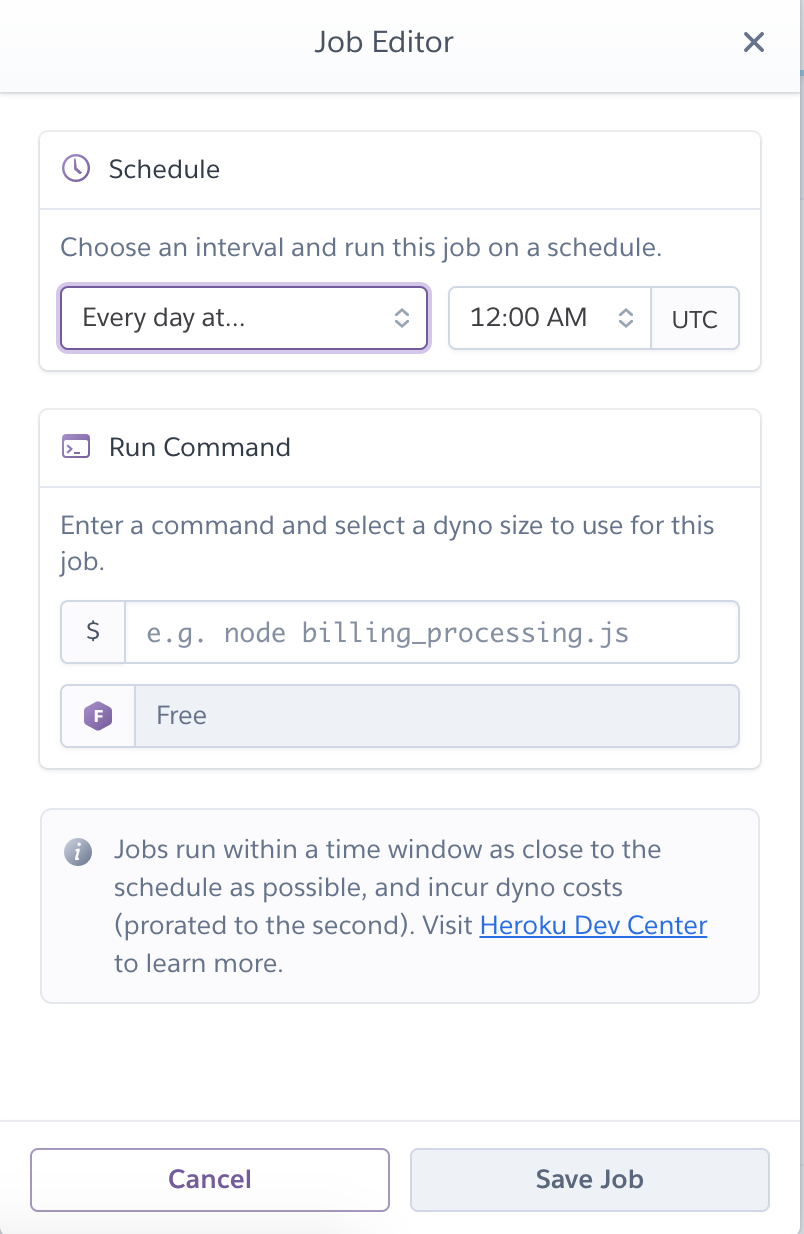
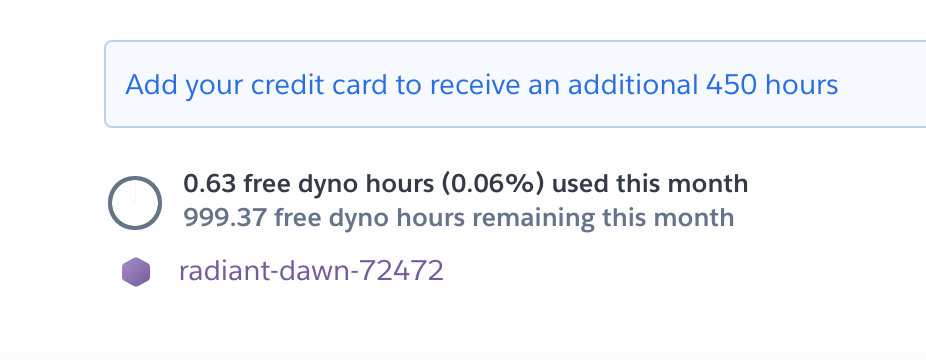
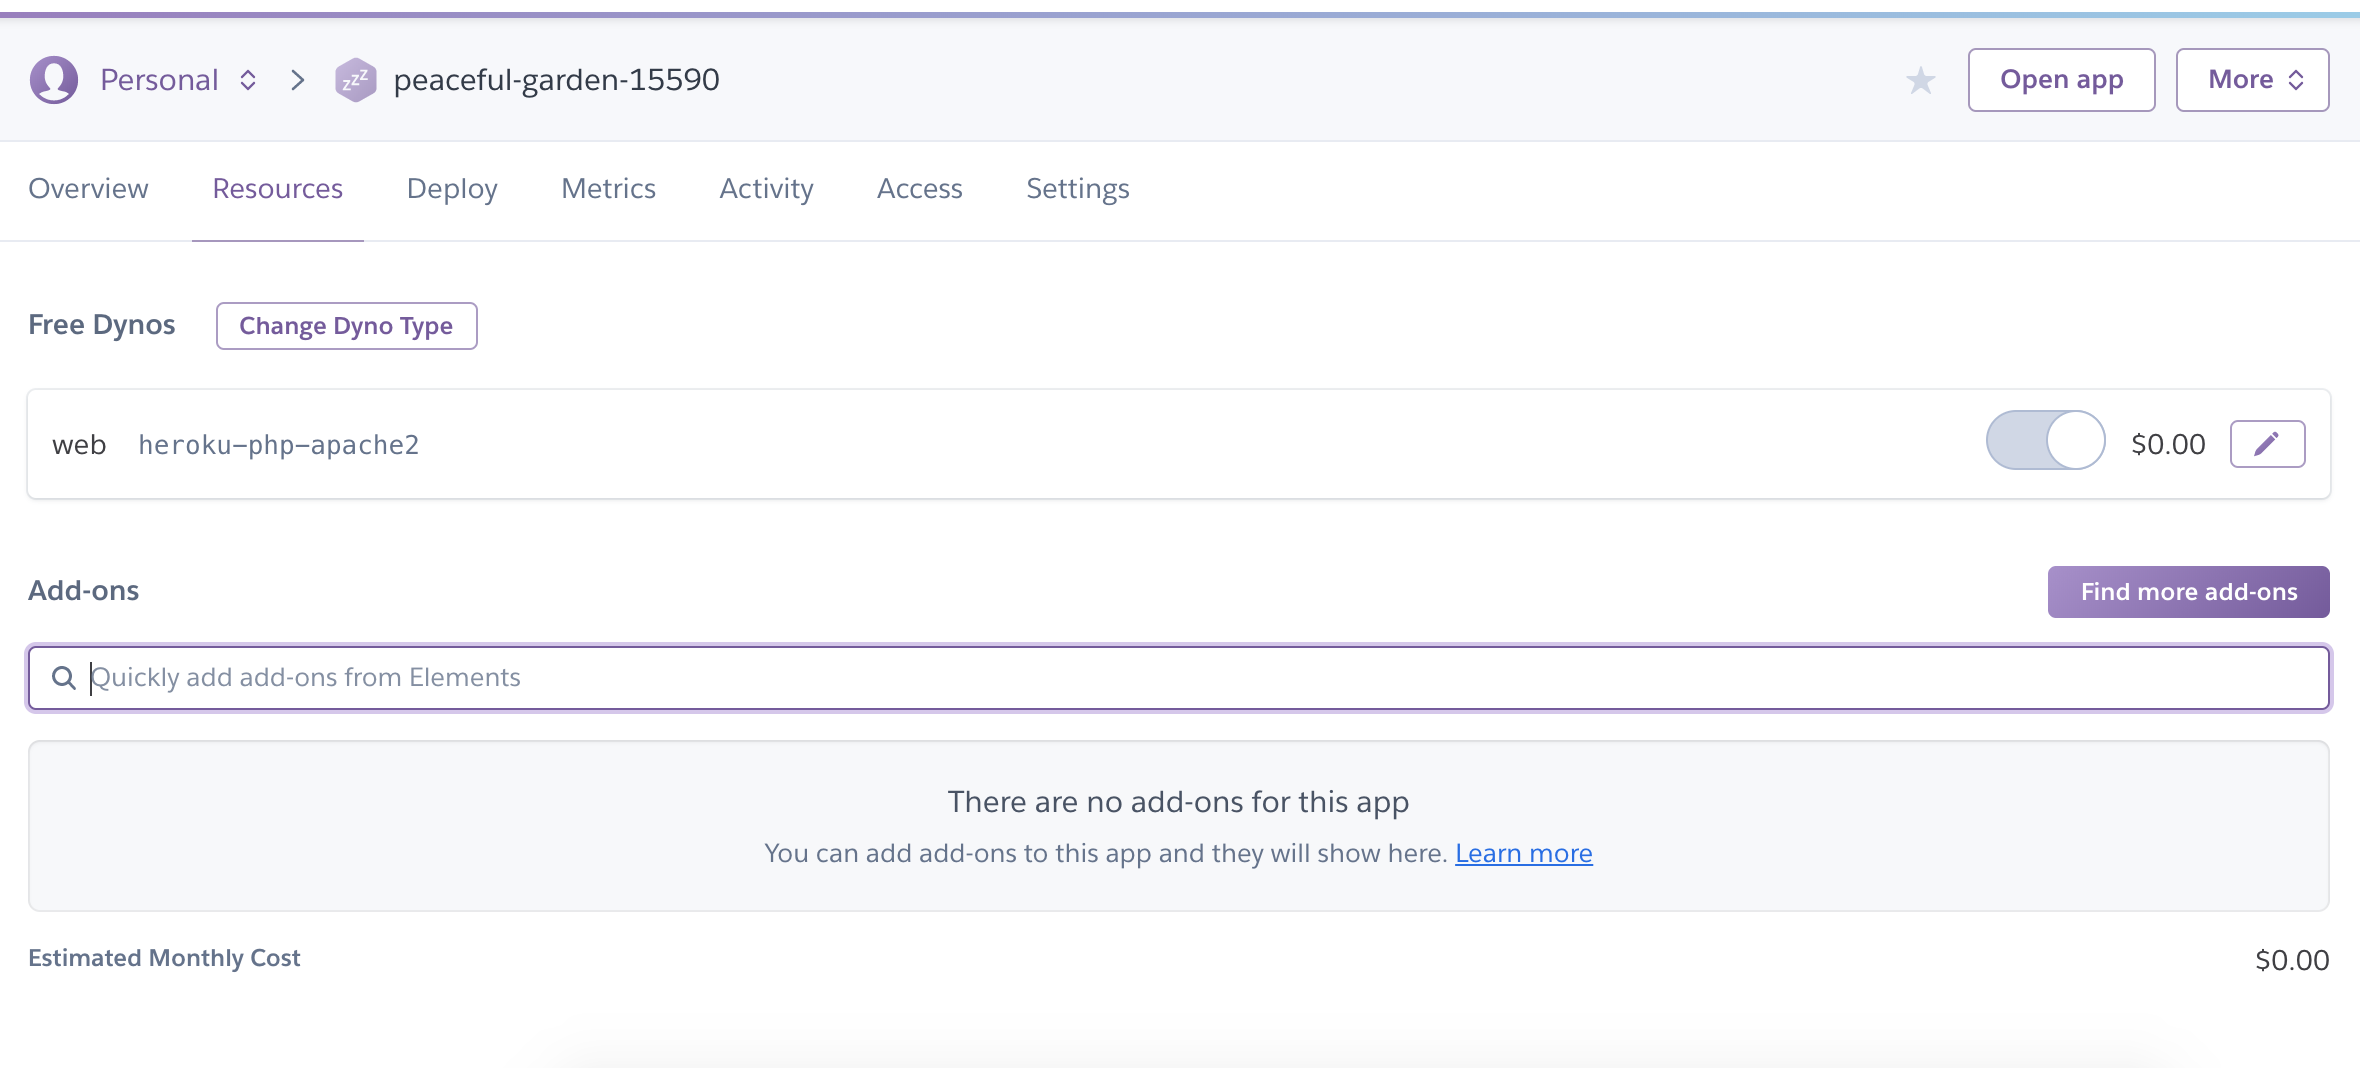
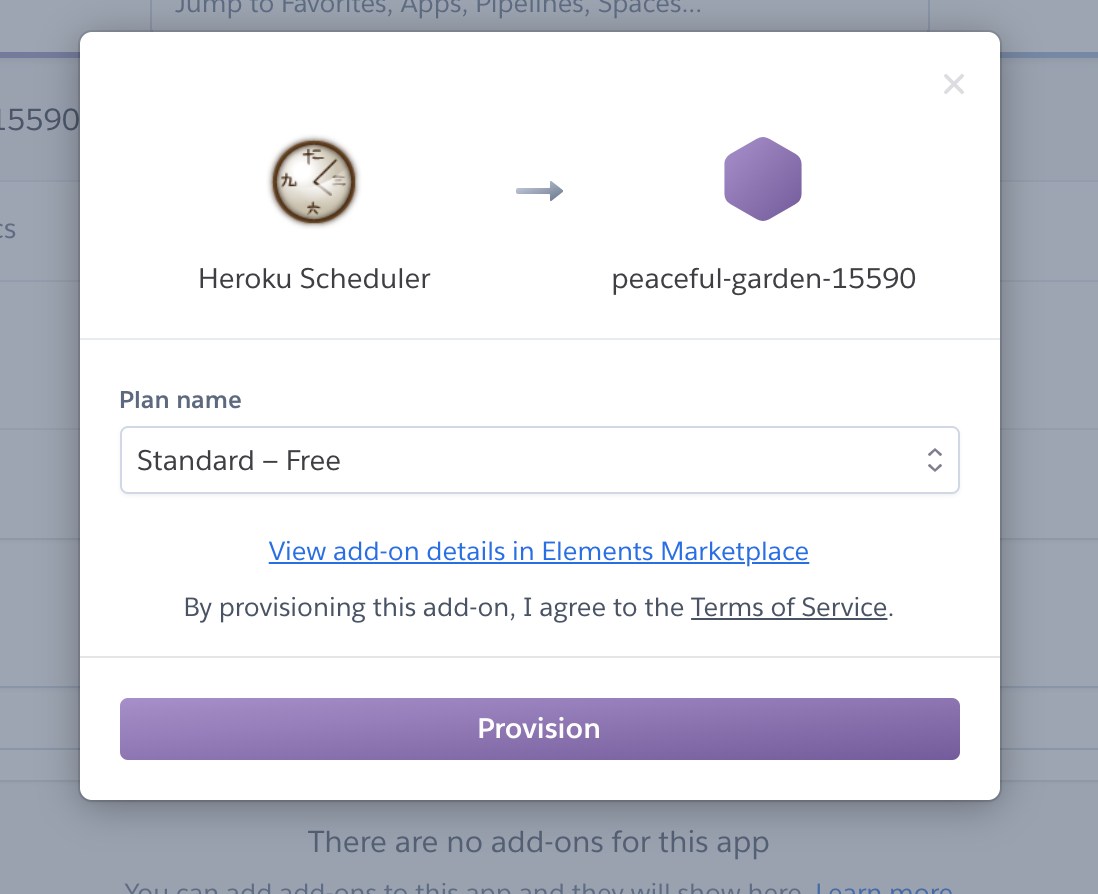
### herokuにDeploy
$ echo web: gunicorn newsproject.wsgi –log-file – > Procfile
$ freeze > requirements.txt
$ python3 –version
Python 3.8.10
$ echo python-3.8.10 > runtime.txt
$ echo -e __pycache__\\ndb.sqlite3\\n.DS_Store\\nlocal_settings.py > .gitignore
newsproject/settings.py
L SECRET_KEYを削除する
import dj_database_url

DEBUG = False
// 省略

ALLOWED_HOSTS = ["*"]

MIDDLEWARE = [
    'django.middleware.security.SecurityMiddleware',
    'django.contrib.sessions.middleware.SessionMiddleware',
    'django.middleware.common.CommonMiddleware',
    'django.middleware.csrf.CsrfViewMiddleware',
    'django.contrib.auth.middleware.AuthenticationMiddleware',
    'django.contrib.messages.middleware.MessageMiddleware',
    'django.middleware.clickjacking.XFrameOptionsMiddleware',
    'whitenoise.middleware.WhiteNoiseMiddleware', // 追加
]

DATABASES = {
    'default': {
        'ENGINE': 'django.db.backends.postgresql_psycopg2',
        'NAME': 'name',
        'USER': 'user',
        'PASSWORD': '',
        'HOST': 'host',
        'PORT': '',
    }
}

try:
    from .local_settings import *
except ImportError:
    pass

if not DEBUG:
    SECRET_KEY = os.environ['SECRET_KEY']
    import django_heroku
    django_heroku.settings(locals())

df_from_env = dj_database_url.config(conn_max_age=600, ssl_require=True)
DATABAES['default'].update(db_from_env)
STATIC_ROOT = os.path.join(BASE_DIR, 'staticfiles')
newsproject/local_settings.py
L SECRET_KEYをコピーする
import os

BASE_DIR = os.path.dirname(os.path.dirname(os.path.abspath(__file__)))

SECRET_KEY = 'django-insecure-bm-*'

DATABASES = {
	'default': {
		'ENGINE' : 'django.db.backends.sqlite3',
		'NAME': os.path.join(BASE_DIR, 'db.sqlite3')
	}
}

DEBUG = True

if not DEBUG:
    SECRET_KEY = os.environ['SECRET_KEY']
$ git init
$ git add -A
$ git commit -m “initial commit”
$ heroku login
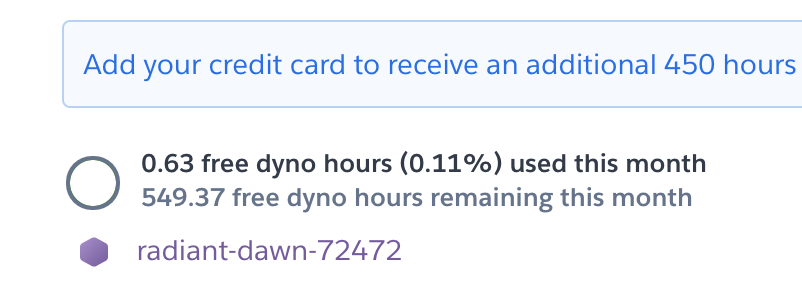
$ heroku create
$ heroku config:set SECRET_KEY=’django-insecure-*’
$ git push heroku master
ERROR: Could not find a version that satisfies the requirement cliapp==1.20180812.1 (from versions: 1.0.1, 1.0.2, 1.0.3, 1.0.4, 1.0.5, 1.0.6, 1.0.7, 1.0.8, 1.0.9)
remote: ERROR: No matching distribution found for cliapp==1.20180812.1
git pushできない…
なかなか難儀やな