EC2をprivate subnetに移し、SSH用のbastionサーバの構築

### 既存のWebサーバのAMIを取得
Instances -> Actions -> Image -> Create Image

### purivate subnetのインスタンスの作成
作成したAMIから、再度インスタンスを作る
${appName}-prd-01-private
vpc:dev-vpc
subnet:dev-subnet-private1
Public IP:enable
IAM role: s3readonly
Security group: prd

${appName}-prd-02-private
vpc:dev-vpc
subnet:dev-subnet-private2
Public IP:enable
IAM role: s3readonly
Security group: prd

### public subnetのインスタンス削除
instance -> instance state -> terminate

### ALBのターゲットグループに追加
TargetGroup -> Target -> 追加
->ALBのDNSを叩いて動作確認
->コンソールからinstanceのpublic ipを叩いてssh接続できない事を確認

### bastionのサーバ構築
Instance Type: t2.nano
VPC: dev-vpc
subnet: dev-public-subnet
Auto-assign Public IP: enable
storage size: 8Gib
tag: ${appName}-prd-bastion
security group: create ${appName}-sg-bastion, Custom TCP
key pair: 新規推奨

### bastionのkey pair
bastionサーバにログインし、home/ec2-user/.sshに 秘密鍵(***.pem)を配置する
bastionにSSHログイン

$ ssh ec2-user@*** -i  ~/.ssh/***.pem
$ sudo chmod 600 /home/ec2-user/.ssh/***.pem
$ cd .ssh
$ ls -l

### Webサーバのセキュリティグループ
ssh接続のソースをmyIPに変更

### bastionからprivate subnetのweb serverにログイン
$ ssh ec2-user@${private_ip} -i .ssh/aws-dev.pem

$ curl https://www.google.co.jp/
-> timeout
-> private subnetは、インターネットゲートウェイのルーティングが存在しないことが原因

### NATゲートウェイ作成
VPC -> NATGateways -> create
subnet: dev-subnet-public1
Elastic IP: 割り当て

Private route table
NAT Gateway 割り当て

curl https://www.google.co.jp/
-> レスポンスが返るようになる。

laravel6.x : ELB使用時にElastiCache(Redis)でセッション管理する

AWSのELBで冗長化する場合、TokenMismatchExceptionが発生しないよう、セッション管理をデフォルトのCookieからRedisに変更する。
ALBでStickinessを有効化する事で、Cookieのままでも機能的にはおよそ問題ないとも言えるが、
「インスタンスが死んだ場合にはセッションが切れる」「負荷分散が偏る場合が発生する」とのことで、
要件次第のところもあるが、基本的にはスティッキークッキーではなく、ElastiCacheでの管理に変更する。

### 1.Redis用のsubnet作成
Services->Database->ElastiCache->SubnetGroup
Name:${appName}-redis-subnet-group
Description:${appName}-redis-subnet-group
VPC:dev-vpc
Subnet:dev-subnet-private1(ap-northeast-1a)、dev-subnet-private2(ap-northeast-1c)

### 2.Redis用のSecurityGroup作成
name:redis-security-group
description:redis-security-group
VPC:dev-vpc

Edit Inbound Rule
Custom TCP, 6379port, PRDのSecurityGroup

### 3.Redisの作成
Name: ${appName}-redis
Engine version compatibility: 5.0.6
Port:6379
Parameter group:default.redis5.0
nodetype: t2.medium
replica:0
subnet group: ${appName}-redis-subnet-group
security group: redis-security-group
backup: null

### 4. Laravelでredisを使えるようにする
$ ssh ec2-user@*** -i ~/.ssh/***.pem
$ cd /var/www/${appName}

// predisを入れる為、メモリ拡張
$ sudo /bin/dd if=/dev/zero of=/var/swap.1 bs=1M count=1024
$ sudo /sbin/mkswap /var/swap.1
$ sudo /sbin/swapon /var/swap.1
$ free

$ sudo php composer.phar require predis/predis

$ sudo vi .env

CACHE_DRIVER=redis
SESSION_DRIVER=redis
REDIS_HOST=${redis endpoint}

$ php artisan config:clear
$ chown apache:apache /var/www/${appName}/storage/logs/laravel.log

で、動作確認すると、

please make sure the php redis extension is installed and enabled

何いいいいいいいいいいいいいい
「sudo yum install php-redis」でphp-redis入れろって事?

あ、
config/database/php
122行目
phpredis -> predis

'redis' => [

        'client' => env('REDIS_CLIENT', 'predis'),

再度動作確認

ELBで異なるsubnetのEC2に冗長化する書き方

ELBで負荷分散して冗長化する

### public subnetを二つ用意
– availability zoneが異なるpublic subnetの中に、それぞれEC2を配置する
現状

dev-vpc(192.168.0.0/16)
dev-subnet-public1(192.168.1.0/28) ap-northeast-1a ・・・web-prd-01 
dev-subnet-private1(192.168.2.0/28) ap-northeast-1a ・・・RDS MultiAZ
dev-subnet-private2(192.168.3.0/28) ap-northeast-1c・・・RDS MultiAZ 

上記を踏まえ、以下のsubnetを作成する
1.dev-subnet-public2(192.168.4.0/28) ap-northeast-1c ・・・web-prd-02
2.作成済みのpublic route tableを関連付ける(internet gatewayは紐付け済)

### AMIからインスタンス作成
– web-prd-01のAMIからインスタンスを複製する
– VPCにdev-vpc、subnetにdev-subnet-public2を割り当てる
– Auto-assign Public IP Enable, IAM role s3readonly

-インスタンスを起動し、動作確認
-SSHログインしてファイルも確認する

### ロードバランサの構築
– EC2左メニューLOAD BALANCINGのTarget Groupsの作成
– target group name: ${app name}-target-group
– target type: instance
– Protocol: HTTP
– Port: 80
– VPC:dev-vpc
– Health check settings: http, /

作成したtarget-groupにAction-> Register and deregister instance/ip targets からweb-prd-01, web-prd-02を紐付ける

### ALBの作成
Name: ${appName}-prd-alb
Scheme: internet-facing
IP address type: ipv4
Lisnter: http:80
Availability Zones:
VPC: dev-vpc
Subnet: dev-subnet-public1, dev-subnet-public2

Configure Security Groups
-> ALBのSecurity Groupを作成する
-> alb-${appName}-security-group
-> Custom TCP

Configure Routing
– Target group: Existing target group
– Name: ${appName}-target-group
– Protocol Port: HTTP 80

### security groupを新規に作成
インバウンドルールに、ALBのみから受け付けるように設定する
– SSH:0.0.0.0/0
– HTTP: ${albのsecuritygroup ID}
インスタンス(web-prd-01, web-prd-02)のセキュリティグループを新規に作成したセキュリティグループに変更

->ALBのDNS nameを叩いて動作確認
->instanceのpublic ipを叩いてもresponseが返ってこない事を確認

MultiAZのRDSを作成し、EC2からRDSに接続する方法

RDS用にavailability zoneが異なる二つのsubnetと、InternetGatewayに接続しないroute table, RDS用のsecuirtyグループを作成して、EC2と同じVPCの中にRDSを作成する。

## Private subnetの作成
privateなsubnetを二つ作成する。その際に、subnetのAvailability Zoneは別々にする。VPCは同じ

192.168.2.0/28(dev-subnet-private1)
 L ap-northeast-1a
192.168.3.0/28(dev-subnet-private2)
 L ap-northeast-1c

※以前作成したpublicなsubnet

192.168.1.0/28(dev-subnet-public) 
 L ap-northeast-1a

## Private route tableの作成
name:private-routetable
Private route tableにPrivate Subnetを紐付け

## RDS用のSubnet group作成
Services -> RDS -> Subnet group
name: ${appname}-subnet-group
vpc: 同じ
add subnet: private subnetを追加

192.168.2.0/28(dev-subnet-private1)
 L ap-northeast-1a
192.168.3.0/28(dev-subnet-private2)
 L ap-northeast-1c

## RDS用のSecurity group作成
name: rds-security-group
inbound rules:
Type:MYSQL/Aurora
Protocol: TCP
Port Range: 3306
Source: dev-security-group(ec2のセキュリティグループ)

### DB作成
MySQL
8.0.17(最新)
db.t.micro
General Purpose(SSD)
20 GiB
Subnet group: ${appname}-subnet-group
Security Group:rds-security-group

### EC2からDBインスタンスにログイン
1. EC2にssh
ssh ec2-user@*** -i ~/.ssh/***.pem

2. /.sshにrds-ca-2019-root.pemを配置

3. EC2からRDSにssh接続
mysql -h ${endpoint}.ap-northeast-1.rds.amazonaws.com –ssl-ca=.ssh/rds-ca-2019-root.pem -u root -p

Enter password:
Welcome to the MySQL monitor. Commands end with ; or \g.
Your MySQL connection id is 16
Server version: 8.0.17 Source distribution

Copyright (c) 2000, 2020, Oracle and/or its affiliates. All rights reserved.

Oracle is a registered trademark of Oracle Corporation and/or its
affiliates. Other names may be trademarks of their respective
owners.

Type ‘help;’ or ‘\h’ for help. Type ‘\c’ to clear the current input statement.

mysql>

この後.envファイルを編集します。

DB_CONNECTION=mysql
DB_HOST=${endpoint}.ap-northeast-1.rds.amazonaws.com
DB_PORT=3306
DB_DATABASE=${db_name}
DB_USERNAME=hoge
DB_PASSWORD=hogehoge

migrateして、上手くいけば、ec2からMySQLに入り、初期データを入れる為、クエリを実行します。
// 省略
Query OK, 1 row affected (0.01 sec)

ansible-playbookでvagrantからEC2にデプロイする方法

[EC2側]
まず、EC2を起動し、ターミナルからssh接続
$ ssh ec2-user@**** -i ~/.ssh/***.pem
$ cd /home/release
$ ls
LICENSE appspec.yml index.html scripts

[vagrant側]
.ssh/、inventory/hostsを作成済み
/hosts

[targets]
**.***.**.**

今回デプロイするtest.htmlを作成する

<!DOCTYPE html>
<html lang="en">
<head>
	<meta charset="UTF-8">
	<title>Document</title>
</head>
<body>
	ansible deploy test
</body>
</html>

$ ls
LICENSE appspec.yml index.html inventory playbook.yml scripts test.html

playbook.yml

- hosts: targets
  sudo: yes
  tasks:
    - name: put test.html
      copy: src=test.html dest=/home/release/ owner=root group=root mode=640

### デプロイ実行
$ ansible-playbook -i inventory/hosts –private-key=.ssh/***.pem playbook.yml -u ec2-user
PLAY [targets] *****************************************************************

TASK [Gathering Facts] *********************************************************
ok: [**.***.**.**]

TASK [put test.html] ***********************************************************
changed: [**.***.**.**]

PLAY RECAP *********************************************************************
**.***.**.** : ok=2 changed=1 unreachable=0 failed=0 skipped=0 rescued=0 ignored=0

### EC2側で確認
$ ls
LICENSE appspec.yml index.html scripts test.html
$ sudo cat test.html

<!DOCTYPE html>
<html lang="en">
<head>
	<meta charset="UTF-8">
	<title>Document</title>
</head>
<body>
	ansible deploy test
</body>
</html>

playbook.ymlは、デプロイする場合は、copy: src=${source file} dest=${dest directory} owner=root group=root mode=640 でOK
test.htmlを修正して、再度ansible-playbookを叩いた場合でも、EC2側で反映されていることが確認できます。

ansibleでvagrantからEC2にSSH接続するテスト

Githubではなく、ローカルからEC2にデプロイしたい時もあるでしょう。
という事で、AnsibleからEC2にSSH接続する方法を確認していきます。

### 前提
– vagrantにansibleインストール済

$ ansible –version
ansible 2.8.5

### .gitignore
git pushする際に、秘密鍵がレポジトリにpushされないよう、gitignoreを設定します。
.gitignore

/.ssh

.ssh フォルダにテストファイルを作成して.gitignoreが動くかテスト
$ git add .
$ git commit -m “gitignore added”
$ git push -u origin master

レポジトリにて、.sshがpushされていない事を確認

## -m pingテスト
### .ssh
ec2の秘密鍵を.sshに配置
$ chmod 700 .ssh/

### EC2
instanceからEC2をstart

### host
inventory/hosts
-> instanceのpublic ip(テスト用)を入れる

[targets]
**.***.**.**

### ansible command
$ ansible all -i inventory/hosts -m ping

**.***.**.** | UNREACHABLE! => {
    "changed": false, 
    "msg": "Failed to connect to the host via ssh: Warning: Permanently added '**.***.**.**' (ECDSA) to the list of known hosts.\r\nPermission denied (publickey,gssapi-keyex,gssapi-with-mic).", 
    "unreachable": true
}

鍵認証が上手くいっていない。

$ ansible all -i inventory/hosts –private-key=.ssh/***.pem -m ping -u ec2-user

**.***.**.** | SUCCESS => {
    "ansible_facts": {
        "discovered_interpreter_python": "/usr/bin/python"
    }, 
    "changed": false, 
    "ping": "pong"
}

appspec.ymlにhttpd stop, start処理を入れる

– CodeDeployで、service httpd stop, service httpd startの処理を入れる

### shellの作成
@local

scripts/stop_server

#!/bin/bash
isExistApp = `pgrep httpd`
if [[ -n $isExistApp ]]; then
	service httpd stop
fi

scripts/setpermission.sh

#!/bin/bash
chmod -R 777 /home/release/storage

scripts/start_server

#!/bin/bash
service httpd start

appspec.yml

version: 0.0
os: linux
files:
  - source: /
    destination: /home/release
hooks:
  ApplicationStop:
    - location: scripts/stop_server
      timout: 300
      runas: root
  AfterInstall:
    - location: scripts/setpermission.sh
      timeout: 300
      runas: root
  ApplicationStart:
    - location: scripts/start_server
      timout: 300
      runas: root

$ git add .
$ git commit -m “appspec.yml update”
$ git push -u origin master

# ec2 -> instance -> start
$ ssh ec2-user@${public_ip} -i ~/.ssh/***.pem
$ cd /home/release
$ ls
LICENSE appspec.yml index.html
// httpd serverをインストール
$ sudo yum update
$ sudo yum install httpd
$ sudo systemctl start httpd
$ sudo systemctl status httpd
$ sudo systemctl enable httpd
$ sudo systemctl is-enabled httpd

# CodeDeploy -> Applications -> create deployment -> commit idを入力
$ ls
LICENSE appspec.yml index.html scripts

なるほど、appspec.ymlの公式を確認します。
hooksのフローはこちらに掲載されています。
https://docs.aws.amazon.com/ja_jp/codedeploy/latest/userguide/reference-appspec-file-structure-hooks.html

BeforeInstall – 置き換えタスクセットが作成される前にタスクを実行
AfterInstall – 置き換えタスクセットが作成され、ターゲットグループの 1 つがそれに関連付けられた後、タスクを実行

AMI作成とAMIからインスタンスを起動の流れ

### AMIの作成
Instances -> Actions -> Image -> Create Image

### インスタンスの作成
-MyAMIsから作成したAMIを選択する
-後は、インスタンス作成時と同じ
-AMIからインスタンスを作成する場合も、Configure Instance Detailsを再度設定する

InstanceのIAM roleで「AmazonS3ReadOnlyAccess」などをつけたい場合は、再度インスタンスをゼロから作り直すより、AMIから作成した方が圧倒的にスピードが早く、ミスも軽減すると思う。

Git pushでEC2にCodeDeploy

Git pushするとCodeDeployでEC2にDeployされる方法

## IAMユーザの作成
Add user: GitHub
Access type: Programmatic access
Policty: AWSCodeDeployFullAccess
Permission: CreatePolicy

Policy Name: CodeDeploy-Access

Json

{
    "Version": "2020-03-07",
    "Statement": [
        {
            "Effect": "Allow",
            "Action": "codedeploy:GetDeploymentConfig",
            "Resource": "arn:aws:codedeploy:ap-northeast-1:${account id}:deploymentconfig:*"
        },
        {
            "Effect": "Allow",
            "Action": "codedeploy:RegisterApplicationRevision",
            "Resource": "arn:aws:codedeploy:ap-northeast-1:${account id}:application:${application name}"
        },
        {
            "Effect": "Allow",
            "Action": "codedeploy:GetApplicationRevision",
            "Resource": "arn:aws:codedeploy:ap-northeast-1:${account id}:application:${application name}"
        },
        {
            "Effect": "Allow",
            "Action": "codedeploy:CreateDeployment",
            "Resource": "arn:aws:codedeploy:ap-northeast-1:${account id}:deploymentgroup:${application name}/${deploy_group}"
        },
        ]
}

### GithubでCodeDeploy用のサービスを追加
– Deploy対象のレポジトリに移動
-> Settings->Integration & Services

Note: GitHub Services have been deprecated. Please contact your integrator for more information on how to migrate or replace a service with webhooks or GitHub Apps.

Servicesは終了しているので、現在はできないようです。

GitHubからEC2へのCodeDeployの手順

## 準備
### 1. IAMロール作成
– CodeDeploy
— Name: CodeDeploy
— Policy: CodeDeployRole
– ec2
— Name: s3readonly
— Policy: AmazonS3ReadOnlyAccess

### 2.VPC作成
– VPC, public subnet, InternetGateway, RouteTable作成
– SecurityGroup作成

## EC2
### 3.インスタンス作成
– Configure Instance DetailsのIAM roleで上記で作成したs3readonlyのroleを選択する
– VPC, public subnet, InternetGateway, RouteTable, SecurityGroupも作成したもの選択する
– SSHログイン

$ ssh ec2-user@****** -i  ~/.ssh/***.pem

### 4.EC2にCodeDeployAgentのインストール
$ sudo yum update
$ sudo yum install ruby
$ sudo yum install aws-cli
$ cd /home/ec2-user
$ aws s3 cp s3://aws-codedeploy-ap-northeast-1/latest/install . –region ap-northeast-1
$ chmod +x ./install
$ sudo ./install auto
$ sudo service codedeploy-agent status
The AWS CodeDeploy agent is running as PID 12399

## 5.Github repository
${repo_name}/appspec.yml

version: 0.0
os: linux
files:
  - source: /
    destination: /home/release

### 6.CodeDeployのapplication作成
– ServicesのCodeDeployからCreate Application
— test

### 7. Deployment group
– Create deployment group押下
Deployment group name: testDeploy
Service role: codeDeploy
Deployment type: In place
Environment configuration: Amazon EC2 instances
->key:test
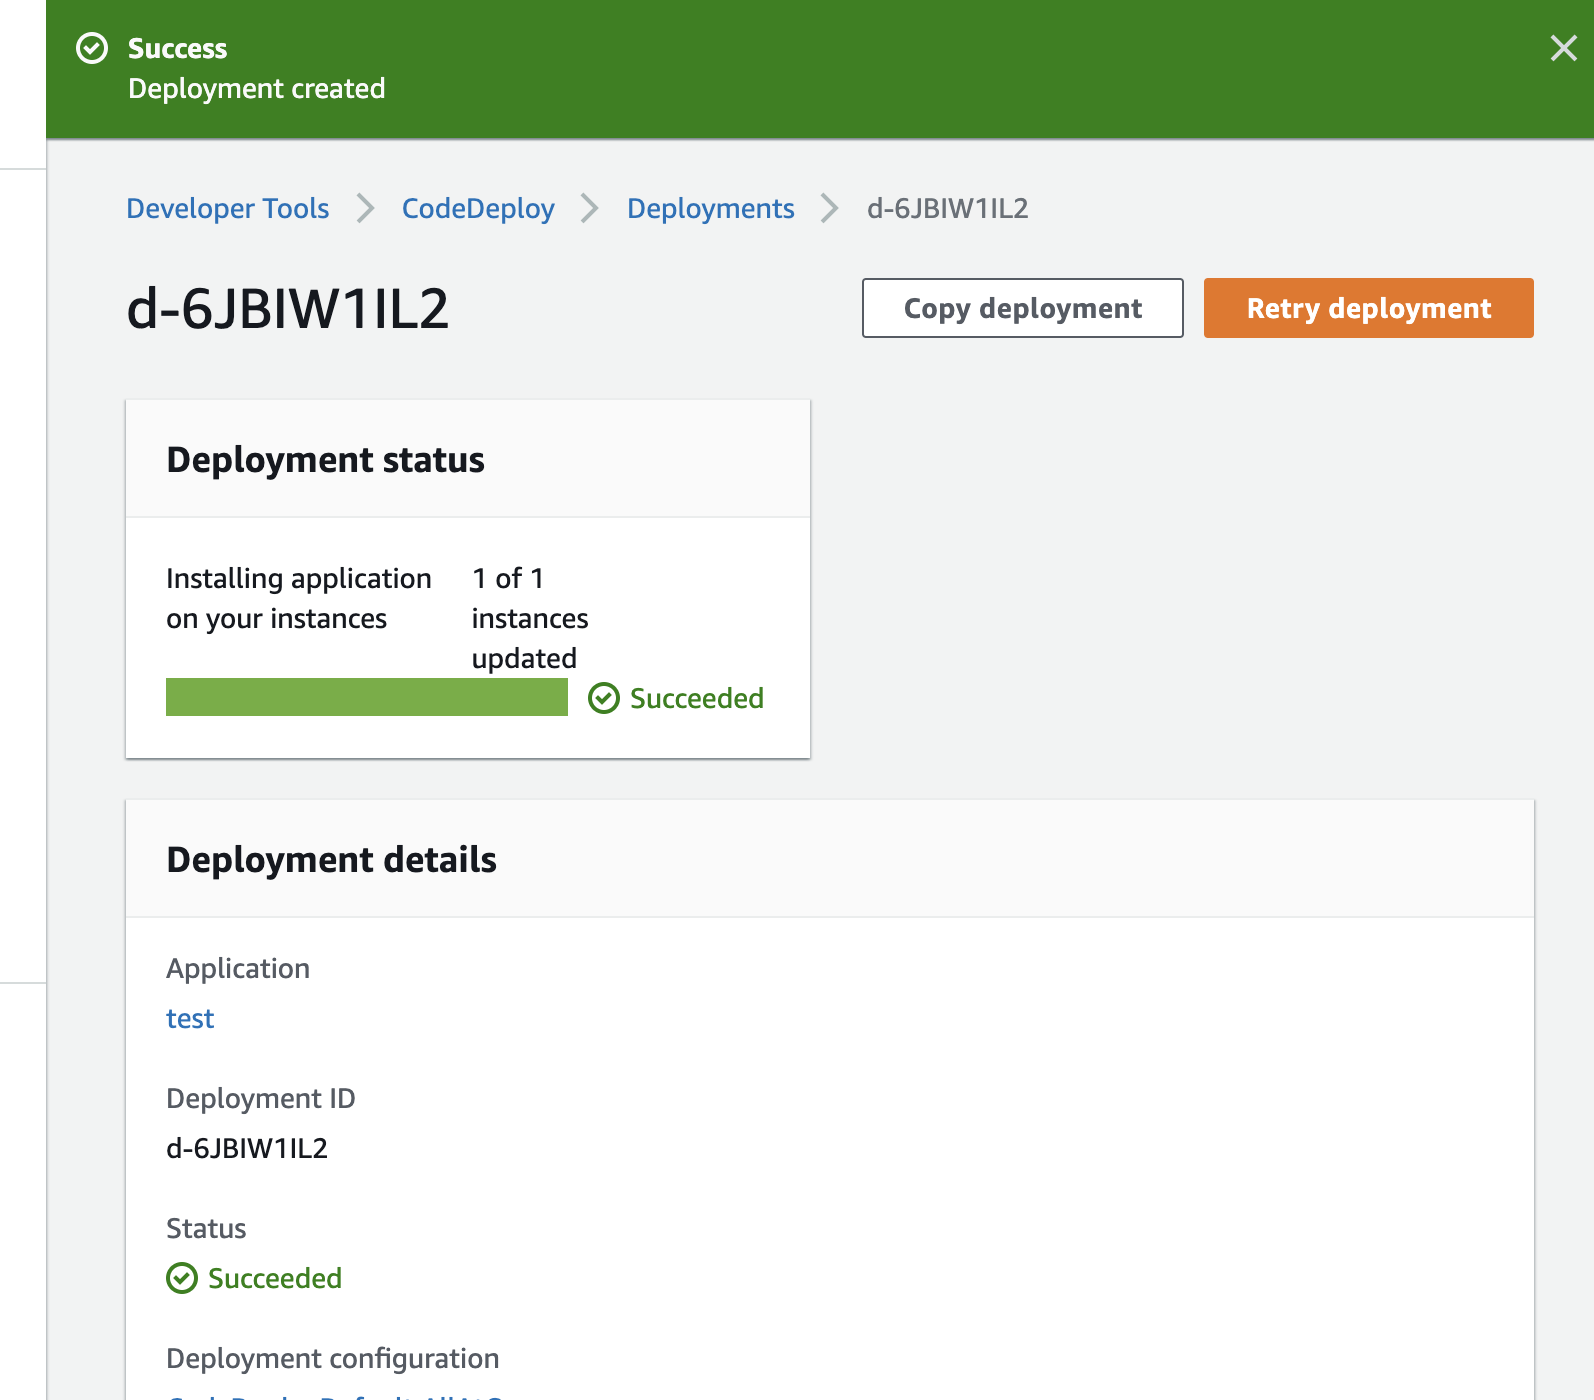
Deployment settings: CodeDeployDefault.AllAtOnce

### 8.Create deployment
Deployment group: testDeply
Revision type: My application is stored in Github
GitHub token name: Githubのname
Repository name: ${githubname}/${repository name}
Commit ID: GithubのcommitのID

$ pwd
/home/release
$ ls
LICENSE appspec.yml index.html