show.blade.php
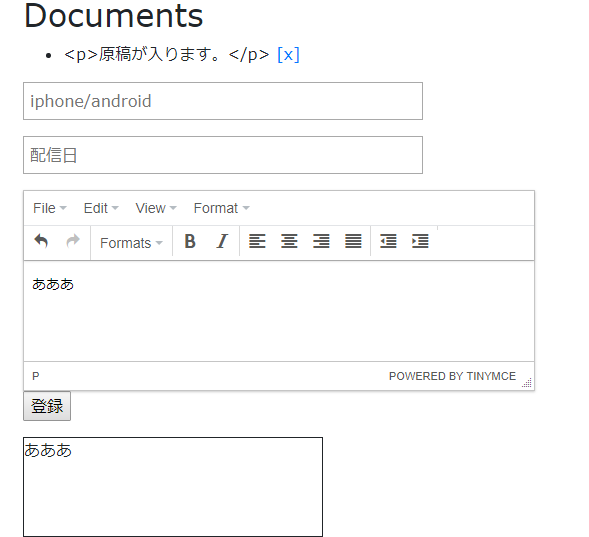
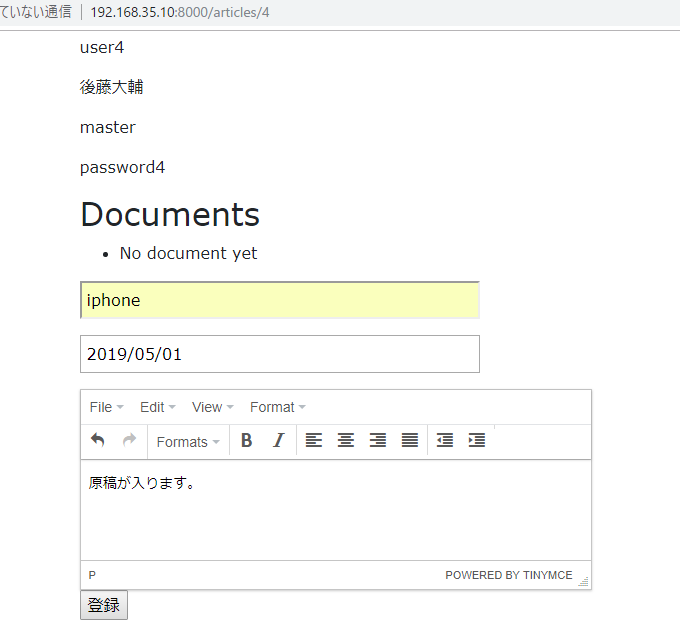
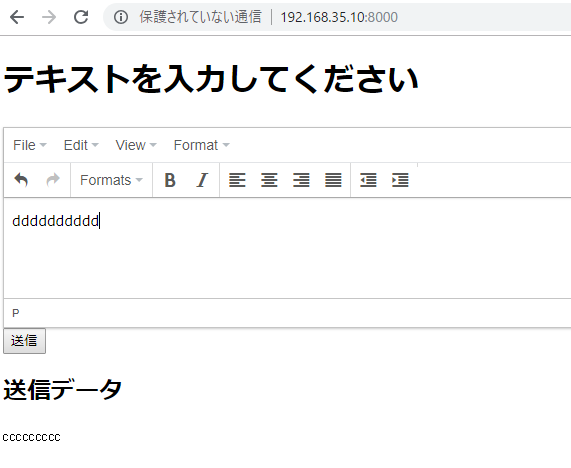
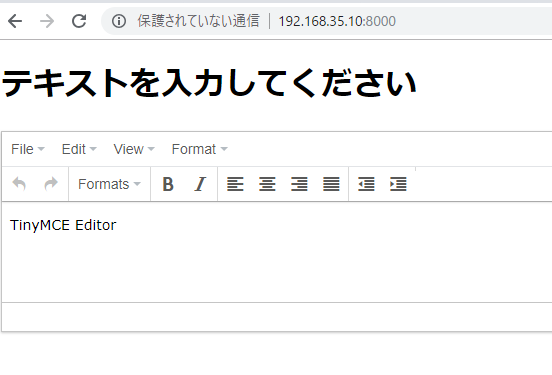
<textarea id="myTextArea" name="body" class="mceEditor">{{ old('body') }}</textarea>
@if($errors->has('body'))
<span class="error">{{ $errors->first('body') }}</span>
@endif
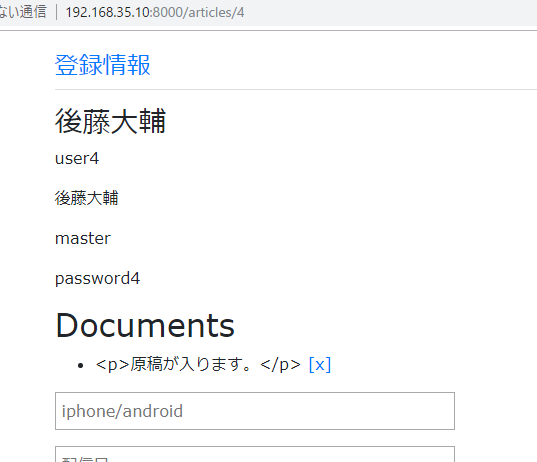
<p>
<input type="submit" value="登録">
</p>
</form>
<div style="border:1px solid; width:300px; height:100px;" id="preview_area"></div>
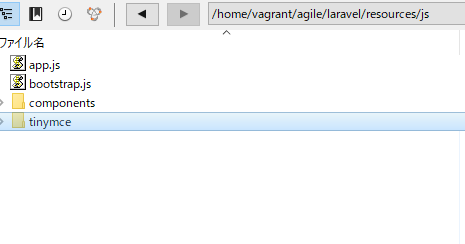
<script src="/js/main.js"></script>
<script src="/js/tinymce/tinymce.min.js"></script>
<script>
tinymce.init({
mode : "specific_textareas",
editor_selector : "mceEditor",
init_instance_callback: function (editor) {
editor.on('change', function (e) {
$('#preview_area').html(editor.getContent());
});
}
});
</script>
これはマジ凄い。