.jsp
<body>
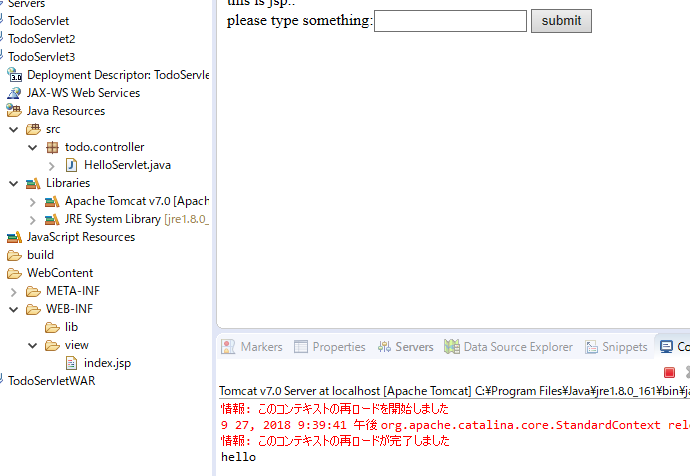
<%= request.getAttribute("word") %>
<form method="post" action="./HelloServlet">
please type something:<input type="text" name="form1">
<button type="submit">submit</button>
</form>
</body>
servlet
protected void doPost(HttpServletRequest request, HttpServletResponse response) throws ServletException, IOException {
		// TODO Auto-generated method stub
		String value = request.getParameter("form1");
		System.out.println(value);

		doGet(request, response);
	}
あああ、これはセクシーだ。