### 画像バリデーションの拡張子
一昔前は、画像の拡張子といえば、jpeg,jpg,gif,pngのみが多かった印象がありますが(自分だけ?)、Laravel6.xのimageのバリデーションでは「jpg、png、bmp、gif、svg、webp」となっております。そのまま、jpeg,jpg,gif,pngに加えて、bmp,svg, webpも採用するかについて考えたいと思います。
### SVGとは?
SVGとは、Scalable Vector Graphicsの略です。
名称からどのような画像かほぼ想像がつきますが、念の為コードを書きながら特徴を見てみましょう。
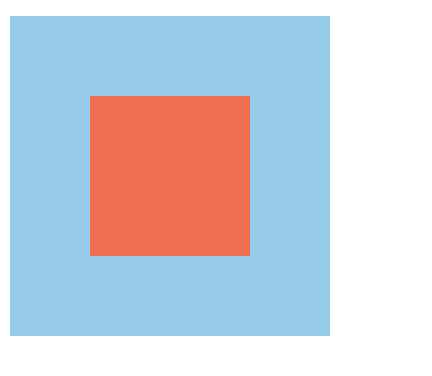
<svg width="160" height="160">
		<rect x="0" y="0" width="160" height="160" fill="skyblue"/>
		<rect x="40" y="40" width="80" height="80" fill="tomato"/>
	</svg>
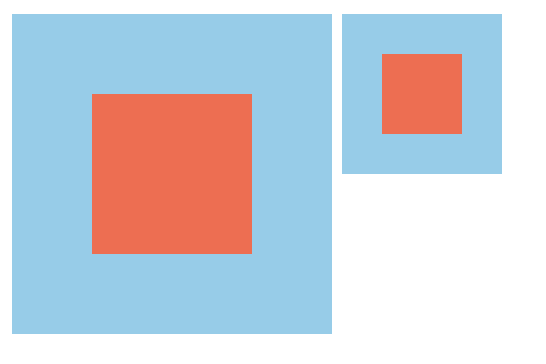
### view box
<svg width="160" height="160">
		<rect x="0" y="0" width="160" height="160" fill="skyblue"/>
		<rect x="40" y="40" width="80" height="80" fill="tomato"/>
	</svg>
	<svg width="160" height="160" viewBox="0 0 320 320">
		<rect x="0" y="0" width="160" height="160" fill="skyblue"/>
		<rect x="40" y="40" width="80" height="80" fill="tomato"/>
	</svg>
<svg width="160" height="160">
		<rect x="0" y="0" width="160" height="160" fill="skyblue"/>
		<rect x="20" y="20" width="30" height="30" fill="#08c"/>
		<rect x="65" y="20" width="30" height="30" fill="rgb(255, 0, 0, 4)"/>
		<rect x="110" y="20" width="30" height="30" fill="hsla(120, 40%, 40%, .4)"/>
	</svg>

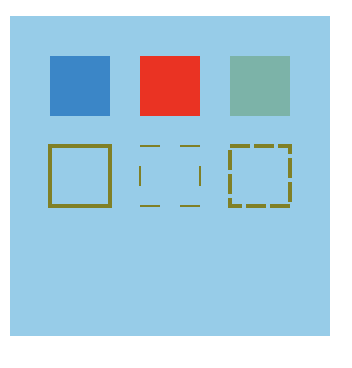
<svg width="160" height="160">
		<rect x="0" y="0" width="160" height="160" fill="skyblue"/>
		<rect x="20" y="20" width="30" height="30" fill="#08c"/>
		<rect x="65" y="20" width="30" height="30" fill="rgb(255, 0, 0, 4)"/>
		<rect x="110" y="20" width="30" height="30" fill="hsla(120, 40%, 40%, .4)"/>
		<rect x="20" y="65" width="30" height="30" fill="none" stroke="olive" stroke-width="2"/>
		<rect x="65" y="65" width="30" height="30" fill="none" stroke="olive" stroke-dasharray="10"/>
		<rect x="110" y="65" width="30" height="30" fill="none" stroke="olive" stroke-width="2" stroke-dasharray="10, 2"/>
	</svg>
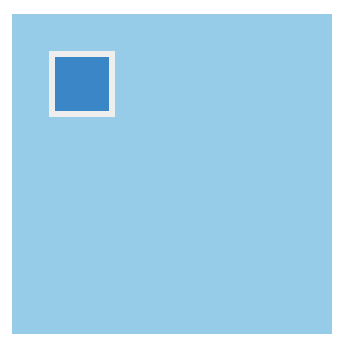
<svg width="160" height="160">
		<rect x="0" y="0" width="160" height="160" fill="skyblue"/>
		<rect x="20" y="20" width="30" height="30" style="fill:#08c; stroke:#eee; stroke-width:3;"/>
	</svg>
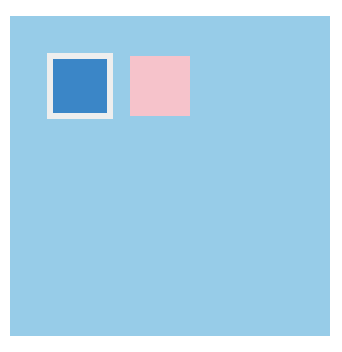
<svg width="160" height="160">
		<defs>
			<style>
				.my-box {
					fill: pink;
				}
			</style>
		</defs>
		<rect x="0" y="0" width="160" height="160" fill="skyblue"/>
		<rect x="20" y="20" width="30" height="30" style="fill:#08c; stroke:#eee; stroke-width:3;"/>
		<rect x="60" y="20" width="30" height="30" class="my-box"/>
	</svg>
<svg width="160" height="160">
		<rect x="0" y="0" width="160" height="160" fill="skyblue"/>
		<circle cx="80" cy="80" r="40" fill="gold" />
	</svg>

### Photoshop、IllustratorのSVG、bmpの扱い
photoshopではbmpはありますが、SVGはありません。
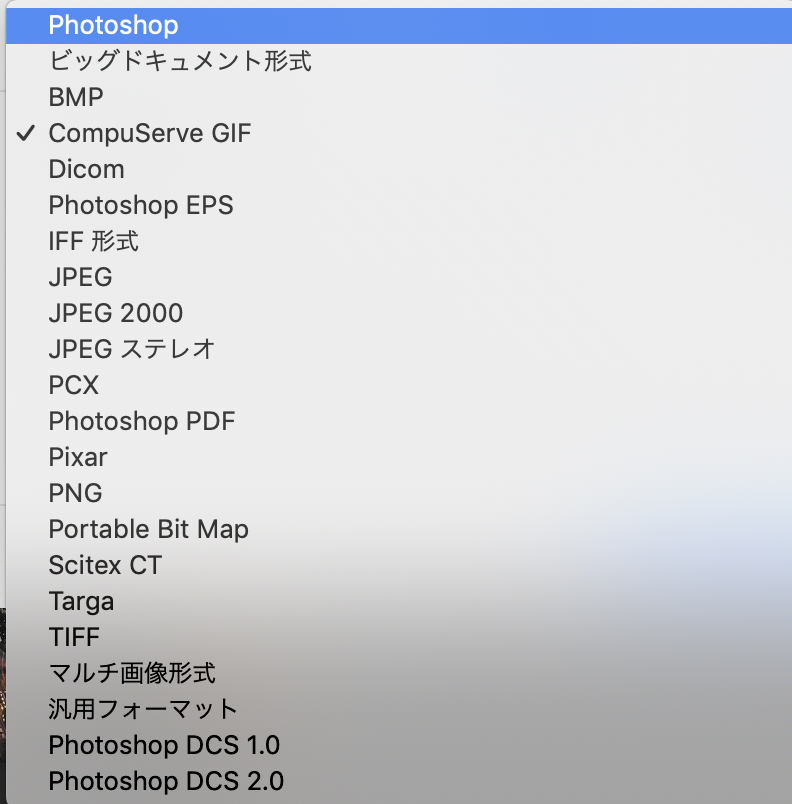
一方、ベクターなのでIllustratorはSVGの取り扱いがあります。
### 結論
卒業写真など、オフィシャルなものであれば写真オンリーでしょうが、compassなどを見るとjpegの写真は殆どの見ないくらい写真以外をプロフィール画像にすることは浸透しているため、bmp,svg, webpもバリデーションに加えて良いでしょう。
プログラミングの義務教育が始まるので、近い未来、卒業写真にベクター画像を載せる学校が出てくるかもしれませんね。