
1. サブスクリプションをupgrade
画面左上の「リソースの作成」または上部の検索バーで「Speech」と入力して検索します。
検索結果から「Speech」または「Azure AI サービス」を選択し、「作成」をクリックします。
サブスクリプション 課金が行われるアカウントです。 従量課金制にアップグレード済みのサブスクリプションを選択します。
リソース グループ 先ほど作成したグループです。 作成済みのリソースグループを選択します。
リージョン サービスがデプロイされる場所です。 アプリケーションのユーザーに近いリージョン、または性能・遅延が適切なリージョンを選択します。(例: East US、Japan Eastなど)
名前 このSpeechリソースの名称です。 任意の名前(例: MyTtsResource2025)を入力します。
価格レベル 料金プランです。 Standard (S0) を選択します。(無料枠を使い切っているため)
import azure.cognitiveservices.speech as speechsdk
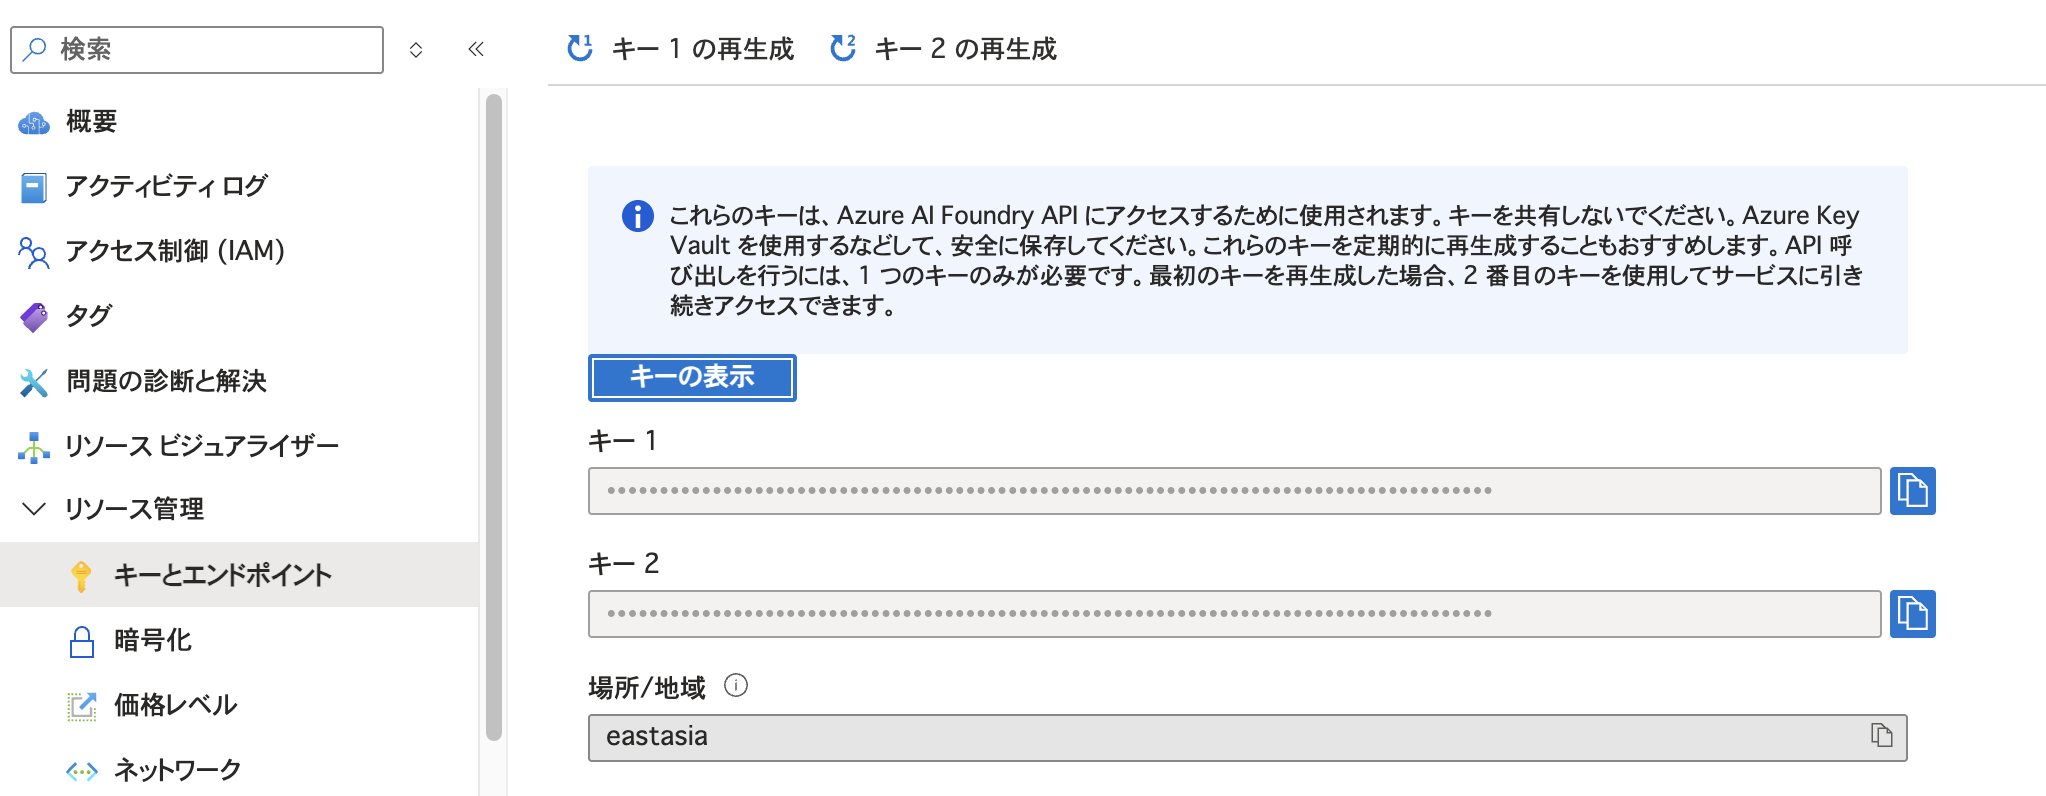
# Azure Speech Service のキーとリージョン
speech_key = "YOUR_SPEECH_KEY"
service_region = "eastasia" # East Asia リージョン
# SpeechConfig を作成
speech_config = speechsdk.SpeechConfig(subscription=speech_key, region=service_region)
# 出力音声を設定(標準はwav)
audio_config = speechsdk.audio.AudioOutputConfig(filename="output.wav")
# 音声の種類(例: 日本語の女性)
speech_config.speech_synthesis_voice_name = "ja-JP-NanamiNeural"
# Speech Synthesizer を作成
synthesizer = speechsdk.SpeechSynthesizer(speech_config=speech_config, audio_config=audio_config)
# 読み上げるテキスト
text = "こんにちは、これは Azure Text to Speech のテストです。"
# TTS 実行
result = synthesizer.speak_text_async(text).get()
# 結果チェック
if result.reason == speechsdk.ResultReason.SynthesizingAudioCompleted:
print("✅ 音声ファイル 'output.wav' を生成しました")
else:
print("❌ エラー:", result.reason)
Azureだと音声が全然違いますね!