$ php composer.phar require abraham/twitteroauth
require 'vendor/autoload.php';
use Abraham\TwitterOAuth\TwitterOAuth;
$consumerKey = '';
$consumerSecret = '';
$accessToken = '';
$accessTokenSecret = '';
$connection = new TwitterOAuth($consumerKey, $consumerSecret, $accessToken, $accessTokenSecret);
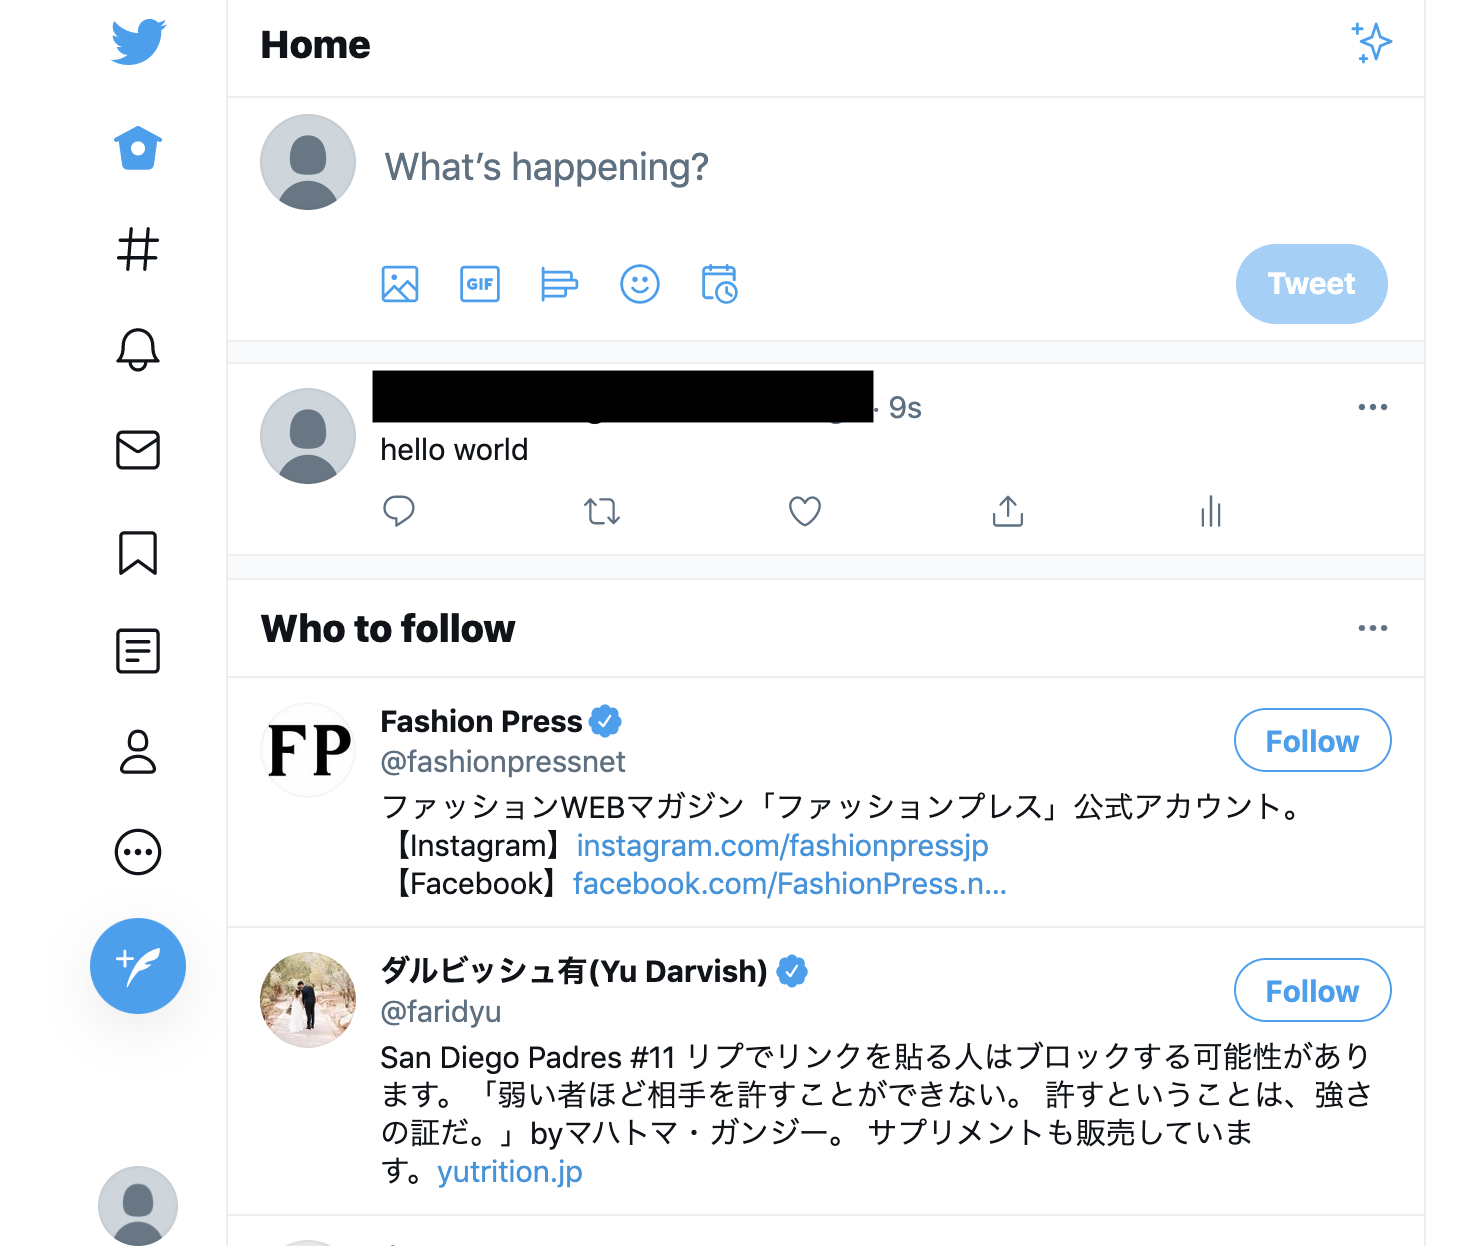
$result = $connection->post("statuses/update", array("status" => "hello world"));
var_dump($result);
$ php twitter.php
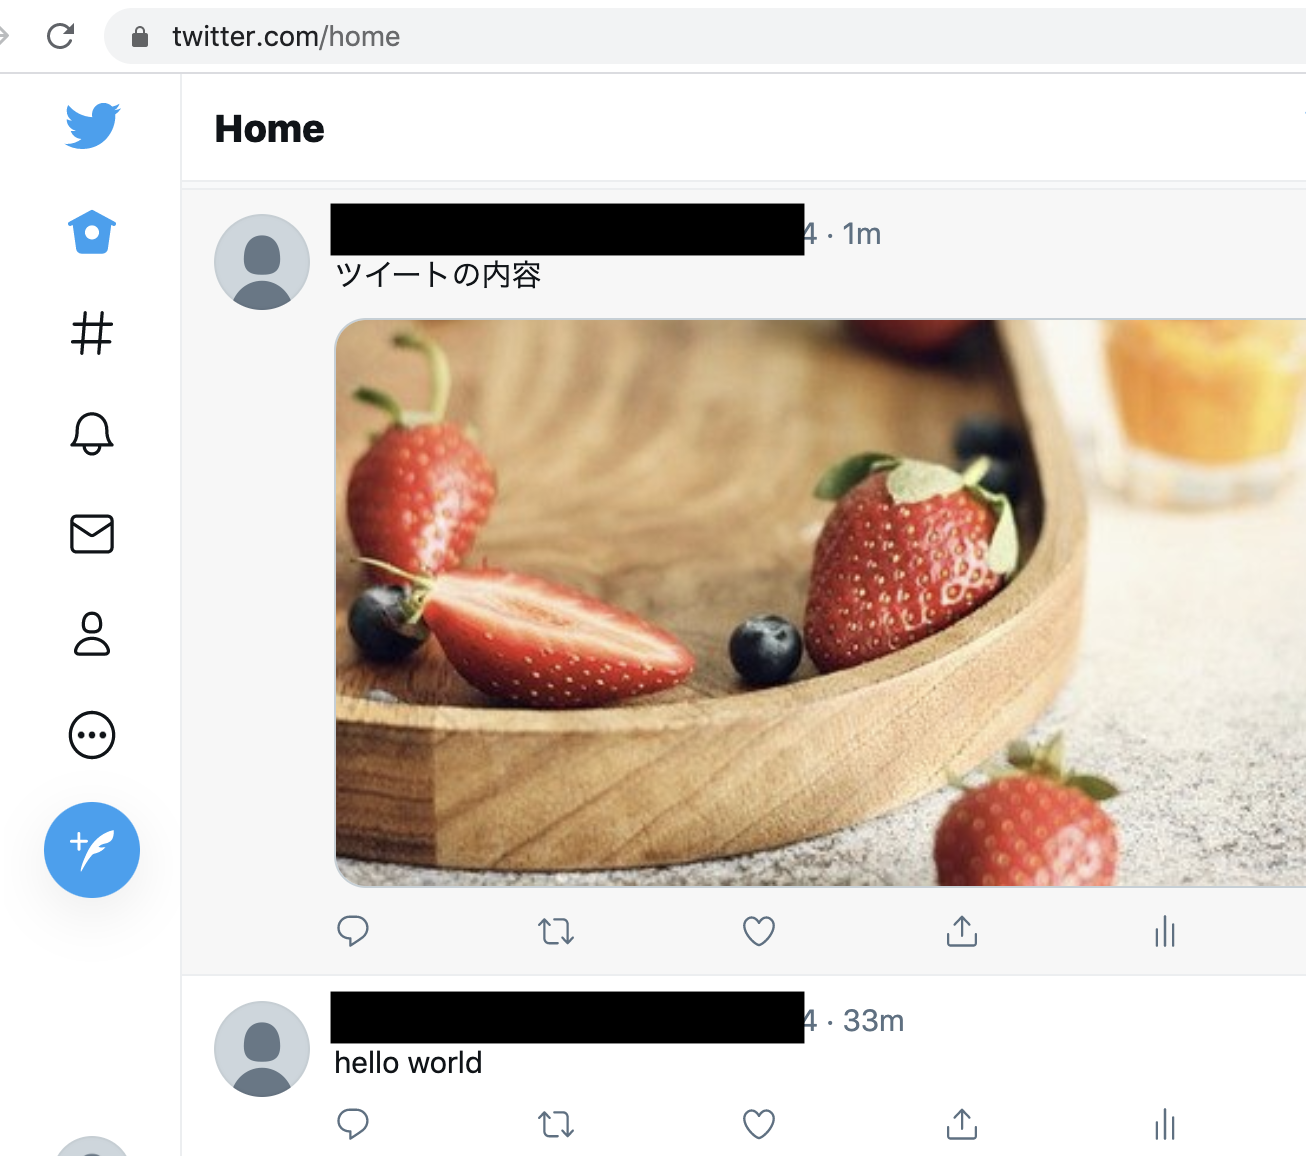
### 画像をPOST
$media1 = $connection->upload('media/upload', array('media' => 'test.jpg'));

//投稿設定
$tweet = [
'status' => $postMsg,  // ツイートの内容(テキスト部分)
'media_ids' => implode(',', [  // 画像の指定
$media1->media_id_string
])
];


//投稿
$result = $connection->post('statuses/update', $tweet);
画像ファイルは、他のサーバーから取得するのではなく、自分のサーバーの画像をuploadしないといけない。
うーん、画像をDLして保存する処理が必要になる。
$file_name = 'tweet.jpg';
$image = file_get_contents($img);
$save_path = 'img/'.$file_name;
file_put_contents($save_path,$image);
こうか↓

後はURL短縮だな。