[Figma] 運用ワークフロー

デザインを作る → 管理する → 共有する → 修正する → 開発に渡す
という 一連の作業の流れ(やり方のルール)

Figma運用ワークフローの全体像(超シンプル版)
フェーズ 目的 Figma上で行うこと
1. 設計 構造や動線を決める ワイヤーフレーム、画面遷移の整理
2. デザイン制作 UIを作る コンポーネント作成、スタイル適用
3. デザインシステム管理 統一性を保つ Color / Text / Components / Icons の共通化
4. プロトタイプ 画面遷移や動きを再現 Prototype でリンク & アニメーション設定
5. 開発へのハンドオフ エンジニアへの受け渡し Inspect / Export / コンポーネント仕様共有
6. 運用・改善 修正やアップデート コンポーネント更新 → 自動反映

構成例
/ 00_Foundation ← 色 / 文字 / グリッド / アイコン
/ 01_Components ← ボタン / 入力欄 / ナビ / 共通パーツ
/ 02_Patterns ← カード / リスト / モーダルなど UIブロック
/ 03_Screens ← 実際の画面デザイン
/ 04_Prototype ← 動きと遷移確認
/ 99_Archive ← 古いもの、破棄予定

UX設計 ワイヤーフレーム、情報設計、遷移図
UIデザイナー コンポーネント作成、スタイル管理、画面デザイン
エンジニア InspectでCSS確認、コンポーネント仕様反映
PM / クライアント プレビューで確認、コメントでレビュー

[TTS] ひろゆき氏の発言を音声にする

おしゃべりひろゆきメーカーというサイトでひろゆき氏の発言を音声にしてmp4でDLできるサービスがあるようです。
https://coefont.cloud/maker/hiroyuki

たまに見ますけど、面白いですよね

APIのような形で外部からひろゆき氏のAI音声にすることもできるようです。

TTSを自分のサーバで利用する場合は、GPUが必要なようです。

[LLM] RAG:社内 / 自分用ナレッジ検索

RAGの全体の流れ

資料(PDF / メモ / Wiki / Slackログ …)


① 文章を分割


② ベクトルに変換(embedding)


③ ベクトルDBに保存(Faiss / Chroma)


質問(ユーザー入力)


④ 類似文検索(最も近い文を取り出す)


⑤ LLMに「検索結果 + 質問」を入れて回答生成

confluenceへの接続

import requests
from requests.auth import HTTPBasicAuth
import os

CONFLUENCE_URL = "https://id.atlassian.net/wiki/rest/api/content"
EMAIL = "hoge@gmail"
API_TOKEN = "*"

response = requests.get(
    CONFLUENCE_URL,
    auth=HTTPBasicAuth(EMAIL, API_TOKEN)
)

print(response.json())

これを応用していくとRAGができる。

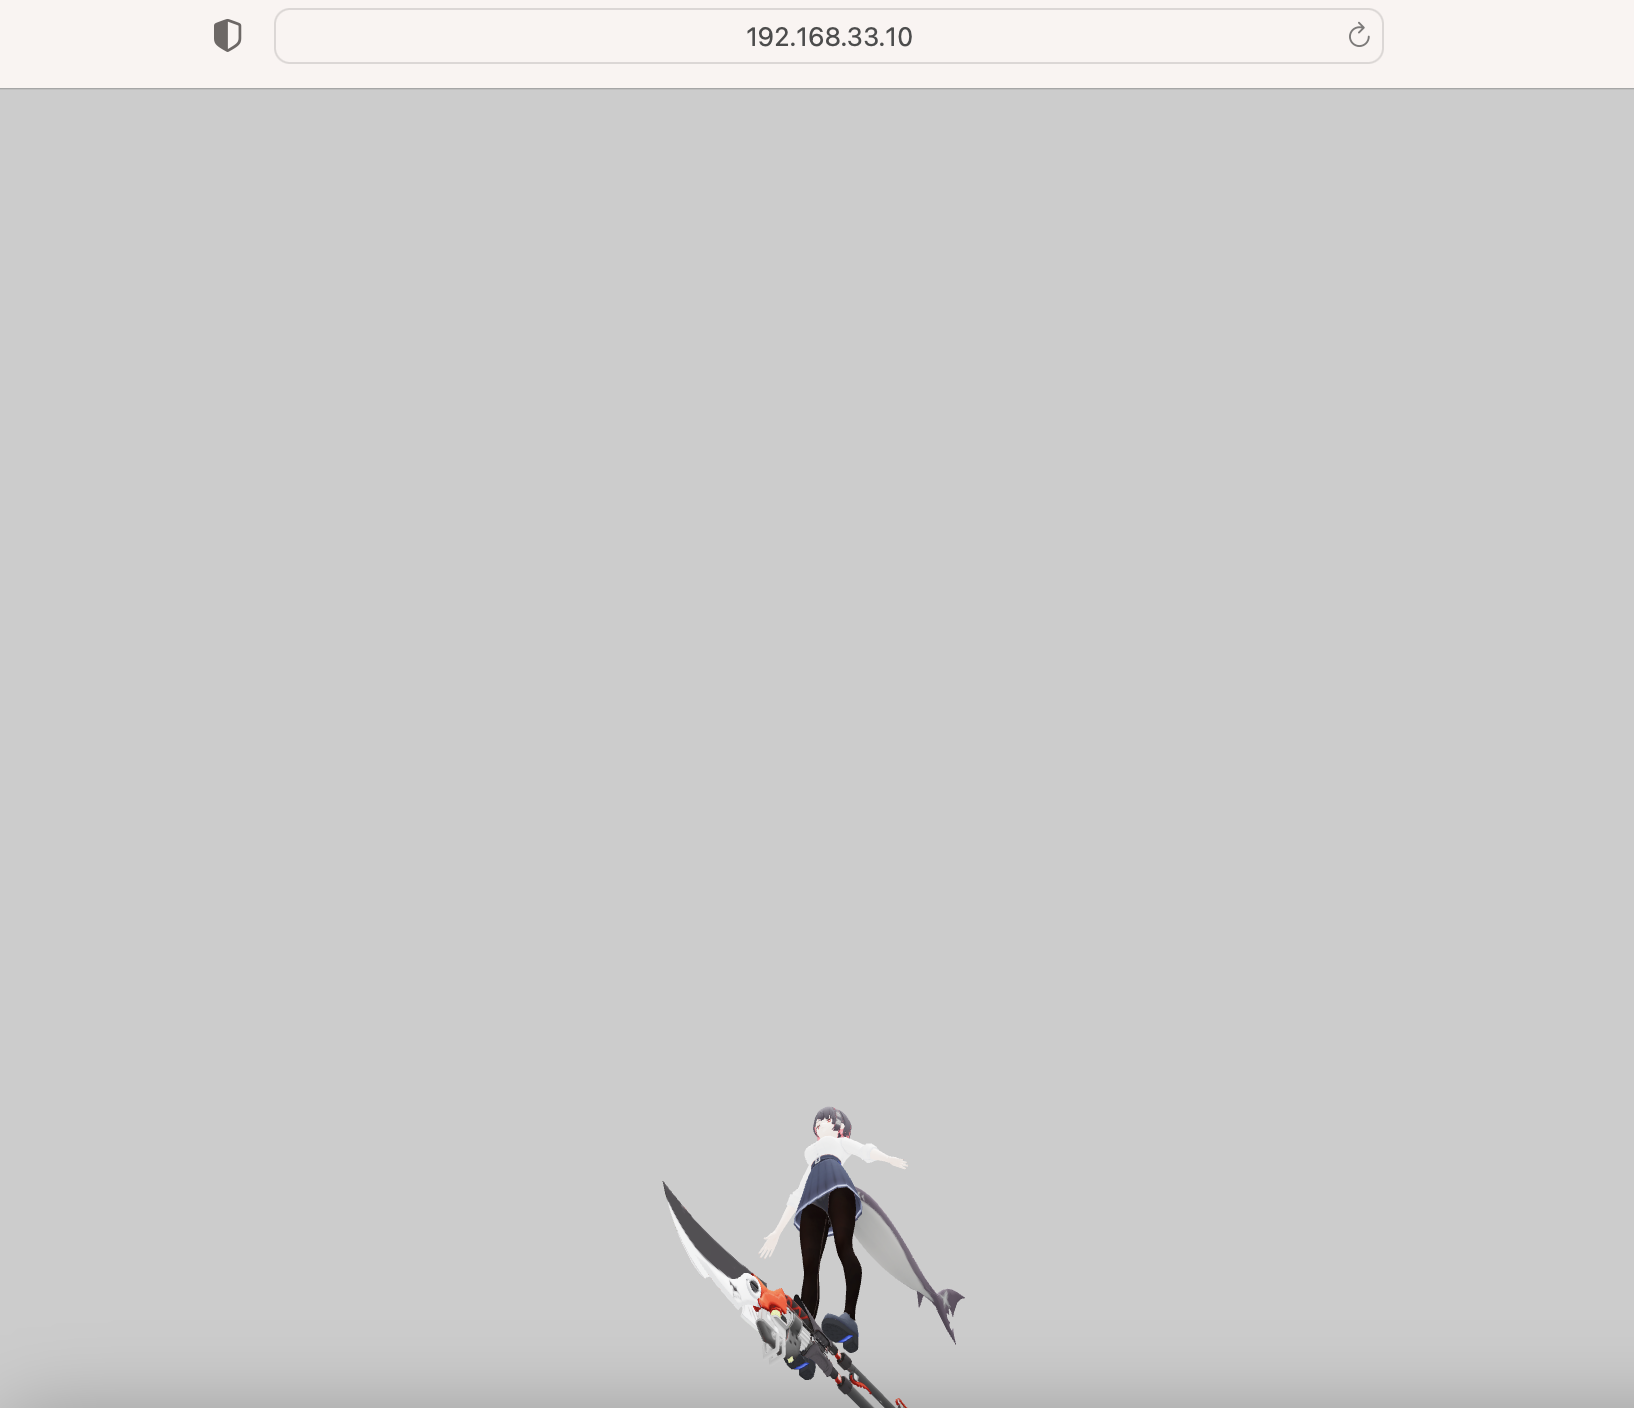
[Live2D demo]

<!DOCTYPE html>
<html lang="ja">
<head>
    <meta charset="UTF-8">
    <meta name="viewport" content="width=device-width, initial-scale=1.0">
    <title>Live2Dデモ - Kalidokit</title>
    <style>
        * {
            margin: 0;
            padding: 0;
            box-sizing: border-box;
        }
        body {
            font-family: 'Segoe UI', Tahoma, Geneva, Verdana, sans-serif;
            background: linear-gradient(135deg, #667eea 0%, #764ba2 100%);
            min-height: 100vh;
            display: flex;
            justify-content: center;
            align-items: center;
            padding: 20px;
        }
        .container {
            background: white;
            border-radius: 20px;
            box-shadow: 0 20px 60px rgba(0,0,0,0.3);
            padding: 40px;
            max-width: 800px;
            width: 100%;
        }
        h1 {
            color: #667eea;
            margin-bottom: 30px;
            text-align: center;
            font-size: 2em;
        }
        .demo-section {
            background: #f8f9fa;
            border-radius: 15px;
            padding: 30px;
            margin-bottom: 20px;
        }
        .demo-section h2 {
            color: #764ba2;
            margin-bottom: 20px;
            font-size: 1.5em;
        }
        .canvas-container {
            background: #000;
            border-radius: 10px;
            overflow: hidden;
            margin: 20px 0;
            position: relative;
        }
        canvas {
            display: block;
            width: 100%;
            height: auto;
        }
        .controls {
            display: flex;
            gap: 10px;
            flex-wrap: wrap;
            margin-top: 20px;
        }
        button {
            background: #667eea;
            color: white;
            border: none;
            padding: 12px 24px;
            border-radius: 8px;
            cursor: pointer;
            font-size: 16px;
            font-weight: 600;
            transition: all 0.3s;
        }
        button:hover {
            background: #764ba2;
            transform: translateY(-2px);
            box-shadow: 0 4px 12px rgba(102, 126, 234, 0.4);
        }
        button:active {
            transform: translateY(0);
        }
        .info {
            background: #e3f2fd;
            border-left: 4px solid #2196f3;
            padding: 15px;
            margin: 20px 0;
            border-radius: 5px;
        }
        .info p {
            color: #1565c0;
            line-height: 1.6;
        }
        .slider-group {
            margin: 15px 0;
        }
        .slider-group label {
            display: block;
            color: #555;
            margin-bottom: 8px;
            font-weight: 600;
        }
        input[type="range"] {
            width: 100%;
            height: 8px;
            border-radius: 5px;
            background: #ddd;
            outline: none;
            -webkit-appearance: none;
        }
        input[type="range"]::-webkit-slider-thumb {
            -webkit-appearance: none;
            appearance: none;
            width: 20px;
            height: 20px;
            border-radius: 50%;
            background: #667eea;
            cursor: pointer;
        }
        .value-display {
            display: inline-block;
            background: #667eea;
            color: white;
            padding: 4px 12px;
            border-radius: 5px;
            font-size: 14px;
            margin-left: 10px;
        }
    </style>
</head>
<body>
    <div class="container">
        <h1>🎭 Live2Dスタイル アバターデモ</h1>
        
        <div class="info">
            <p><strong>このデモについて:</strong> Live2D SDKの代わりに、Canvas APIとJavaScriptでシンプルなアバターを作成しました。スライダーで表情や動きをコントロールできます。</p>
        </div>

        <div class="demo-section">
            <h2>アバタープレビュー</h2>
            <div class="canvas-container">
                <canvas id="avatar-canvas" width="400" height="500"></canvas>
            </div>

            <div class="slider-group">
                <label>
                    頭の角度 X: <span class="value-display" id="rotX-value">0°</span>
                </label>
                <input type="range" id="rotX" min="-30" max="30" value="0">
            </div>

            <div class="slider-group">
                <label>
                    頭の角度 Y: <span class="value-display" id="rotY-value">0°</span>
                </label>
                <input type="range" id="rotY" min="-30" max="30" value="0">
            </div>

            <div class="slider-group">
                <label>
                    目の開き具合: <span class="value-display" id="eyeOpen-value">100%</span>
                </label>
                <input type="range" id="eyeOpen" min="0" max="100" value="100">
            </div>

            <div class="slider-group">
                <label>
                    口の開き具合: <span class="value-display" id="mouthOpen-value">0%</span>
                </label>
                <input type="range" id="mouthOpen" min="0" max="100" value="0">
            </div>

            <div class="controls">
                <button onclick="setExpression('normal')">😊 通常</button>
                <button onclick="setExpression('happy')">😄 笑顔</button>
                <button onclick="setExpression('surprised')">😲 驚き</button>
                <button onclick="setExpression('wink')">😉 ウィンク</button>
                <button onclick="animate()">🎬 アニメーション</button>
            </div>
        </div>

        <div class="info">
            <p><strong>💡 ヒント:</strong> スライダーを動かして表情を変えたり、ボタンをクリックしてプリセット表情を試してみてください!</p>
        </div>
    </div>

    <script>
        const canvas = document.getElementById('avatar-canvas');
        const ctx = canvas.getContext('2d');

        let state = {
            rotX: 0,
            rotY: 0,
            eyeOpen: 1,
            mouthOpen: 0,
            leftEyeOpen: 1,
            rightEyeOpen: 1
        };

        // スライダーのイベントリスナー
        document.getElementById('rotX').addEventListener('input', (e) => {
            state.rotX = parseInt(e.target.value);
            document.getElementById('rotX-value').textContent = e.target.value + '°';
            draw();
        });

        document.getElementById('rotY').addEventListener('input', (e) => {
            state.rotY = parseInt(e.target.value);
            document.getElementById('rotY-value').textContent = e.target.value + '°';
            draw();
        });

        document.getElementById('eyeOpen').addEventListener('input', (e) => {
            state.eyeOpen = parseInt(e.target.value) / 100;
            state.leftEyeOpen = state.eyeOpen;
            state.rightEyeOpen = state.eyeOpen;
            document.getElementById('eyeOpen-value').textContent = e.target.value + '%';
            draw();
        });

        document.getElementById('mouthOpen').addEventListener('input', (e) => {
            state.mouthOpen = parseInt(e.target.value) / 100;
            document.getElementById('mouthOpen-value').textContent = e.target.value + '%';
            draw();
        });

        function draw() {
            ctx.clearRect(0, 0, canvas.width, canvas.height);
            
            ctx.save();
            ctx.translate(canvas.width / 2, canvas.height / 2);
            
            // 頭の回転を適用
            const rotXRad = (state.rotX * Math.PI) / 180;
            const rotYRad = (state.rotY * Math.PI) / 180;
            
            // 顔(楕円)
            ctx.fillStyle = '#ffd1a3';
            ctx.beginPath();
            ctx.ellipse(0, 0, 80 + state.rotY * 0.5, 100 - Math.abs(state.rotX) * 0.5, rotXRad, 0, Math.PI * 2);
            ctx.fill();
            
            // 髪
            ctx.fillStyle = '#4a2c2a';
            ctx.beginPath();
            ctx.ellipse(0, -40, 90 + state.rotY * 0.5, 70 - Math.abs(state.rotX) * 0.3, rotXRad, 0, Math.PI);
            ctx.fill();
            
            // 左目
            const leftEyeX = -30 + state.rotY * 0.8;
            const leftEyeY = -20 + state.rotX * 0.5;
            drawEye(leftEyeX, leftEyeY, state.leftEyeOpen);
            
            // 右目
            const rightEyeX = 30 + state.rotY * 0.8;
            const rightEyeY = -20 + state.rotX * 0.5;
            drawEye(rightEyeX, rightEyeY, state.rightEyeOpen);
            
            // 口
            drawMouth(0, 30 + state.rotX * 0.5, state.mouthOpen);
            
            // ほっぺ
            ctx.fillStyle = 'rgba(255, 182, 193, 0.5)';
            ctx.beginPath();
            ctx.arc(-50 + state.rotY * 0.5, 10, 15, 0, Math.PI * 2);
            ctx.fill();
            ctx.beginPath();
            ctx.arc(50 + state.rotY * 0.5, 10, 15, 0, Math.PI * 2);
            ctx.fill();
            
            ctx.restore();
        }

        function drawEye(x, y, openness) {
            ctx.fillStyle = '#ffffff';
            ctx.beginPath();
            ctx.ellipse(x, y, 12, 16 * openness, 0, 0, Math.PI * 2);
            ctx.fill();
            
            if (openness > 0.3) {
                ctx.fillStyle = '#4a2c2a';
                ctx.beginPath();
                ctx.arc(x, y, 6 * openness, 0, Math.PI * 2);
                ctx.fill();
            }
        }

        function drawMouth(x, y, openness) {
            ctx.strokeStyle = '#8b4513';
            ctx.lineWidth = 3;
            ctx.beginPath();
            
            if (openness < 0.3) {
                // 閉じた口(笑顔)
                ctx.arc(x, y, 25, 0.2, Math.PI - 0.2);
            } else {
                // 開いた口
                ctx.ellipse(x, y, 20, 15 * openness, 0, 0, Math.PI * 2);
            }
            
            ctx.stroke();
            
            if (openness > 0.5) {
                ctx.fillStyle = '#ff6b6b';
                ctx.fill();
            }
        }

        function setExpression(type) {
            switch(type) {
                case 'normal':
                    state.leftEyeOpen = 1;
                    state.rightEyeOpen = 1;
                    state.mouthOpen = 0;
                    updateSliders(0, 0, 100, 0);
                    break;
                case 'happy':
                    state.leftEyeOpen = 0.7;
                    state.rightEyeOpen = 0.7;
                    state.mouthOpen = 0.5;
                    updateSliders(0, 0, 70, 50);
                    break;
                case 'surprised':
                    state.leftEyeOpen = 1.2;
                    state.rightEyeOpen = 1.2;
                    state.mouthOpen = 0.8;
                    updateSliders(0, 0, 100, 80);
                    break;
                case 'wink':
                    state.leftEyeOpen = 0;
                    state.rightEyeOpen = 1;
                    state.mouthOpen = 0.2;
                    updateSliders(0, 0, 50, 20);
                    break;
            }
            draw();
        }

        function updateSliders(rotX, rotY, eyeOpen, mouthOpen) {
            document.getElementById('rotX').value = rotX;
            document.getElementById('rotY').value = rotY;
            document.getElementById('eyeOpen').value = eyeOpen;
            document.getElementById('mouthOpen').value = mouthOpen;
            
            document.getElementById('rotX-value').textContent = rotX + '°';
            document.getElementById('rotY-value').textContent = rotY + '°';
            document.getElementById('eyeOpen-value').textContent = eyeOpen + '%';
            document.getElementById('mouthOpen-value').textContent = mouthOpen + '%';
            
            state.rotX = rotX;
            state.rotY = rotY;
        }

        function animate() {
            let frame = 0;
            const duration = 120;
            
            function step() {
                frame++;
                
                // サインカーブでアニメーション
                state.rotY = Math.sin(frame * 0.1) * 20;
                state.rotX = Math.sin(frame * 0.05) * 10;
                
                // まばたき
                if (frame % 60 === 0) {
                    state.leftEyeOpen = 0;
                    state.rightEyeOpen = 0;
                } else if (frame % 60 === 5) {
                    state.leftEyeOpen = 1;
                    state.rightEyeOpen = 1;
                }
                
                draw();
                
                if (frame < duration) {
                    requestAnimationFrame(step);
                } else {
                    setExpression('normal');
                }
            }
            
            step();
        }

        // 初期描画
        draw();
    </script>
</body>
</html>

[TTS] OpenAIのAPIでTTSを実行する

import os
from openai import OpenAI
from dotenv import load_dotenv
load_dotenv()

# クライアント作成
client = OpenAI(api_key=os.getenv("OPENAI_API_KEY"))

# 音声生成
response = client.audio.speech.create(
    model="gpt-4o-mini-tts",   # 高品質・軽量 TTS モデル
    voice="alloy",             # 声の種類(alloy / verse / aria 等)
    input="Hello, world! This is a text-to-speech test."
)

# mp3として保存
output_path = "hello_world_tts.mp3"
with open(output_path, "wb") as f:
    f.write(response.read())

print(f"✅ 音声ファイルを保存しました → {output_path}")

声は変えられる。
voice=”alloy” # 落ち着いた声
voice=”aria” # 明るい声
voice=”verse” # 自然でニュートラル

[LLM]Mistral (Mistral 7B Instruct)をColabで動かす

フランスのAI企業 Mistral AI によって開発された、73億のパラメータを持つ**大規模言語モデル(LLM)**のインストラクション・チューニング版です。

これは、基盤モデルであるMistral 7Bを、会話や質問応答などの指示(インストラクション)に基づいて応答できるように追加で訓練(ファインチューニング)したモデルです。

🌟 主な特徴と性能
高性能: パラメータ数がより大きい他のモデル(例: Llama 2 13B)と比較しても、様々なベンチマークで上回る性能を示すことが報告されています。
効率的な構造:
Grouped-Query Attention (GQA): 推論速度の高速化に貢献しています。
Sliding Window Attention (SWA): 少ないコストでより長いテキストシーケンスを処理できます。

用途: 会話、質問応答、コード生成などのタスクに適しています。特にコード関連のタスクで高い能力を発揮します。
オープンソース: ベースモデルのMistral 7Bと同様に、オープンソースとして公開されており、誰でも利用やカスタマイズが可能です。

### Google Colab
!pip install transformers accelerate sentencepiece

from transformers import AutoModelForCausalLM, AutoTokenizer
import torch

model_name = "mistralai/Mistral-7B-Instruct-v0.2"

tokenizer = AutoTokenizer.from_pretrained(model_name)
model = AutoModelForCausalLM.from_pretrained(
    model_name,
    torch_dtype=torch.float16,
    device_map="auto"
)

# 入力プロンプト
prompt = "大規模言語モデルとは何ですか? わかりやすく説明してください。"

inputs = tokenizer(prompt, return_tensors="pt").to("cuda")
output = model.generate(**inputs, max_new_tokens=200)

print(tokenizer.decode(output[0], skip_special_tokens=True))

大規模言語モデルとは何ですか? わかりやすく説明してください。

大規模言語モデル(Large Language Model)は、人類の言語を理解することを目的とした深層学習モデルです。これらのモデルは、大量の文書や文章データを学習し、それらのデータから言語の統計的な規則やパターンを学び、新しい文章や質問に対して、それらの規則やパターンを適用して、人類の言語に近い答えを返すことができます。

大規模言語モデルは、自然言語処理(NLP)や情報 retrieval、チャットボット、文章生成など

結構時間かかりますね。

Stable DiffusionをGoogle Colabで使いたい

最も簡単な方法:Diffusersライブラリを使う

1. Google Colabを開く
colab.research.google.com にアクセス
「ファイル」→「ノートブックを新規作成」

2. GPUを有効化
「ランタイム」→「ランタイムのタイプを変更」
「ハードウェアアクセラレータ」を T4 GPU に設定

!pip install diffusers transformers accelerate
from diffusers import StableDiffusionPipeline
import torch

# モデルの読み込み(初回は数分かかります)
pipe = StableDiffusionPipeline.from_pretrained(
    "runwayml/stable-diffusion-v1-5",
    torch_dtype=torch.float16
)
pipe = pipe.to("cuda")

# 画像生成
prompt = "a beautiful sunset over the ocean, highly detailed"
image = pipe(prompt).images[0]

# 画像を表示
image

A young woman in a business suit, standing in a modern office, cinematic lighting, hyperrealistic, 8k, sharp focus, photo taken by Canon EOS R5

UI上でやらないといけないのね。まぁちょっと理解した。

MCPサーバ

#!/usr/bin/env python3
"""
超シンプルなMPCサーバーのサンプル
"""
import asyncio
import json
from typing import Any

class SimpleMCPServer:
    """基本的なMPCサーバー実装"""
    
    def __init__(self):
        self.tools = {
            "get_time": self.get_time,
            "echo": self.echo,
            "add": self.add
        }
    
    async def get_time(self, params: dict) -> str:
        """現在時刻を返す"""
        from datetime import datetime
        return datetime.now().strftime("%Y-%m-%d %H:%M:%S")
    
    async def echo(self, params: dict) -> str:
        """入力をそのまま返す"""
        return params.get("message", "")
    
    async def add(self, params: dict) -> int:
        """2つの数値を足す"""
        a = params.get("a", 0)
        b = params.get("b", 0)
        return a + b
    
    async def handle_request(self, request: dict) -> dict:
        """リクエストを処理"""
        method = request.get("method")
        params = request.get("params", {})
        request_id = request.get("id")
        
        # ツール一覧の取得
        if method == "tools/list":
            return {
                "jsonrpc": "2.0",
                "id": request_id,
                "result": {
                    "tools": [
                        {
                            "name": "get_time",
                            "description": "現在時刻を取得します",
                            "inputSchema": {"type": "object", "properties": {}}
                        },
                        {
                            "name": "echo",
                            "description": "メッセージをエコーします",
                            "inputSchema": {
                                "type": "object",
                                "properties": {
                                    "message": {"type": "string"}
                                }
                            }
                        },
                        {
                            "name": "add",
                            "description": "2つの数値を足します",
                            "inputSchema": {
                                "type": "object",
                                "properties": {
                                    "a": {"type": "number"},
                                    "b": {"type": "number"}
                                }
                            }
                        }
                    ]
                }
            }
        
        # ツールの実行
        elif method == "tools/call":
            tool_name = params.get("name")
            tool_params = params.get("arguments", {})
            
            if tool_name in self.tools:
                result = await self.tools[tool_name](tool_params)
                return {
                    "jsonrpc": "2.0",
                    "id": request_id,
                    "result": {
                        "content": [
                            {
                                "type": "text",
                                "text": str(result)
                            }
                        ]
                    }
                }
            else:
                return {
                    "jsonrpc": "2.0",
                    "id": request_id,
                    "error": {
                        "code": -32601,
                        "message": f"Tool not found: {tool_name}"
                    }
                }
        
        # 初期化
        elif method == "initialize":
            return {
                "jsonrpc": "2.0",
                "id": request_id,
                "result": {
                    "protocolVersion": "0.1.0",
                    "serverInfo": {
                        "name": "simple-mcp-server",
                        "version": "1.0.0"
                    },
                    "capabilities": {
                        "tools": {}
                    }
                }
            }
        
        return {
            "jsonrpc": "2.0",
            "id": request_id,
            "error": {
                "code": -32601,
                "message": f"Method not found: {method}"
            }
        }
    
    async def run(self):
        """サーバーを実行(標準入出力でJSON-RPC通信)"""
        print("MPC Server started. Waiting for requests...", file=__import__('sys').stderr)
        
        while True:
            try:
                line = input()
                if not line:
                    continue
                
                request = json.loads(line)
                response = await self.handle_request(request)
                print(json.dumps(response))
                
            except EOFError:
                break
            except Exception as e:
                print(f"Error: {e}", file=__import__('sys').stderr)

# 実行
if __name__ == "__main__":
    server = SimpleMCPServer()
    asyncio.run(server.run())

$ echo ‘{“jsonrpc”: “2.0”, “id”: 1, “method”: “initialize”, “params”: {}}’ | python3 simple_mcp_server.py
MPC Server started. Waiting for requests…
{“jsonrpc”: “2.0”, “id”: 1, “result”: {“protocolVersion”: “0.1.0”, “serverInfo”: {“name”: “simple-mcp-server”, “version”: “1.0.0”}, “capabilities”: {“tools”: {}}}}

重要なポイント:
LLM自身はコードを実行できない(セキュリティ上)
MCPサーバーが代わりに実行(ファイル操作、API呼び出し、計算など)
JSONで結果だけをやり取りすることで安全に連携
今回のサンプルは「JSON返すだけ」に見えますが、実際には:
データベース接続
外部API呼び出し
ファイルシステム操作
複雑な計算

など、LLMができない実際の処理をここで実行できる。
普通のPythonスクリプトと同じで、Ubuntu等のOSに置くだけ

📁 ファイルシステム系

filesystem – ローカルファイルの読み書き、検索
github – GitHubリポジトリの操作、PR作成、Issue管理
google-drive – Google Driveのファイル操作

🗄️ データベース系

sqlite – SQLiteデータベース操作
postgres – PostgreSQL接続・クエリ実行
mysql – MySQL/MariaDB操作

🌐 Web・API系

fetch – HTTP/APIリクエスト実行
puppeteer – ブラウザ自動操作(スクレイピング、スクリーンショット)
brave-search – Web検索機能
slack – Slackメッセージ送信、チャンネル管理

🔧 開発ツール系

memory – LLMの長期記憶(Knowledge Graph形式)
sequential-thinking – 複雑な思考を段階的に実行
everart – 画像生成(Stable Diffusion等)

📊 ビジネスツール系

google-maps – 地図検索、経路案内
sentry – エラートラッキング
aws-kb-retrieval – AWS Knowledge Base検索

必要な機能だけインストールする

インストール例
# npm経由(多くが公式提供)
npx @modelcontextprotocol/server-filesystem

# Python版
pip install mcp-server-sqlite
python -m mcp_server_sqlite

[iOS] APIエラーハンドリングとリトライ処理

機能 内容
エラーハンドリング 通信失敗 / デコード失敗 を正しく処理する
ステータスコード確認 API が成功か失敗かを確認する
リトライ処理 失敗したらもう一度試す

### エラーの定義

enum APIError: Error {
    case invalidURL
    case networkError
    case serverError(Int) // ステータスコード付き
    case decodeError
}

呼び出し

import Foundation

struct WeatherResponse: Codable {
    struct CurrentWeather: Codable {
        let temperature: Double
        let windspeed: Double
    }
    let current_weather: CurrentWeather
}

class WeatherAPI {
    func fetchWeather() async throws -> WeatherResponse {
        guard let url = URL(string: "https://api.open-meteo.com/v1/forecast?latitude=35.6895&longitude=139.6917&current_weather=true") else {
            throw APIError.invalidURL
        }
        
        let (data, response) = try await URLSession.shared.data(from: url)
        
        // ステータスコードチェック
        if let httpResponse = response as? HTTPURLResponse,
           !(200..<300).contains(httpResponse.statusCode) {
            throw APIError.serverError(httpResponse.statusCode)
        }

        // JSON デコード
        do {
            return try JSONDecoder().decode(WeatherResponse.self, from: data)
        } catch {
            throw APIError.decodeError
        }
    }
}
func fetchWeatherWithRetry() async {
    let api = WeatherAPI()
    
    for attempt in 1...3 {
        do {
            let result = try await api.fetchWeather()
            print("成功: \(result.current_weather.temperature)°C")
            return   // 成功したら終了
        } catch APIError.serverError(let code) {
            print("サーバーエラー (\(code)) → リトライ(\(attempt))")
        } catch {
            print("その他エラー → リトライ(\(attempt))")
        }
        try? await Task.sleep(nanoseconds: 1_000_000_000) // 1秒待つ
    }

    print("3回試したが失敗しました 😢")
}
import SwiftUI

struct ContentView: View {
    @State private var temperature: String = "__"
    
    var body: some View {
        VStack(spacing: 20) {
            Text("気温: \(temperature)°C")
                .font(.title)
            
            Button("天気を取得(リトライ付き)") {
                Task {
                    await fetchWeatherUI()
                }
            }
        }
        .padding()
    }

    func fetchWeatherUI() async {
        let api = WeatherAPI()
        
        for _ in 1...3 {
            do {
                let result = try await api.fetchWeather()
                await MainActor.run {
                    temperature = String(result.current_weather.temperature)
                }
                return
            } catch {
                print("失敗 → 再試行")
                try? await Task.sleep(nanoseconds: 800_000_000)
            }
        }
        await MainActor.run {
            temperature = "取得失敗"
        }
    }
}

[Figma] プラグインの使い方

プラグインにIconifyを追加する

これで使える様になる
おおお、すげえ

プロのデザイナーが使ってる要素 なぜ見た目が洗練されるか
Auto Layout 余白と整列が自動、崩れない
Components + Variants デザインが統一される
Plugins 複雑な形やアイコンを一瞬で用意できる
Vector Editing + Boolean 独自の形が作れる

プロは素人ではなぐらいの洗練されたものを作りますね。