Vue.jsでattribute(class, align, imgなど)の三項演算子

## laravel bladeでの三項演算子

@foreach($messages as $message)
 <tr align="{{ $message->id == $id ? 'left' : 'right' }}"> 
 // 省略
@endforeach

## Vue.jsでの三項演算子
– attributeの前にコロン(:)をつける
– 条件判定はカッコ()で囲う

<div v-for="m in messages">
  <tr :align="(m.id === {{ $id }}) ? 'left' : 'right'"> 
  // 省略
</div>

できるんかいな。ワクワクします。

Vue.jsでスクロール下固定

## 通常時(vue未使用)スクロール下固定

<div class="box">
 // content
</div>

<script>
var obj = document.querySelector('.box');
obj.scrollTop = obj.scrollHeight;
</script>

## jQueryでアニメーションでスクロールを下に移動

<div class="box">
 // content
</div>

<script>
$(function(){
   $('.box').delay(100).animate({
     scrollTop: $(document).height()
  }, 1000);
});
</script>

## vue.js使用時
– this.$nextTickを使用
– updatedのコールバックで読み込む

<div id="box">
   <div v-for="m in messages">
   // content
   </div>
</div>

<script src="https://cdn.jsdelivr.net/npm/vue@2.5.17/dist/vue.min.js"></script>
<script>
new Vue({
  el: '#app',
  data: {
  message: '',
  messages: []
  },
  methods: {
    // 省略
    scrollToEnd(){
      this.$nextTick(() => {
        const chatLog = document.getElementById('box');
        if (!chatLog) return
        chatLog.scrollTop = chatLog.scrollHeight
        })
    },
 mounted(){
    // 省略
  },
  updated(){
    this.scrollToEnd();
  },

スクロール領域はdivタグで囲っているから、obj.scrollTop = obj.scrollHeight;のままでいけるかと勘違いして少し嵌りました。

vue.jsのmountedとは?

公式: mounted
https://jp.vuejs.org/v2/api/index.html#mounted
elがマウントされた丁度後に呼ばれる
-> ビュー全体がレンダリングされた後にのみ実行される
-> createdはDOMがまだ作られていない状態、mountedはDOMが生成された直後の状態

<script src="https://cdn.jsdelivr.net/npm/vue@2.5.17/dist/vue.min.js"></script>
	<script>
    	new Vue({
    		el: '#chat',
    		data: {
    			message: '',
    			messages: []
    		},
    		methods: {
    		},
    		mounted(){
    			this.$nextTrick(function(){
    				
    			})
    		} 
    	});
    </script>

### createdとmounted

new Vue({
    		el: '#app',
    		data: {
    		},
    		methods: {
    			showEl : function(){
    				console.log(this.$el)
    			}
    		},
    		created(){
    				console.log('created')
    				console.log(this.$el)
    		},
    		mounted(){
    			    console.log('created')
    				console.log(this.$el)
    		} 
    	});

createdを実装するイメージが湧かないが、mountedの使い方はわかりました。

tableでtd要素の中のradio checkedによって下のtr要素を表示・非表示に切り替えたい時

tableの入力画面で、例えばradioボタンの選択状況によって、下のtr要素の表示・非表示を変えたいとする

<table>
	<tr>
		<th>
			hpscript
		</th>
		<td>
			<input type="radio" name="a" value="y" checked>yes
			<input type="radio" name="a" value="n">no
		</td>
	</tr>

	<tr>
		<th>
			タイトル1
		</th>
		<td>
			コンテンツ1
		</td>
	</tr>
</table>

これをVue.jsのv-on:${}で実装しようとしたが、上手く行かない

<table>
	<div id="app">
	<tr>
		<th>
			hpscript
		</th>
		<td>
			<input type="radio" name="a" v-on:change="handler" value="y" checked>yes
			<input type="radio" name="a" v-on:change="handler" value="n">no
		</td>
	</tr>
	<div v-if="show">
	<tr>
		<th>
			タイトル1
		</th>
		<td>
			コンテンツ1
		</td>
	</tr>
	</div>
	</div>
</table>
<script>
	new Vue({
		el: '#app',
		data: {
			show: true
		},
		methods: {
			handler: function(event){
				if(event.target.value === 'y'){
					this.show = true
				} else {
					this.show = false
				}
			}
		}
	})
</script>

ガッテム。結局、on.changeで実装することに。

<table>
	<tr>
		<th>
			hpscript
		</th>
		<td>
			<input type="radio" name="a" value="y" checked>yes
			<input type="radio" name="a" value="n">no
		</td>
	</tr>

	<tr class="changeterm displaynone">
		<th>
			タイトル1
		</th>
		<td>
			コンテンツ1
		</td>
	</tr>
</table>

<script>
$('input[name=a]').on('change', function(){
			if($('.changeterm').hasClass('displaynone')){
				$('.changeterm').removeClass('displaynone');
			} else {
				$('.changeterm').addClass('displaynone');
			}			
		});
</script>
.displaynone {
        display:none;
}

なんでtableでVue.jsのv-onだと上手く行かないのかよくわからない。。
教えて欲しい。。🤖

Vue.jsでインスタンスのネスト(if-vの中でv-mode.trim)の表示方法

v-ifで、trueだった場合に、v-model.trimで文字数をカウントしたい場合。
v-ifの中にv-model.trimが入っているので、いわゆるネスト
この場合、new Vueを続けて書いてもうまく行かない

<div id="app">
	<div v-if="display">
		<div id="job">
		    <input type="text" name="title" v-model.trim="message" maxlength="20" placeholder="20文字以内で入力してください">
		    <span class="char-length">{{ message.length }}/20</span>
		</div>
	</div>
	<div v-else>
		<p>表示なし</p>
	</div>
</div>

<script src="https://cdn.jsdelivr.net/npm/vue/dist/vue.js"></script>
<script>
new Vue({
		el: "#app",
		data: { 
			display: true
		}
	});
new Vue({
		el: "#job",
		data: { message: "what up bro!"}
	});
</script>

どうするかというと、子供のインスタンスのidに”v-pre”をつける

<div id="job" v-pre>
		    <input type="text" name="title" v-model.trim="message" maxlength="20" placeholder="20文字以内で入力してください">
		    <span class="char-length">{{ message.length }}/20</span>
		</div>

すると、上手く表示されます。
嵌ったー、15分くらい😱

ElementUI 2

Vue.app

<template>
  <div id="app">
    <div class="block">
      <span class="demonstaration">スライダー</span>
      <el-slider v-model="value1"></el-slider>
    </div>

    <div>{{ value1}}</div>

    <span class="demonstration">日付</span>
    <el-date-picker
      v-model="value2"
      type="date"
      placeholder="日付を選んでください">
    </el-date-picker>
  </div>
</template>

<script>
export default {
  name: 'app',
  data(){
    return {
      value1: 50,
      value2: '',
    }
  },
}
</script>

一度環境構築できると、あとが楽になる

ElementUI 1

main.js

import Vue from 'vue'
import App from './App'
import router from './router'
import ElementUI from 'element-ui'
import 'element-ui/lib/theme-chalk/index.css'

import locale from 'element-ui/lib/locale/lang/ja'

Vue.config.productionTip = false
Vue.use(ElementUI, {locale})

/* eslint-disable no-new */
new Vue({
  el: '#app',
  router,
  components: { App },
  template: '<App/>'
})

App.vue

<template>
  <div id="app">
    <div class="block">
      <span class="demonstaration">スライダー</span>
      <el-slider v-model="value1"></el-slider>
    </div>

    <div>{{ value1}}</div>
  </div>
</template>

<script>
export default {
  name: 'app',
  data(){
    return {
      value1: 50,
    }
  },
}
</script>


jQueryでもあるんだろうけど、書き方としてはこういうことね。

Vue.js 5

vue-cliの中身を見ていきましょう

index.html

<!DOCTYPE html>
<html>
  <head>
    <meta charset="utf-8">
    <meta name="viewport" content="width=device-width,initial-scale=1.0">
    <title>test</title>
  </head>
  <body>
    <div id="app"></div>
    <!-- built files will be auto injected -->
  </body>
</html>

main.js

import Vue from 'vue'
import App from './App'
import router from './router'

Vue.config.productionTip = false

/* eslint-disable no-new */
new Vue({
  el: '#app',
  router,
  components: { App },
  template: '<App/>'
})

あああああああ、react+webpackと同じような仕組みですね。

ん? これはviewの部分か?
App.vue

<template>
  <div id="app">
    <img src="./assets/logo.png">
    <router-view/>
  </div>
</template>

<script>
export default {
  name: 'App'
}
</script>

<style>
#app {
  font-family: 'Avenir', Helvetica, Arial, sans-serif;
  -webkit-font-smoothing: antialiased;
  -moz-osx-font-smoothing: grayscale;
  text-align: center;
  color: #2c3e50;
  margin-top: 60px;
}
</style>

コンポーネントのルーティング
src/router/index.js

import Vue from 'vue'
import Router from 'vue-router'
import HelloWorld from '@/components/HelloWorld'

Vue.use(Router)

export default new Router({
  routes: [
    {
      path: '/',
      name: 'HelloWorld',
      component: HelloWorld
    }
  ]
})

src/components/Hello.vue

<template>
  <div class="hello">
    <h1>{{ msg }}</h1>
    <h2>Essential Links</h2>
    <ul>
      <li>
        <a
          href="https://vuejs.org"
          target="_blank"
        >
          Core Docs
        </a>
      </li>
      <li>
        <a
          href="https://forum.vuejs.org"
          target="_blank"
        >
          Forum
        </a>
      </li>
      <li>
        <a
          href="https://chat.vuejs.org"
          target="_blank"
        >
          Community Chat
        </a>
      </li>
      <li>
        <a
          href="https://twitter.com/vuejs"
          target="_blank"
        >
          Twitter
        </a>
      </li>
      <br>
      <li>
        <a
          href="http://vuejs-templates.github.io/webpack/"
          target="_blank"
        >
          Docs for This Template
        </a>
      </li>
    </ul>
    <h2>Ecosystem</h2>
    <ul>
      <li>
        <a
          href="http://router.vuejs.org/"
          target="_blank"
        >
          vue-router
        </a>
      </li>
      <li>
        <a
          href="http://vuex.vuejs.org/"
          target="_blank"
        >
          vuex
        </a>
      </li>
      <li>
        <a
          href="http://vue-loader.vuejs.org/"
          target="_blank"
        >
          vue-loader
        </a>
      </li>
      <li>
        <a
          href="https://github.com/vuejs/awesome-vue"
          target="_blank"
        >
          awesome-vue
        </a>
      </li>
    </ul>
  </div>
</template>

<script>
export default {
  name: 'HelloWorld',
  data () {
    return {
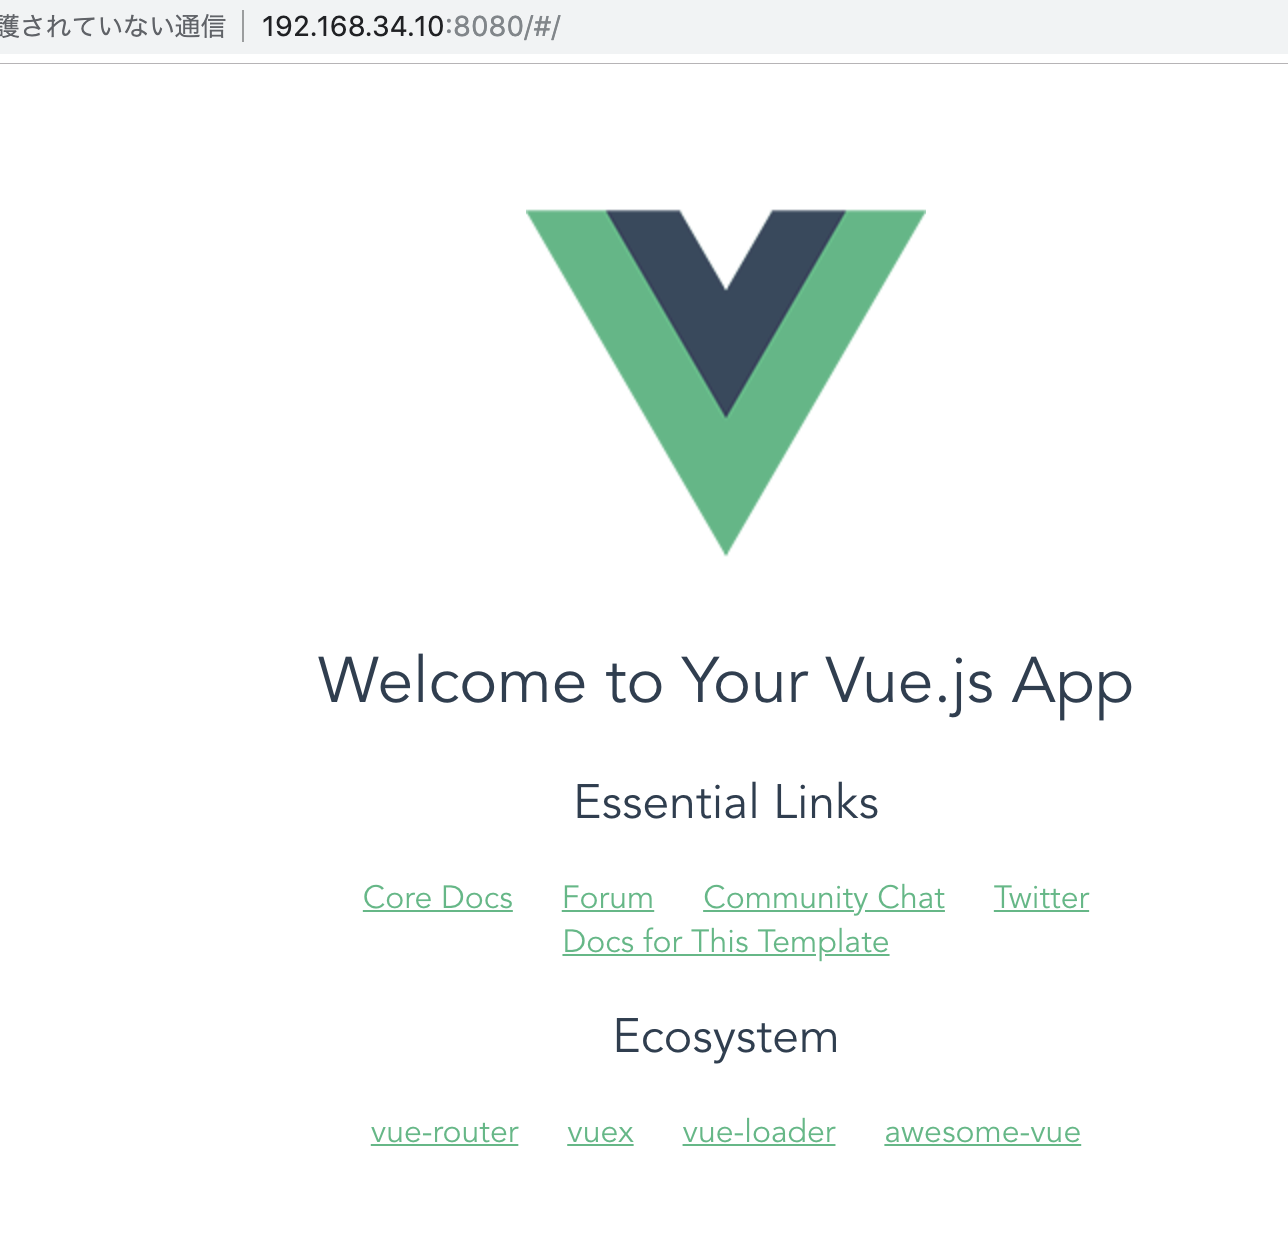
      msg: 'Welcome to Your Vue.js App'
    }
  }
}
</script>

<!-- Add "scoped" attribute to limit CSS to this component only -->
<style scoped>
h1, h2 {
  font-weight: normal;
}
ul {
  list-style-type: none;
  padding: 0;
}
li {
  display: inline-block;
  margin: 0 10px;
}
a {
  color: #42b983;
}
</style>

気を取り直してkeep going

Vue.js 4

ElementUIとは
=>Vue.jsのコンポーネントライブラリ
Vue CLIを使う?
=>インタラクティブなプロジェクトの作成

$ sudo npm install -g vue-cli
$ vue –version
2.9.6

vue init template project-name でプロジェクトを作成する

$ vue init webpack test

? Project name test
? Project description A Vue.js project
? Author
? Vue build standalone
? Install vue-router? Yes
? Use ESLint to lint your code? No
? Set up unit tests No
? Setup e2e tests with Nightwatch? No
? Should we run `npm install` for you after the project has been created? (recom
mended) npm

vue-cli · Generated “test”.

$ npm run dev
Your application is running here: http://localhost:8080

なに?表示されない?
/config/index.jsのhostを編集

host: '192.168.34.10', // can be overwritten by process.env.HOST
    port: 8080, // can be overwritten by process.env.PORT, if port is in use, a free one will be determined
    autoOpenBrowser: false,
    errorOverlay: true,
    notifyOnErrors: true,
    poll: false, 

ほう

Vue.js 3

(function(){
	'use strict';

	var likeComponent = Vue.extend({
		template : '<button>like</button>'
	});

	var app = new Vue({
		el: '#app',
		components: {
			'like-component': likeComponent
		}
	});
})();
(function(){
	'use strict';

	var likeComponent = Vue.extend({
		data: function(){
			return {
				count: 0
			}
		},
		template : '<button @click="countUp">like {{ count }}</button>',
		methods: {
			countUp: function(){
				this.count++;
			}
		}
	});

	var app = new Vue({
		el: '#app',
		components: {
			'like-component': likeComponent
		}
	});
})();
(function(){
	'use strict';

	var likeComponent = Vue.extend({
		props: {
			message: {
				type: String,
				default: 'Like'
			}
		},
		data: function(){
			return {
				count: 0
			}
		},
		template : '<button @click="countUp">{{ message }} {{ count }}</button>',
		methods: {
			countUp: function(){
				this.count++;
				this.$emit('increment');
			}
		}
	});

	var app = new Vue({
		el: '#app',
		components: {
			'like-component': likeComponent
		},
		data: {
			total: 0
		},
		methods: {
			incrementTotal: function(){
				this.total++;
			}
		}
	});
})();