前回の続き
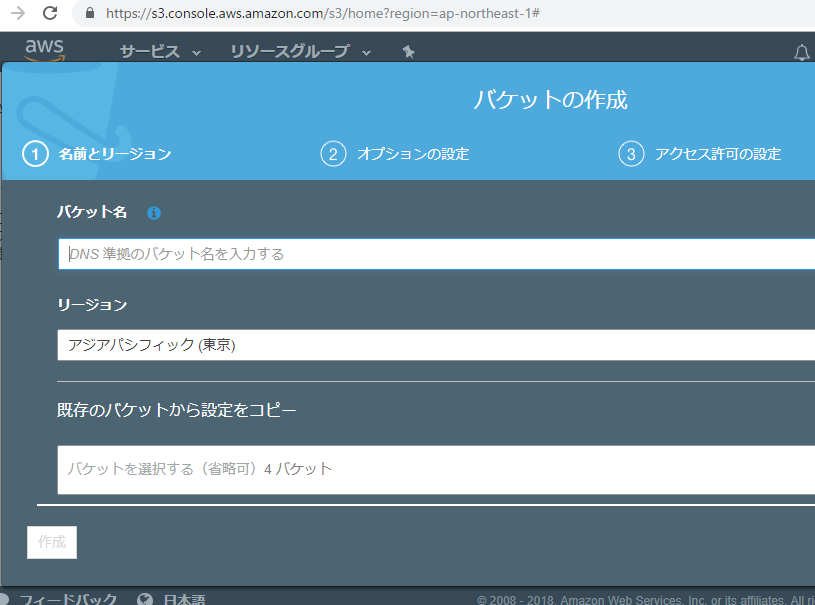
1. AWSマネジメントコンソールにログイン
2. S3を選択
3. 「バケットを作成する」押下
バケット名は何にしましょう。とりあえず「travisci-s3」としておきます。
4. デプロイ用のIAMポリシーを作成
ん? IAM? IAMは確かユーザとロールだった筈。json形式で記載する。
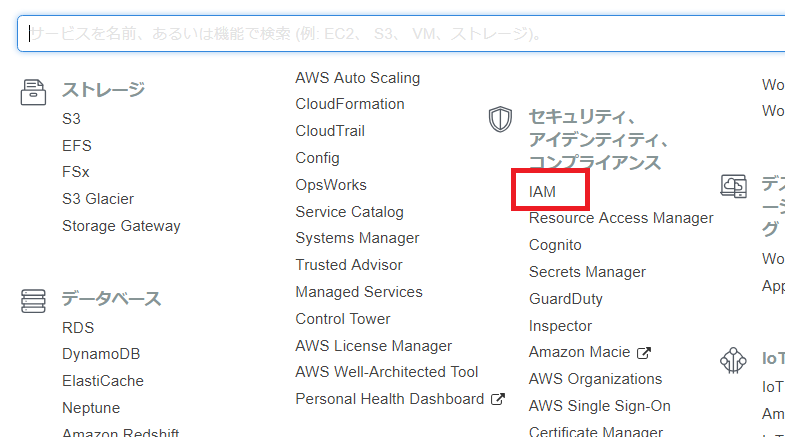
IAM Management Consoleを開きます
あああああああああああああああ、S3のIAMポリシーの作成方法がわからんーーーー
ソフトウェアエンジニアの技術ブログ:Software engineer tech blog
随机应变 ABCD: Always Be Coding and … : хороший

前回の続き
1. AWSマネジメントコンソールにログイン
2. S3を選択
3. 「バケットを作成する」押下
バケット名は何にしましょう。とりあえず「travisci-s3」としておきます。
4. デプロイ用のIAMポリシーを作成
ん? IAM? IAMは確かユーザとロールだった筈。json形式で記載する。
IAM Management Consoleを開きます
あああああああああああああああ、S3のIAMポリシーの作成方法がわからんーーーー
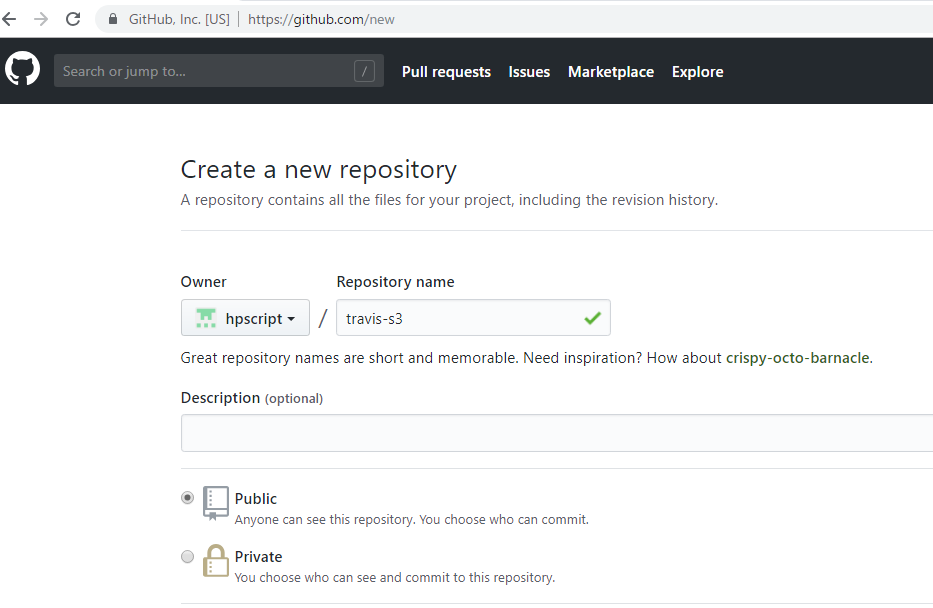
まず、githubでリポジトリをつくります。
適当に「travis-s3」としておきましょう。
リポジトリにファイルを作成
<!DOCTYPE html>
<html lang="ja">
<head>
	 <meta charset="UTF-8">
	 <title>エンジニアの名言</title>
	 <meta name="viewport" content="initial-scale=1.0,width=device-width">
</head>
<body>
  <p>おしゃべりはいいから、お前のコードを見せろ</p>
</body>
</html>

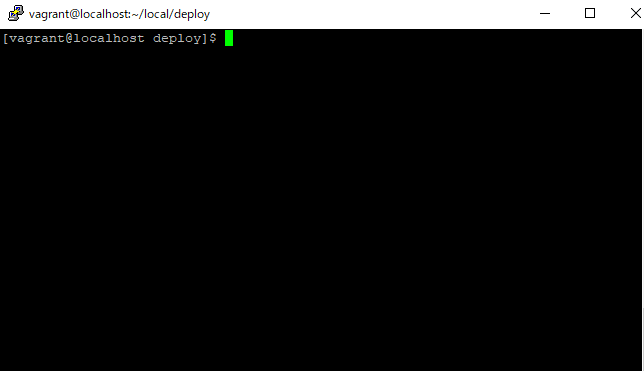
vagrantに入ります
deployというディレクトリにいます。ここで作業すると仮定しましょう。
前準備ができました。それでは、いよいよTravisに触っていきましょう^^
Github Marketplaceを押下します。
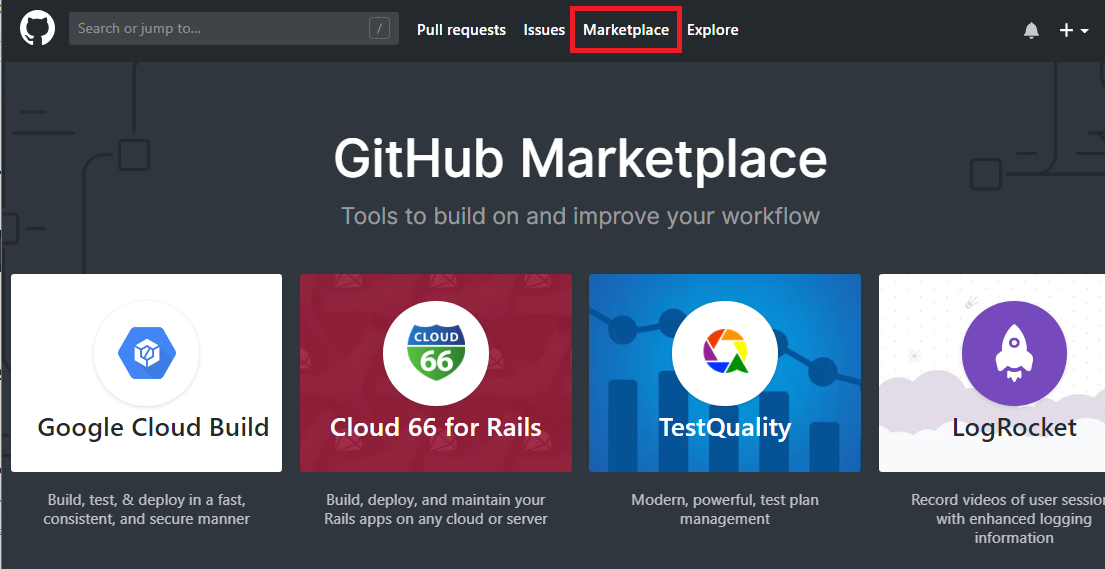
ページ中段のApps with free trialsでTravis CIをクリックします。
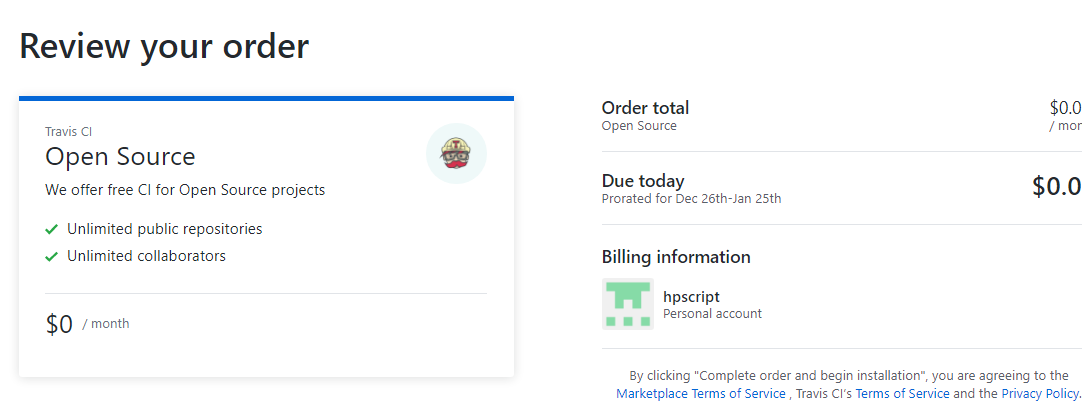
続いて、ページ中断のpricing and setupで、デフォルトで$69となっているので、Open sourceをselectし、install it for freeを選択します。
こんな感じの画面。見やすいですね。
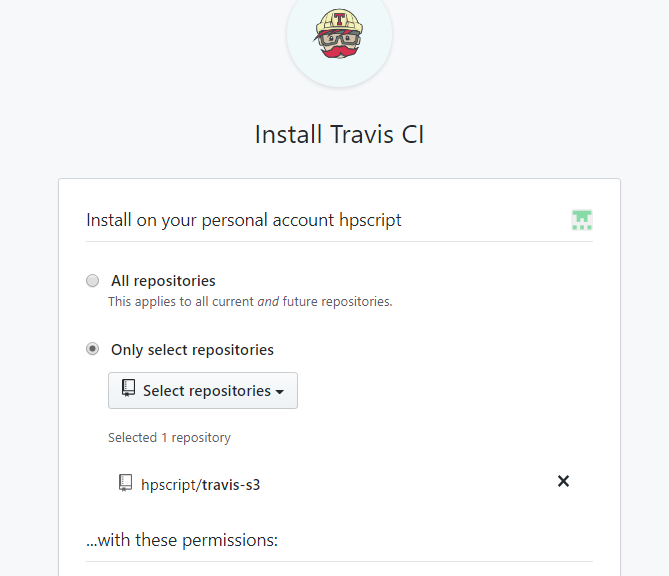
リポジトリの選択画面になるので、先ほど作った「travis-s3」を選択します。
インストールすると、Travis CIのページにリダイレクトされます。
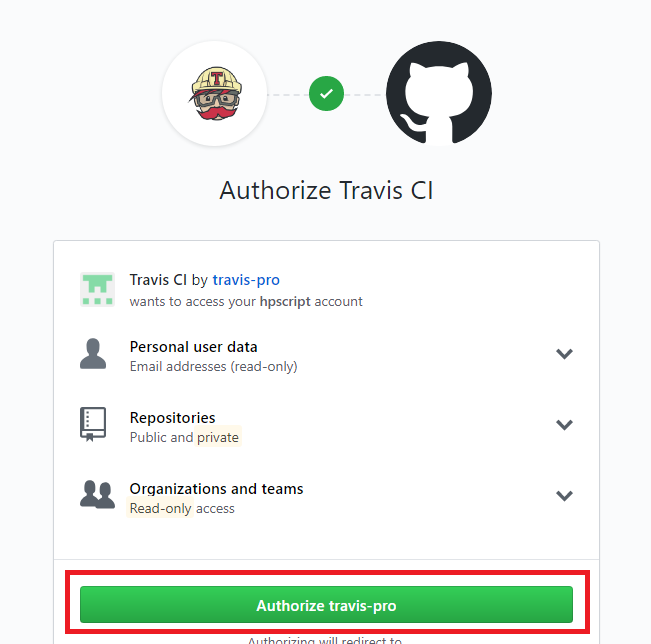
認証画面が出てくるので、「Authorize travis-pro」を押下します。
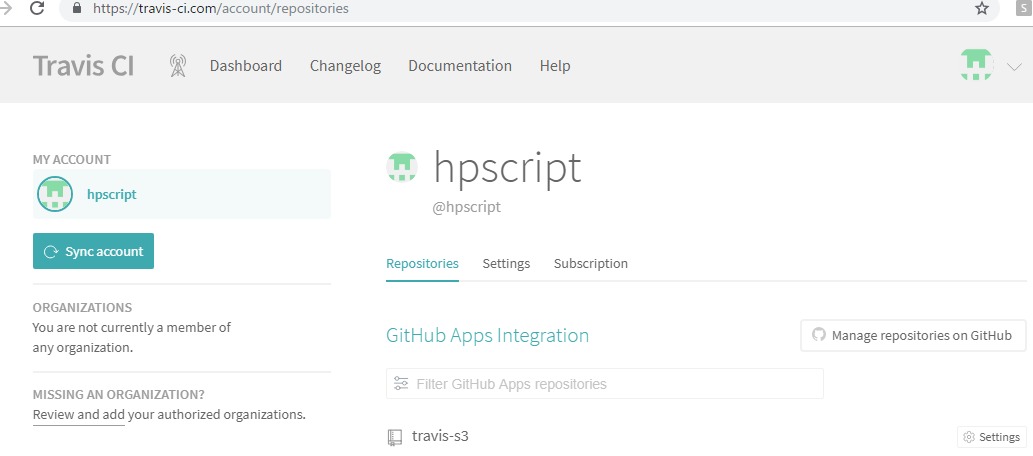
Git hubのレポジトリと連携したTravis CIのページが表示されます
ちょっと長くなったので、続きは次回。
まず、Travisの公式サイトを見てみましょう。
https://travis-ci.com/
Features to help you get the job done
– quick setup
– live build views
– pull request support ☆
– pre-installed database services
– auto deployments on passing builds ☆
– clean VMs for every build
– Mac, Linux, and iOS support
やりたいのに星(☆)をつけました。ずばりauto deployments
フローが書いてありますね。
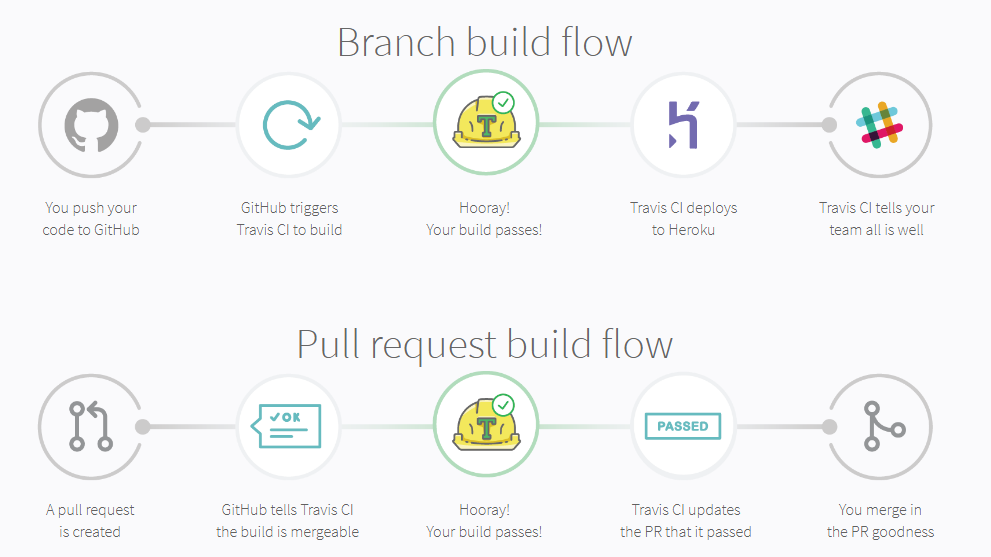
イメージとしてはBranch build flowがイメージしやすいか。
Branch build flow
-push code to Github
-github trigger
-build passes
-Travis CI deploys to server
-Travis CI tells team all is well
pushしてテストにパスすると自動でデプロイされる。
なるほど、なかなか良い。
概要は大体イメージできたので、早速やってみましょう。
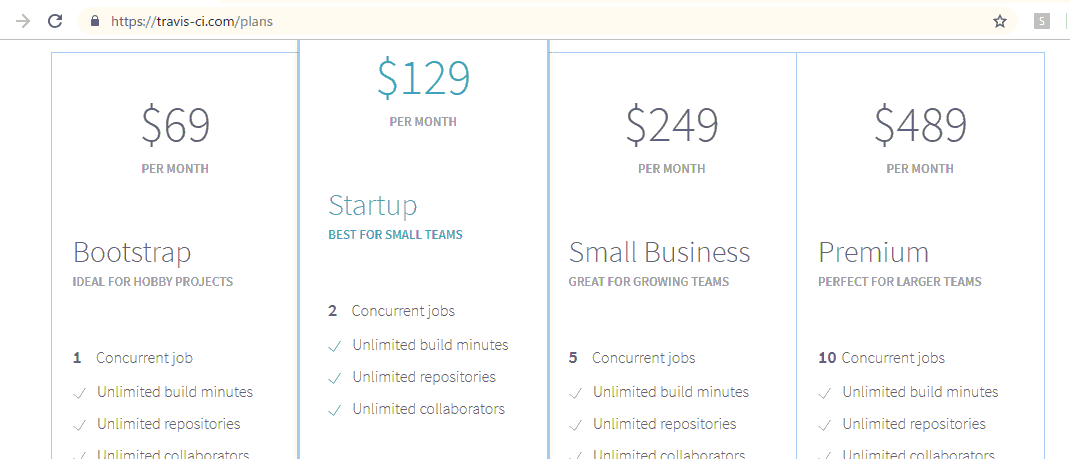
Bootstrap $69 1jobのみ ビルド制限、リポジトリ制限なし
Startup $129 2並列job
SmallBusiness $249 5並列ジョブ
Premium $489 10並列ジョブ
んか高いなー ossならフリー
Travis CI Enterpriseもありますねー
どうやら失敗したようです。
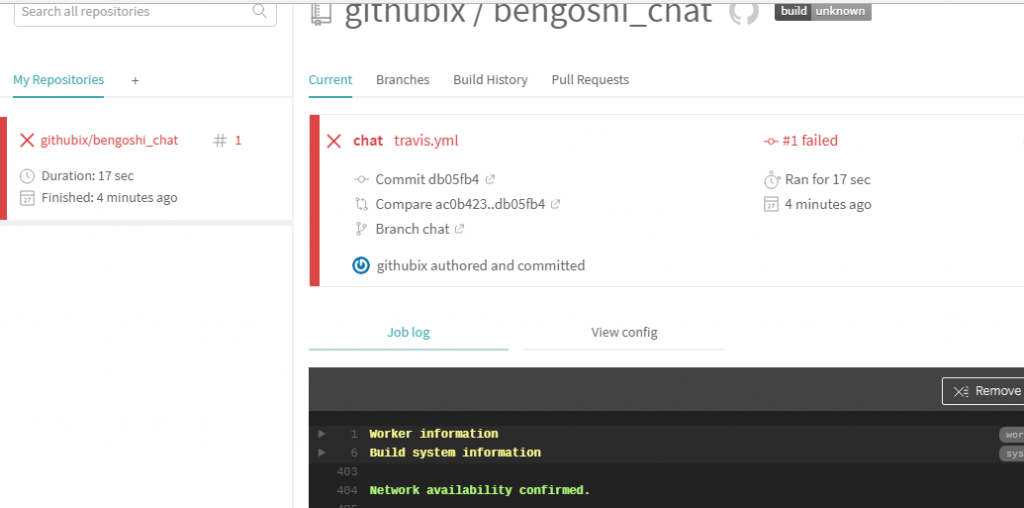
0.55s$ git clone --depth=50 --branch=chat https://github.com/githubix/bengoshi_chat.git githubix/bengoshi_chat
Cloning into 'githubix/bengoshi_chat'...
remote: Counting objects: 50, done.
remote: Compressing objects: 100% (2/2), done.
remote: Total 50 (delta 0), reused 2 (delta 0), pack-reused 47
Unpacking objects: 100% (50/50), done.
$ cd githubix/bengoshi_chat
$ git checkout -qf db05fb4b37219f42856c6148d96e13a6fbde87a5
Disabling Gradle daemon
$ mkdir -p ~/.gradle && echo "org.gradle.daemon=false" >> ~/.gradle/gradle.properties
rvm
4.10s$ rvm use default
Using /home/travis/.rvm/gems/ruby-2.4.1
** Updating RubyGems to the latest version for security reasons. **
** If you need an older version, you can downgrade with 'gem update --system OLD_VERSION'. **
ruby.versions
$ ruby --version
ruby 2.4.1p111 (2017-03-22 revision 58053) [x86_64-linux]
$ rvm --version
rvm 1.29.3 (latest) by Michal Papis, Piotr Kuczynski, Wayne E. Seguin [https://rvm.io]
$ bundle --version
Bundler version 1.16.2
$ gem --version
2.7.7
No Gemfile found, skipping bundle install
0.15s$ rake
rake aborted!
No Rakefile found (looking for: rakefile, Rakefile, rakefile.rb, Rakefile.rb)
/home/travis/.rvm/gems/ruby-2.4.1@global/gems/rake-12.3.0/exe/rake:27:in `'
(See full trace by running task with --trace)
The command "rake" exited with 1.
Done. Your build exited with 1.
.travis.ymlがnullだったからでしょうか。
yamlを書きます。
language: php

php:
  - 5.6
  - 5.7
  - hhvm

before_script:
  - curl -s http://getcomposer.org/installer | php
  - php composer.phar install --dev --prefer-source

script:
  - mkdir -p build/logs
  - phpunit --coverage-clover build/logs/clover.xml --configuration tests/phpunit.xml tests

after_script:
  - php vendor/bin/coveralls -v

notifications:
  slack:
    rooms:
      secure: your_token_key
TravisCI 画面
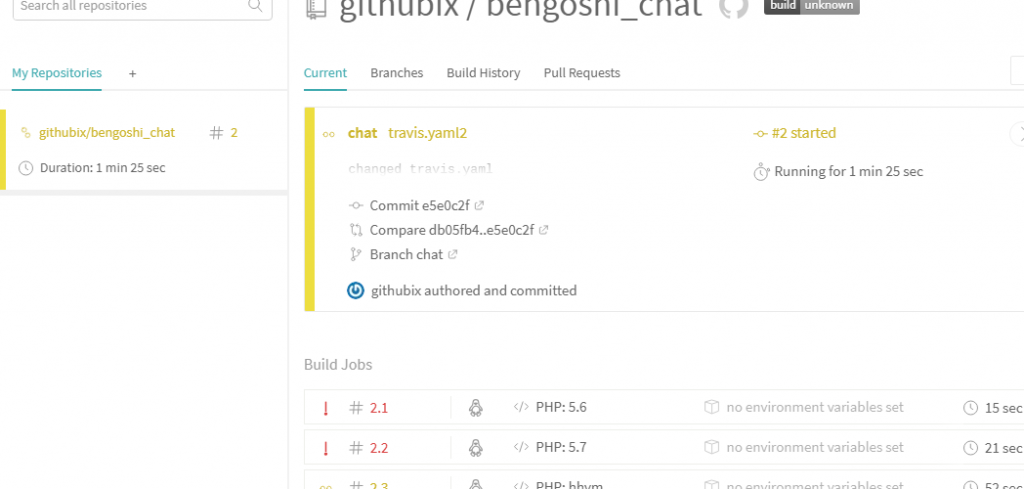
なるほど、こういうことか。テスト内容をyamlに書いて、rubyが実行するのね。それをslackなどに送付することも可能。

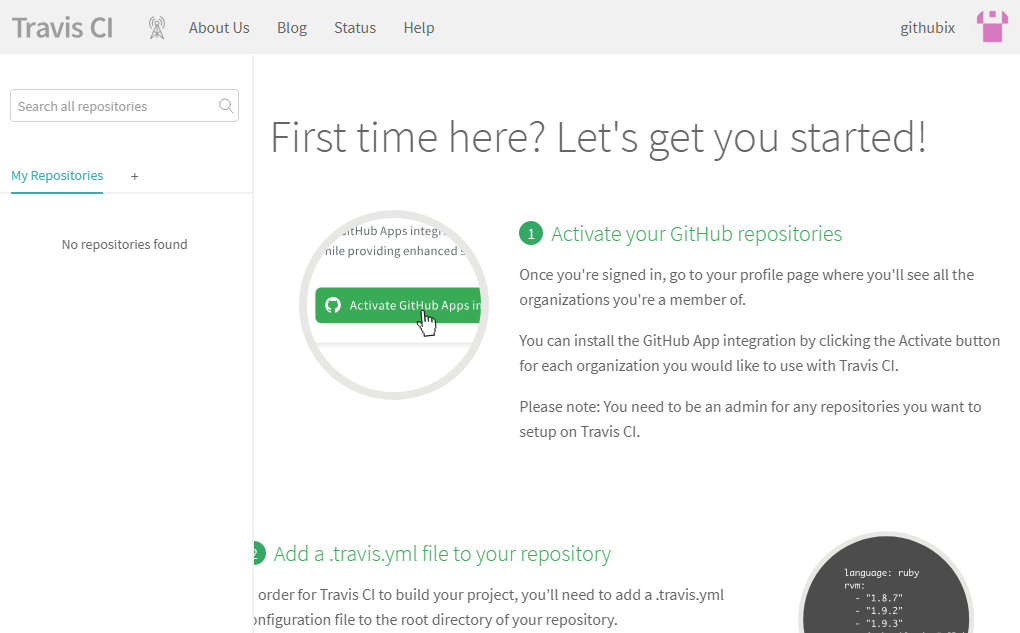
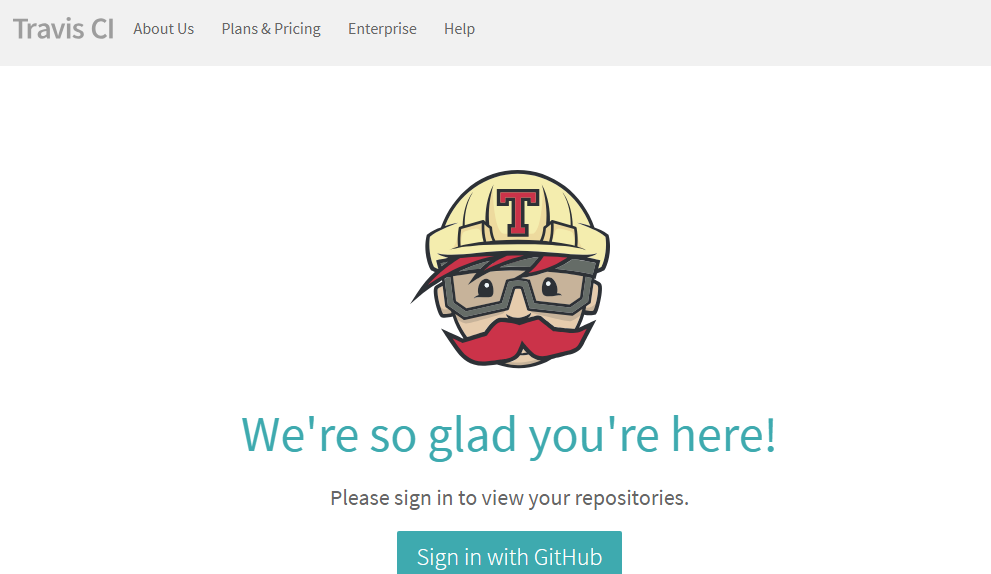
OAuthでログインします。