コマンドラインでシーダーを実行しようとすると、Class ${class_name} does not existのエラーが出た時の対処法。
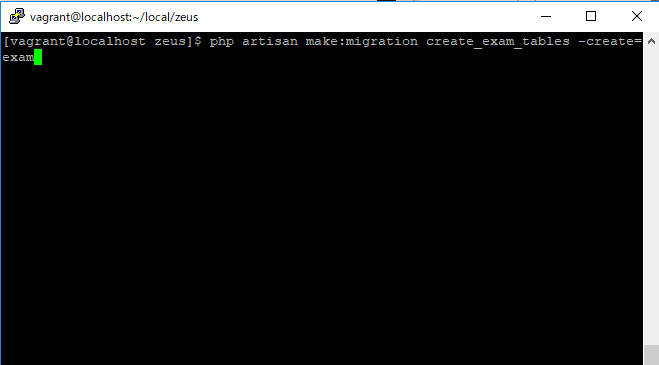
[vagrant@localhost zeus]$ php artisan db:seed
Seeding: AccountTableSeeder

   ReflectionException  : Class AccountTableSeeder does not exist

  at /home/vagrant/local/zeus/vendor/laravel/framework/src/Illuminate/Container/Container.php:779
    775|         if ($concrete instanceof Closure) {
    776|             return $concrete($this, $this->getLastParameterOverride());
    777|         }
    778|
  > 779|         $reflector = new ReflectionClass($concrete);
    780|
    781|         // If the type is not instantiable, the developer is attempting to resolve
    782|         // an abstract type such as an Interface of Abstract Class and there is
    783|         // no binding registered for the abstractions so we need to bail out.

  Exception trace:

  1   ReflectionClass::__construct("AccountTableSeeder")
      /home/vagrant/local/zeus/vendor/laravel/framework/src/Illuminate/Container/Container.php:779

  2   Illuminate\Container\Container::build("AccountTableSeeder")
      /home/vagrant/local/zeus/vendor/laravel/framework/src/Illuminate/Container/Container.php:658

  Please use the argument -v to see more details.
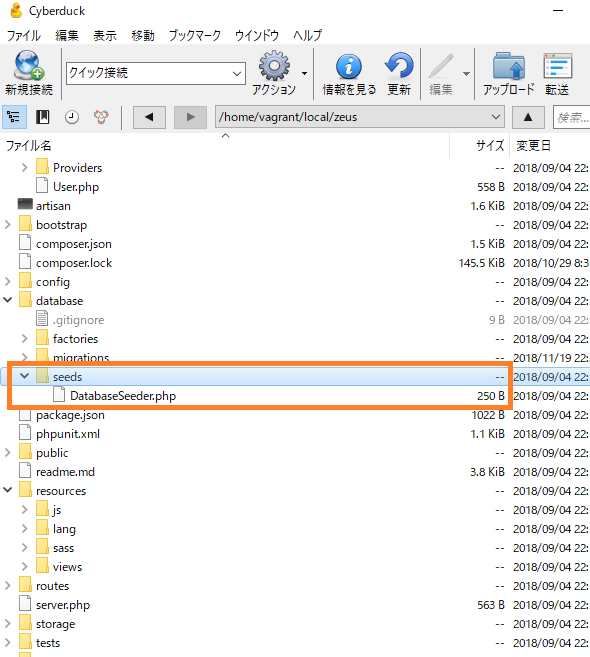
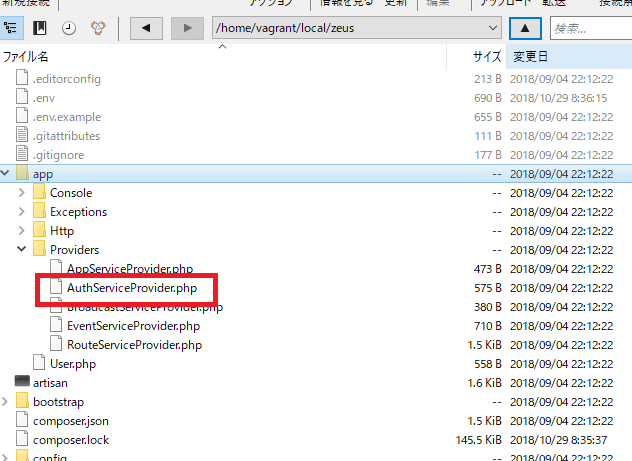
1.DatabaseSeeder.phpと読み込むclassが存在するか確認する
use Illuminate\Database\Seeder;

class DatabaseSeeder extends Seeder
{
    /**
     * Seed the application's database.
     *
     * @return void
     */
    public function run()
    {
        $this->call([
		AccountTableSeeder::class,
	 ]);
    }
}
use Illuminate\Database\Seeder;

class AccountTableSeeder extends Seeder
{
    /**
     * Run the database seeds.
     *
     * @return void
     */
    public function run()
    {
        //
        DB::table('account')->insert([
            'login_id' => str_random(10),
            'company_id' => '001',
        ]);
        //
    }
}
問題ない。何故だ?

composer dump-autoload で直る
コマンドラインでたたきます。
[vagrant@localhost zeus]$ php composer.phar dump-autoload
Generating optimized autoload files
> Illuminate\Foundation\ComposerScripts::postAutoloadDump
> @php artisan package:discover
Discovered Package: beyondcode/laravel-dump-server
Discovered Package: fideloper/proxy
Discovered Package: laravel/tinker
Discovered Package: nesbot/carbon
Discovered Package: nunomaduro/collision
Package manifest generated successfully.
改めてphp artisan db:seedとすると、今度は上手くいくのがわかります。
[vagrant@localhost zeus]$ php artisan db:seed
Seeding: AccountTableSeeder
Database seeding completed successfully.
Good Job!