1. まずdatabaseをつくります。
mysql> CREATE DATABASE click;
Query OK, 1 row affected (0.00 sec)
mysql> use click;
2. 続いて、tableを作ります。
mysql> create table articles(
-> id int primary key auto_increment,
-> login_id varchar(30),
-> role varchar(50),
-> name varchar(20),
-> password varchar(30),
-> mail varchar(255),
-> test_mail varchar(255),
-> updated_person varchar(50),
-> created_at datetime,
-> updated_at datetime
-> );
mysql> select * from articles;
Empty set (0.00 sec)
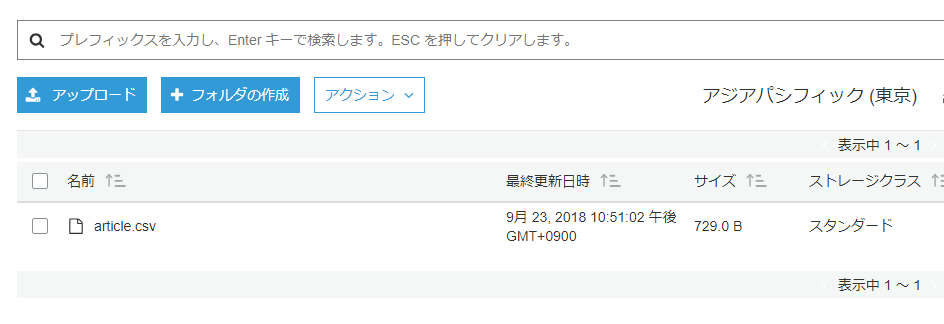
s3から取得したcsvをopenして1行目のカラムを飛ばしてmysqlにinsertしていきます。
try {
	$dbh = new PDO('mysql:host=localhost;dbname=click;charset=utf8','hoge','hogehoge', array(PDO::ATTR_EMULATE_PREPARES => false));
} catch(PDOException $e){
	exit('データベース接続失敗。'.$e->getMessage());
}

$stmt = $dbh->prepare('INSERT INTO articles VALUES (?, ?, ?, ?, ?, ?, ?, ?, ?,?)');

$dbh->beginTransaction();
$fp = fopen('article.csv', 'rb');
$i = 0;
while ($row = fgetcsv($fp)){
	if($i == 0){
		$i++;
		continue;
	}
	if ($row === array(null)){
		continue;
	}
	$executed = $stmt->execute($row);
	$i++;
}
fclose($fp);
$dbh->commit();
確認してみましょう。
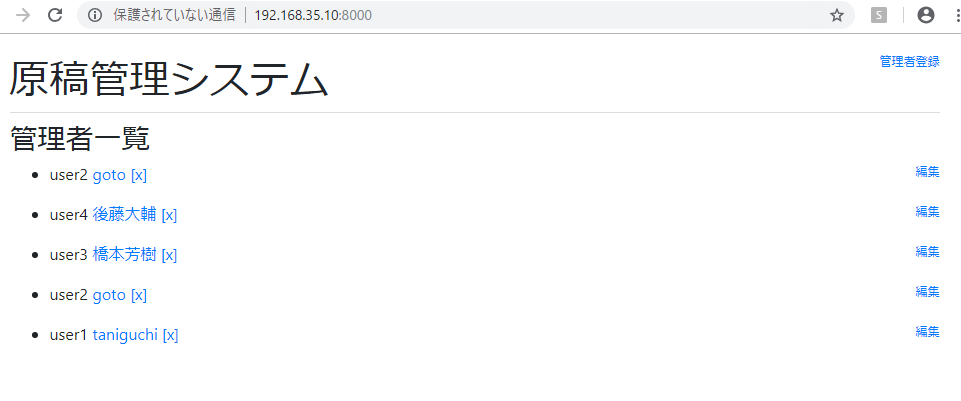
mysql> select * from articles;
+—-+———-+——–+————–+———–+———————+————————–+—————-+———————+———————+
| id | login_id | role | name | password | mail | test_mail | updated_person | created_at | updated_at |
+—-+———-+——–+————–+———–+———————+————————–+—————-+———————+———————+
| 1 | user1 | master | taniguchi | passowrd | laravel@gmail.com | laravel_test@gmail.com | sasaki | 2018-09-21 21:39:07 | 2018-09-21 21:39:07 |
| 2 | user2 | master | goto | himitsu | laravel@hotmail.com | laravel_test@hotmail.com | sasaki | 2018-09-22 08:31:54 | 2018-09-22 08:51:32 |
| 3 | user3 | master | 橋本太郎 | password3 | laravel@gmail.com | laravel_test@gmail.com | こばやし | 2018-09-22 15:03:11 | 2018-09-22 15:03:11 |
| 4 | user4 | master | 後藤大輔 | password4 | laravel@gmail.com | laravel_test@gmail.com | こばやし | 2018-09-22 15:48:56 | 2018-09-22 15:48:56 |
| 9 | user2 | master | goto | himitsu | laravel@hotmail.com | laravel_test@hotmail.com | sasaki | 2018-09-22 17:41:59 | 2018-09-22 17:41:59 |
+—-+———-+——–+————–+———–+———————+————————–+—————-+———————+———————+
5 rows in set (0.00 sec)
おいおいおい、やべーことになってる。
とりあえず、laravel -> mysql(1) -> csv -> s3 upload -> s3 import -> csv -> mysql(2)の流れは出来た。やはり、laravelが時間かかったな。frameworkの習得は時間がかかる。s3はセキュリティ周りをもっと学習する必要がある。
next
-> SSL
-> githubからdeploy