
## 準備
### 1. IAMロール作成
– CodeDeploy
— Name: CodeDeploy
— Policy: CodeDeployRole
– ec2
— Name: s3readonly
— Policy: AmazonS3ReadOnlyAccess
### 2.VPC作成
– VPC, public subnet, InternetGateway, RouteTable作成
– SecurityGroup作成
## EC2
### 3.インスタンス作成
– Configure Instance DetailsのIAM roleで上記で作成したs3readonlyのroleを選択する
– VPC, public subnet, InternetGateway, RouteTable, SecurityGroupも作成したもの選択する
– SSHログイン
$ ssh ec2-user@****** -i ~/.ssh/***.pem
### 4.EC2にCodeDeployAgentのインストール
$ sudo yum update
$ sudo yum install ruby
$ sudo yum install aws-cli
$ cd /home/ec2-user
$ aws s3 cp s3://aws-codedeploy-ap-northeast-1/latest/install . –region ap-northeast-1
$ chmod +x ./install
$ sudo ./install auto
$ sudo service codedeploy-agent status
The AWS CodeDeploy agent is running as PID 12399
## 5.Github repository
${repo_name}/appspec.yml
version: 0.0
os: linux
files:
  - source: /
    destination: /home/release
### 6.CodeDeployのapplication作成
– ServicesのCodeDeployからCreate Application
— test
### 7. Deployment group
– Create deployment group押下
Deployment group name: testDeploy
Service role: codeDeploy
Deployment type: In place
Environment configuration: Amazon EC2 instances
->key:test
Deployment settings: CodeDeployDefault.AllAtOnce
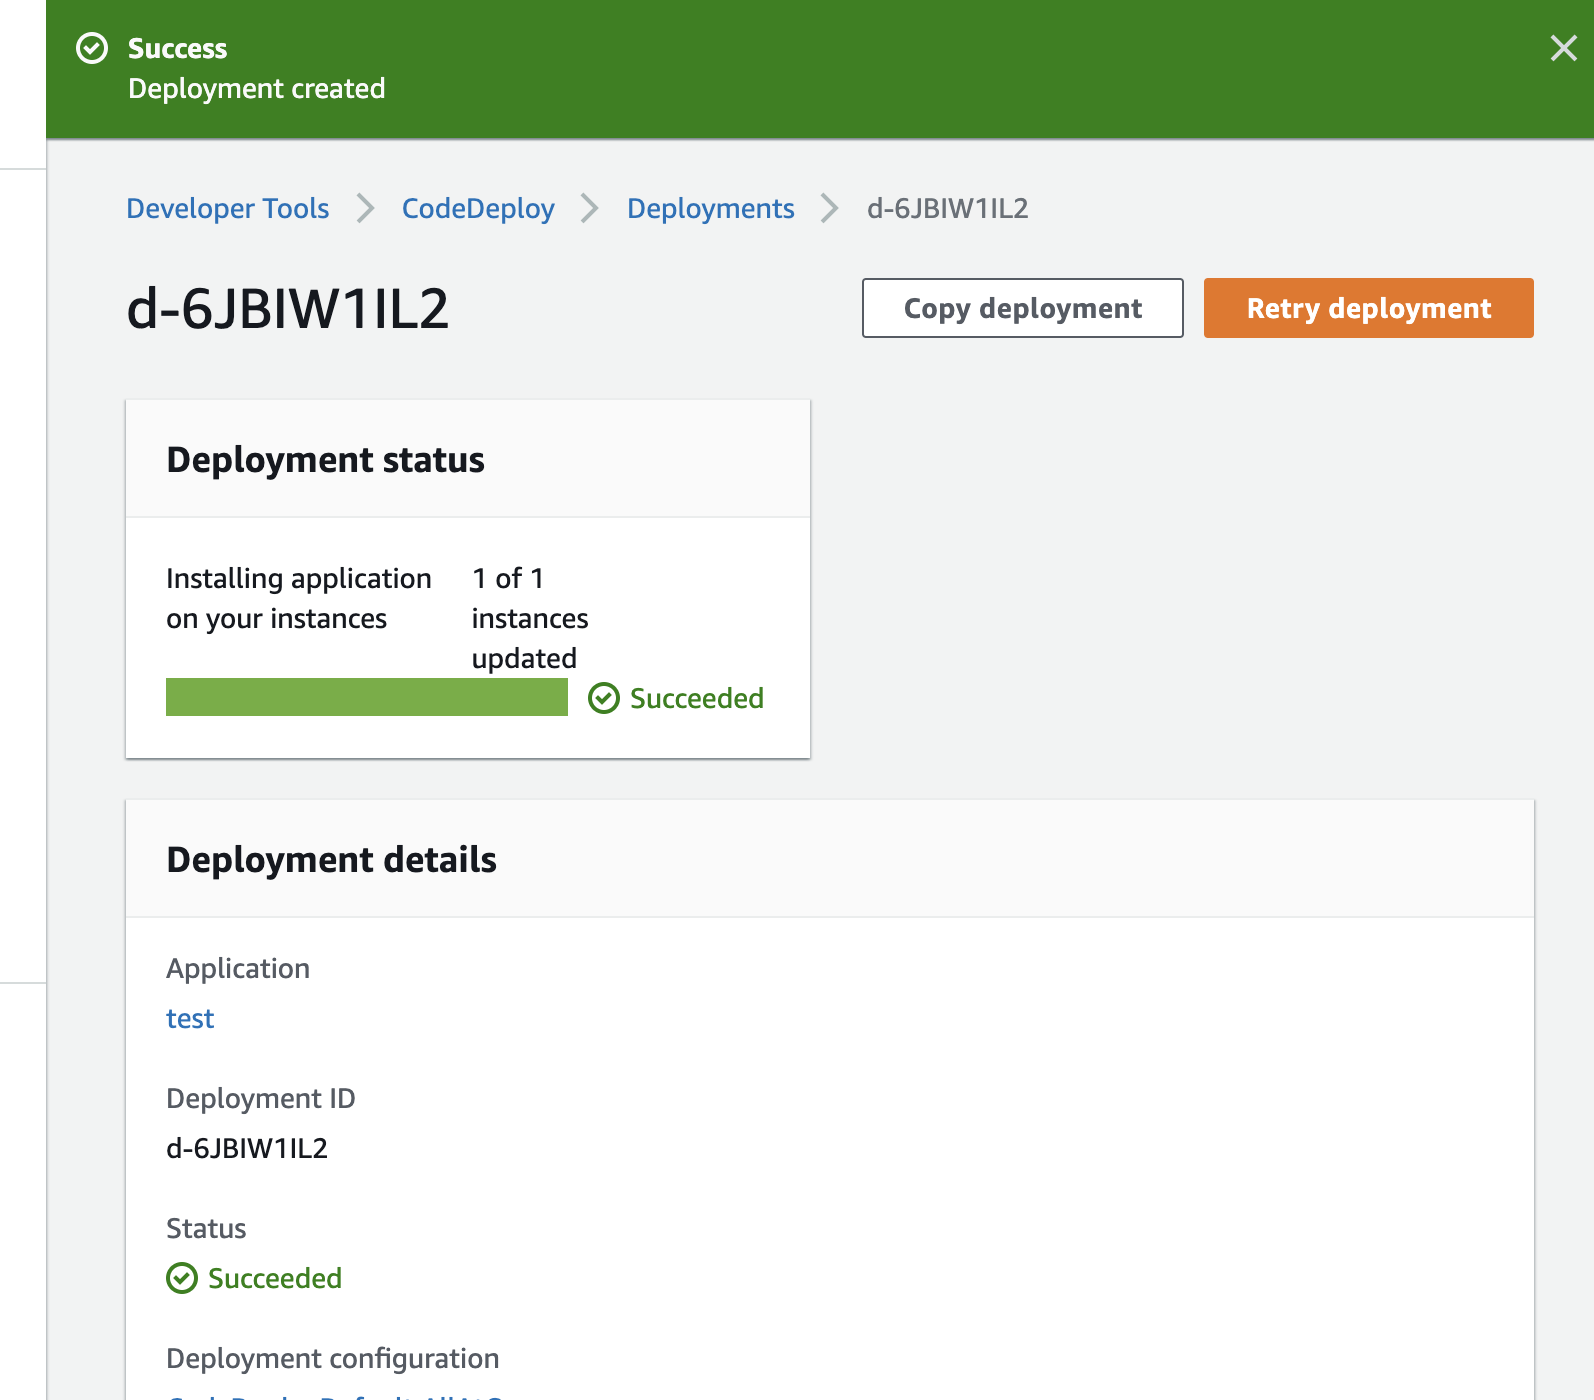
### 8.Create deployment
Deployment group: testDeply
Revision type: My application is stored in Github
GitHub token name: Githubのname
Repository name: ${githubname}/${repository name}
Commit ID: GithubのcommitのID
$ pwd
/home/release
$ ls
LICENSE appspec.yml index.html