Laravel5.7のバリデーションにはどんなものがあるのか?
Webの記事を見ていてもよくわからない。。

ということで、公式ドキュメントを読み進めて行きたいと思います。
https://readouble.com/laravel/5.7/ja/validation.html
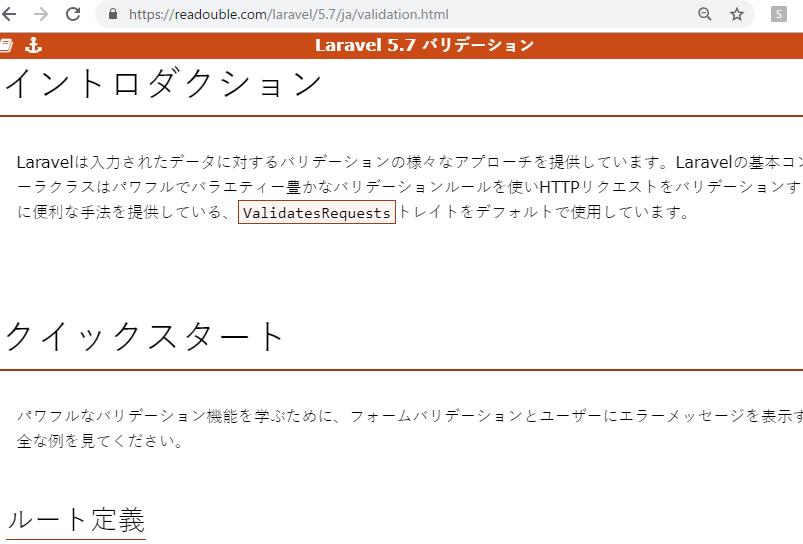
– イントロダクション
ValidatesRequestsトレイトをデフォルトで使用
→ なんじゃそりゃ? とりあえず、phpのマニュアルを見てみよう。凄いな、ループだ。キリがないな。
トレイトは、PHP のような単一継承言語でコードを再利用するための仕組みのひとつです。 トレイトは、単一継承の制約を減らすために作られたもので、 いくつかのメソッド群を異なるクラス階層にある独立したクラスで再利用できるようにします。
トレイトの例
http://php.net/manual/ja/language.oop5.traits.php
trait ezcReflectionReturnInfo {
    function getReturnType() { /*1*/ }
    function getReturnDescription() { /*2*/ }
}

class ezcReflectionMethod extends ReflectionMethod {
    use ezcReflectionReturnInfo;
    /* ... */
}

class ezcReflectionFunction extends ReflectionFunction {
    use ezcReflectionReturnInfo;
    /* ... */
}
バリデーションに戻ります。
1.ルート定義
ここは想定通り。
Route::get('post/create', 'PostController@create');
Route::post('post', 'PostController@store');
コントローラ作成
getとstoreのメソッドを書いています。これも想定通り。
namespace App\Http\Controllers;

use Illuminate\Http\Request;
use App\Http\Controllers\Controller;

class PostController extends Controller
{
    public function create()
    {
        return view('post.create');
    }
    public function store(Request $request)
    {
    }
}
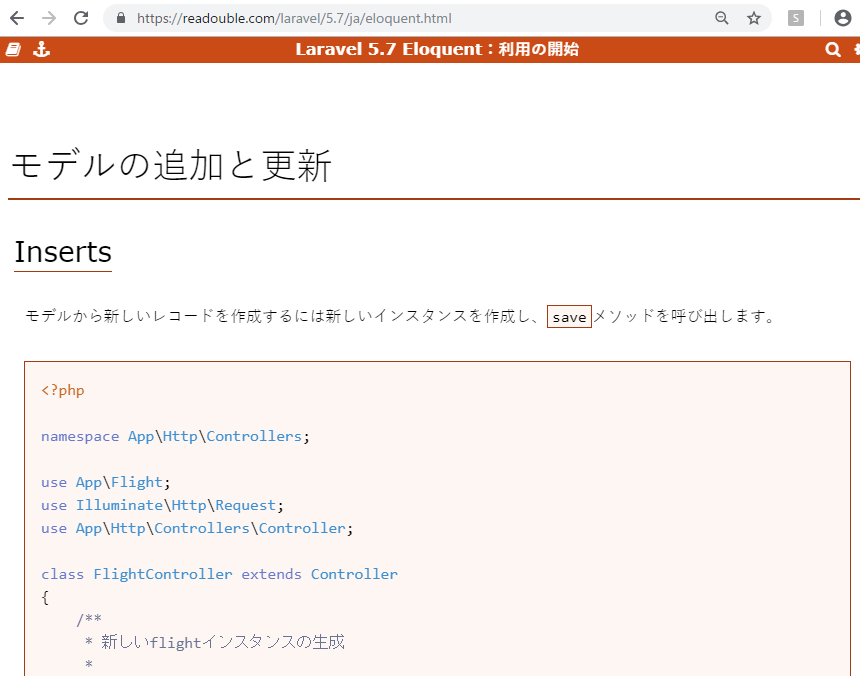
バリデーションロジック
Illuminate\Http\Requestオブジェクトが提供する、validateメソッドを使用する。バリデーションに失敗すると、例外が投げられ、ユーザーに対し自動的に適切なエラーレスポンスが返される。
公式ドキュメントの例
public function store(Request $request)
{
    $validatedData = $request->validate([
        'title' => 'required|unique:posts|max:255',
        'body' => 'required',
    ]);
}
最初のバリデーション失敗時に停止
$request->validate([
    'title' => 'bail|required|unique:posts|max:255',
    'body' => 'required',
]);
とりあえず、ここまででやってみましょうか。
public function store(Request $request){
        $request->validate([
            'company_name' => 'required',
            'agent_name' => 'required',
        ]);
    	$company = new Company([
    		'company_name' => $request->get('company_name'),
    	]);
    	$company->save();
    	$agent_mst = new Agent_mst([
    		'agent_name' => $request->get('agent_name'),
    	]);
    	$agent_mst->save();
    	$data = new Company();
        $table = $data::all();
        return view('companyindex', ['data'=> $table]);
    }
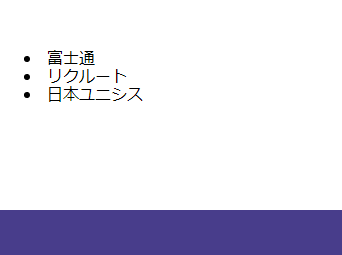
OK!!!
ただバリデーションエラー表示がこれだと、エラー時に何も表示されません。エラー表示を出すようにしましょう。