### モデルのリストを調査
/hello/views.py
from django.shortcuts import render
from django.http import HttpResponse
from .models import Friend
def index(request):
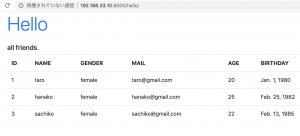
params['data'] = Friend.objects.all()
params = {
'title': 'Hello',
'data': data,
}
return render(request, 'hello/index.html', params)
/hello/templates/hello/index.html
from django.shortcuts import render
from django.http import HttpResponse
from .models import Friend

def index(request):
	data = Friend.objects.all()
	params = {
		'title': 'Hello',
		'data': data,
	}
	return render(request, 'hello/index.html', params)
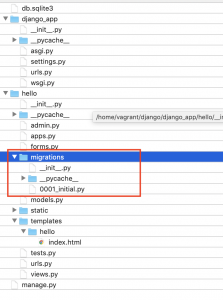
– .objects.all()で取り出していたのはQuerySetというインスタンスだということがわかる
– QuerySetには__str__も含む
### valuesメソッド
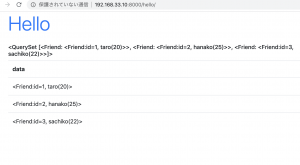
– .objects.values()で辞書でデータを取り出すことができる
/hello/views.py
def index(request):
	data = Friend.objects.values()
	params = {
		'title': 'Hello',
		'data': data,
	}
	return render(request, 'hello/index.html', params)
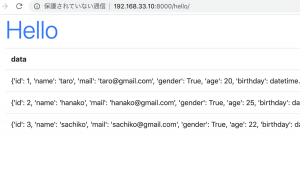
– 特定の項目を指定
def index(request):
	data = Friend.objects.values('id', 'name')
	params = {
		'title': 'Hello',
		'data': data,
	}
	return render(request, 'hello/index.html', params)
– リストとして取り出す
data = Friend.objects.all().values_list('id', 'name','age')
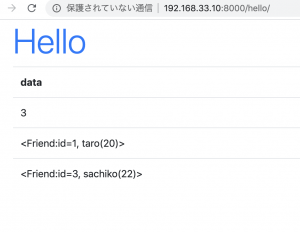
– first最初、last最後、countレコード数
def index(request):
	num = Friend.objects.all().count()
	first = Friend.objects.all().first()
	last = Friend.objects.all().last()
	data = [num, first, last]
	params = {
		'title': 'Hello',
		'data': data,
	}
	return render(request, 'hello/index.html', params)
– QuerySetのカスタマイズ
from django.shortcuts import render
from django.http import HttpResponse
from .models import Friend
from django.db.models import QuerySet

def __new_str__(self):
	result = ''
	for item in self:
		result += '<tr>'
		for k in item:
			result += '<td>' + str(k) + '=' + str(item[k]) + '</td>'
		result += '</tr>'
	return result

QuerySet.__str__ = __new_str__

def index(request):
	data = Friend.objects.all().values('id', 'name', 'age')
	params = {
		'title': 'Hello',
		'data': data,
	}
	return render(request, 'hello/index.html', params)
<body class="container">
	<h1 class="display-4 text-primary">{{title}}</h1>
	<table class="table">
		{{data|safe}}
	</table>
</body>
reverseなどもviews.pyで整形すれば良いのですね、少しイメージが湧いてきました。